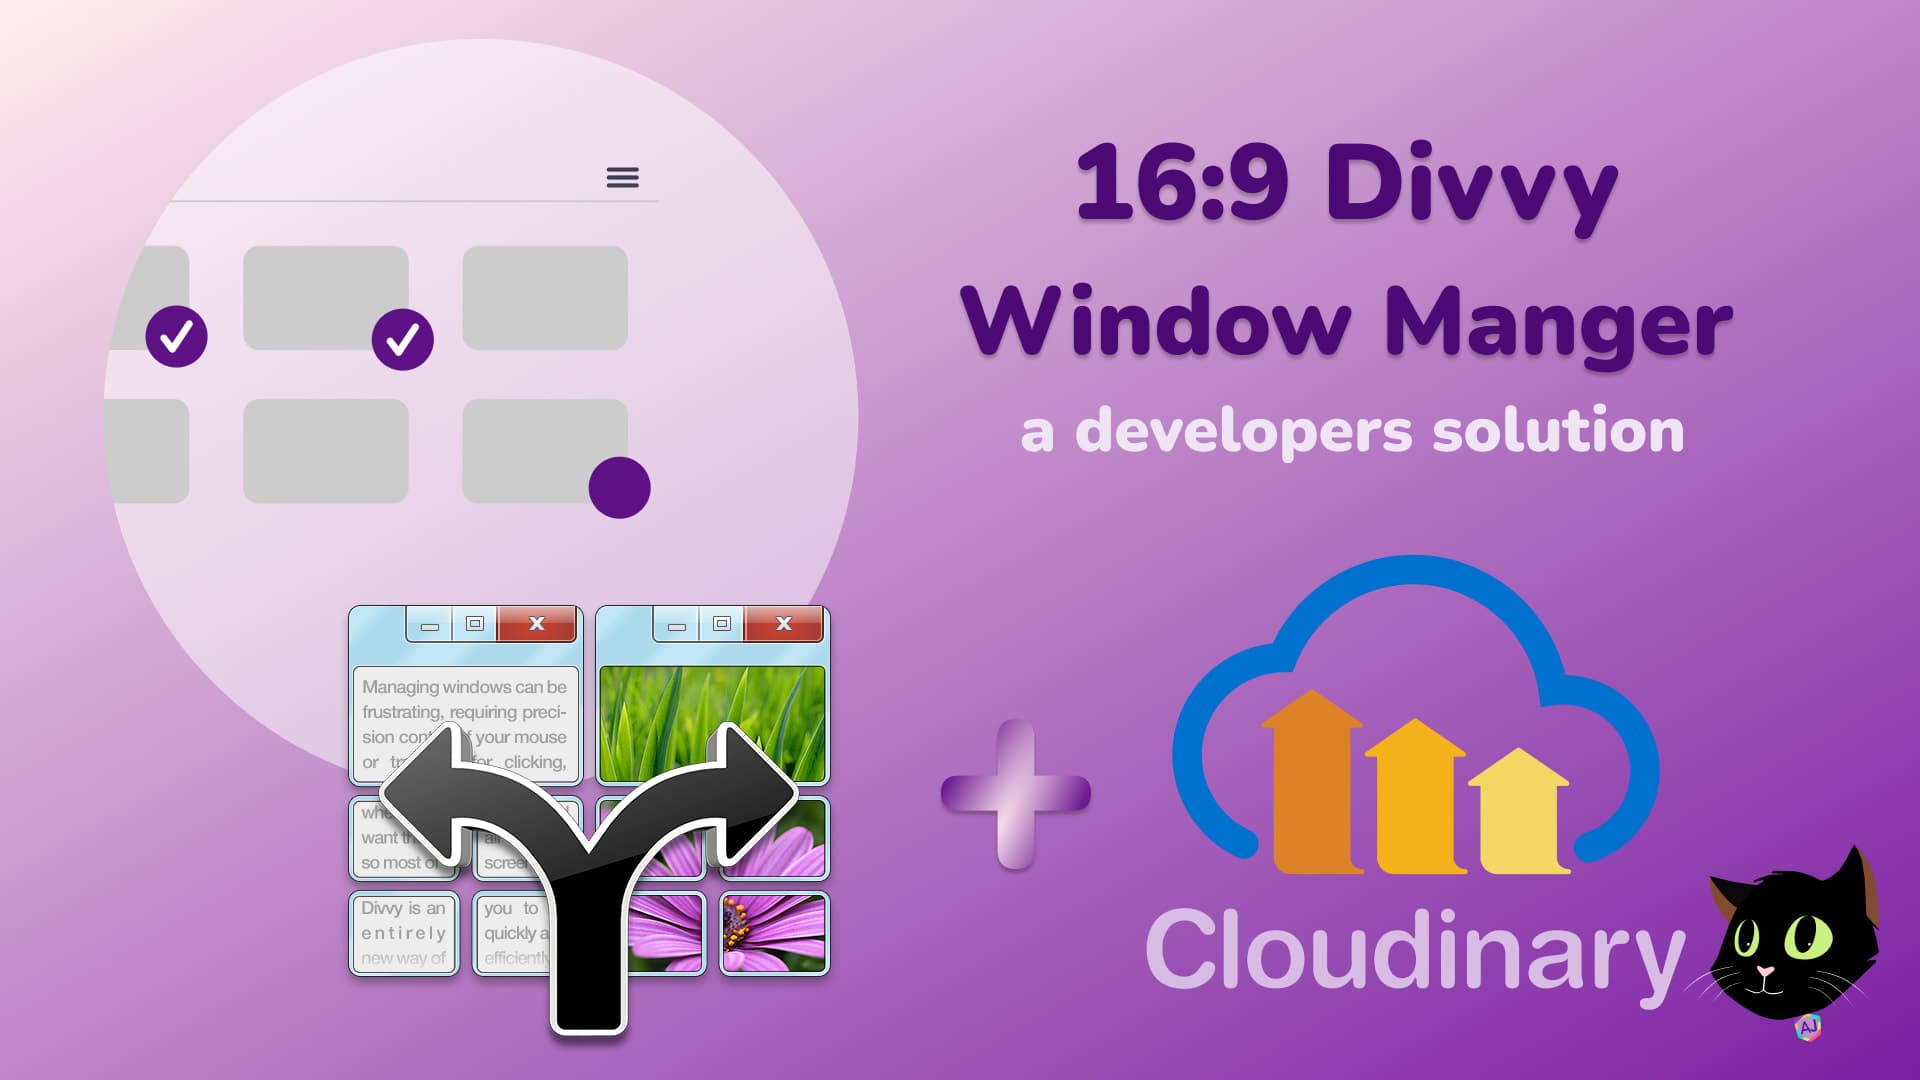
How to achieve 16:9 resolution while using Divvy on a Mac
Perfecting screen capture for HD videos on a Mac, using Divvy. Download your own template.
I’m the founder of CodingCatDev, where we create “Purrfect Web Tutorials” to teach the world how to turn their development dreams into reality. I am a professional full stack developer, and I am passionate about mentoring new developers and helping the community that has allowed me to live my development dreams. I firmly believe that anyone can learn to be a developer. The CodingCatDev team is here to help!
Original: https://codingcat.dev/post/how-to-achieve-16-9-resolution-while-using-divvy-on-a-mac
Have you ever tried to record a video and notice that it is a few pixels off? Lets fix that so you can produce good quality videos!
Easy Solution
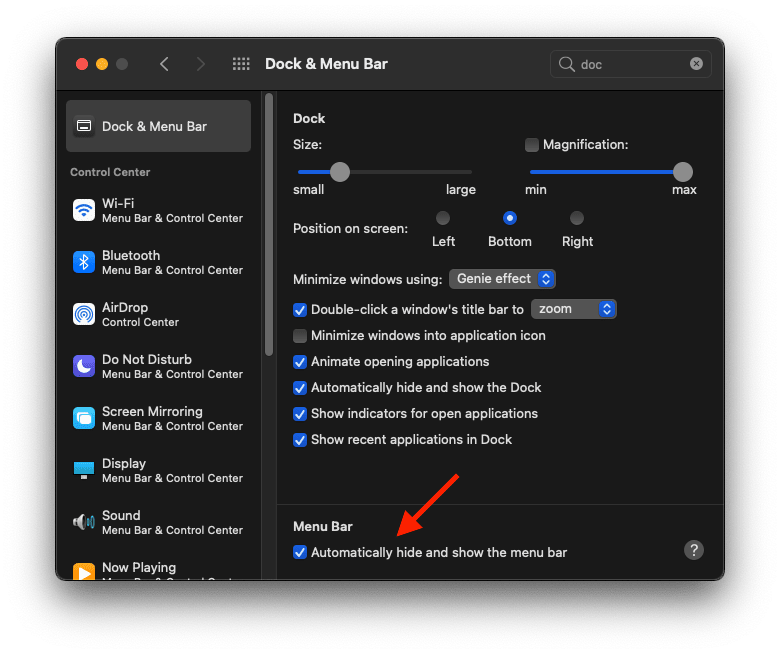
So before I go down this crazy exercise, I do want to call out one of the simpiliest tricks to when recording videos. Just hide the menubar on MacOS.
Is this still a dev post?
Most of the time as a developer I am looking for cool side projects. It just so happens that I have been looking for an excuse to try out Remix as we have been looking to partner with them at Builder.
What I wanted to do was create a simple tool that would calculate what to set Divvy's margins to so that I can capture my screen correctly for recording both at Builder.io and CodingCat.dev.
I wanted to have a little fun with it and added a downloadable background for you computer that has the menubar set, the margins called out, and the amount of boxes you are using within Divvy add by using Cloudinary's React SDK and overlays.
Dont care about the math? Cool I don't really either but I needed to understand it to write this purrfect [Divvy Calculator](https://divvy.codingcat.dev/). See something broken, PR's more than welcome. [GitHub Repo](https://github.com/CodingCatDev/divvy-screen-size)
Quick example of the Cloudinary transformation code below.
// Apply the transformation.
  myImage
    // Crop the image.
    .resize(thumbnail().width(reducedWidth).height(reducedHeight))
    //Menu Bar
    .overlay(
      source(
        image(`1`).transformation(
          new Transformation()
            .resize(
              fill()
                .width(Math.round(reducedWidth))
                .height(Math.round(menuBarHeight))
            )
            .effect(new ColorizeEffectAction().color("#391").level("colorize"))
        )
      ).position(new Position().gravity(compass(northWest())))
    )
    //Margin left
    .overlay(
      source(
        image(`1`).transformation(
          new Transformation()
            .resize(
              fill()
                .width(Math.round(reducedScreenMargin / 2))
                .height(Math.round(reducedScreenHeight))
            )
            .effect(new ColorizeEffectAction().color("red").level("colorize"))
        )
      ).position(
        new Position()
          .gravity(compass(northWest()))
          .offsetY(reducedMenuBarHeight)
      )
    )
    .overlay(
      source(
        image(`1`).transformation(
          new Transformation()
            .resize(
              fill()
                .width(Math.round(reducedScreenMargin / 2))
                .height(Math.round(reducedScreenHeight))
            )
            .effect(new ColorizeEffectAction().color("red").level("colorize"))
        )
      ).position(
        new Position()
          .gravity(compass(northEast()))
          .offsetY(reducedMenuBarHeight)
      )
    );
MacOS and the menu bar
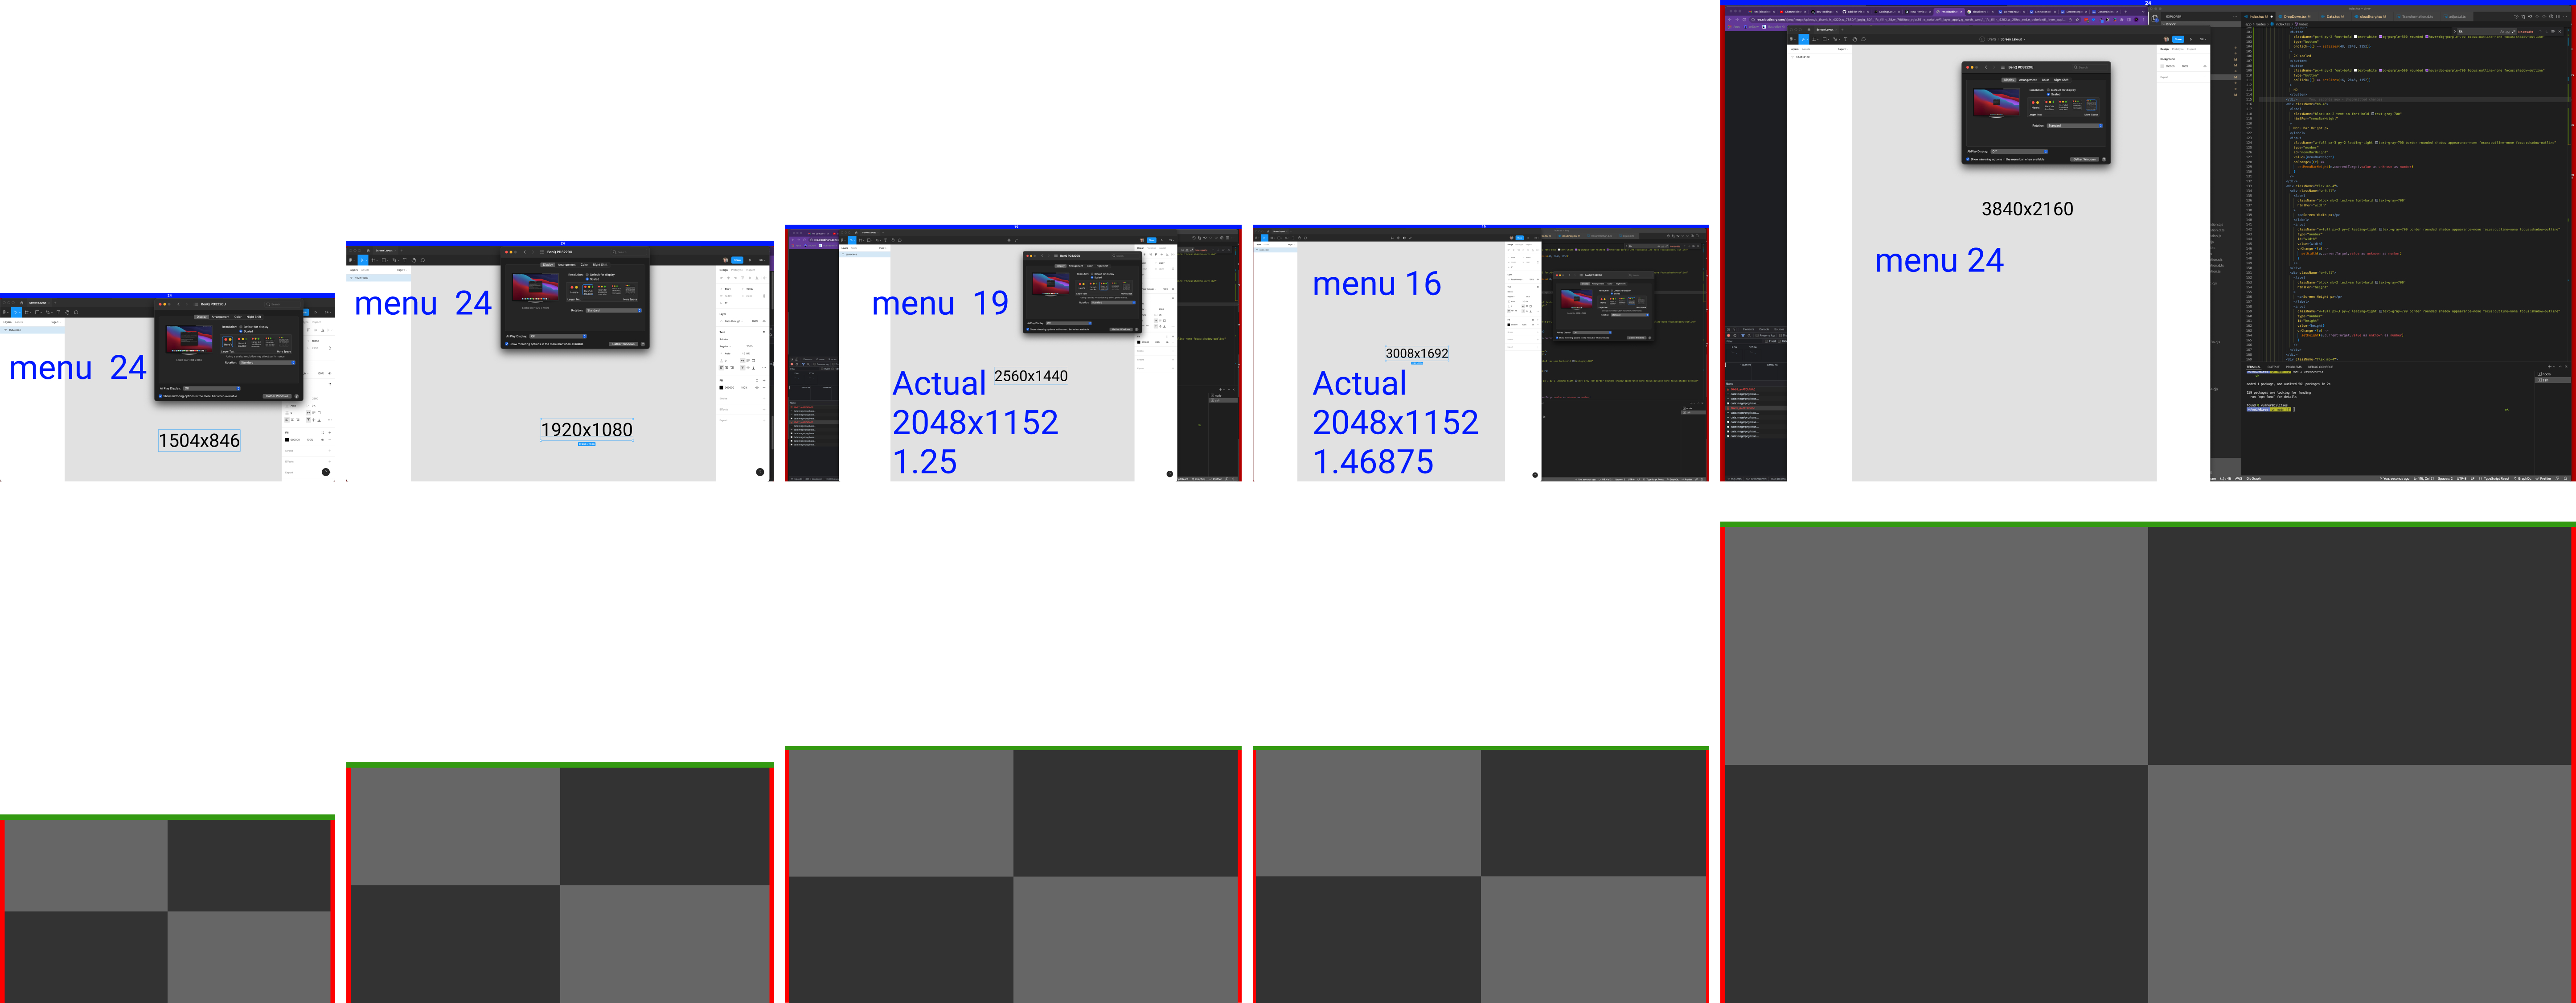
When you are using a display on a Mac the windows all stay under the menu bar at the top. So your beautify 4K monitor that you are recording on will be in a purrfect 56.25% ratio (2160/3840) also commonly referred to as 16:9 (9/16).
So if you screen is 4K 3840px by 2160px, and your menu is 24px high then your actual usable height is 2160px - 24px => 2136px. Which of course means it will be 3840px by 2136px so if we divide 2136/3840.
How Divvy Window Manager Works
Divvy allows you to break your monitor up into sections columns by rows shown below.
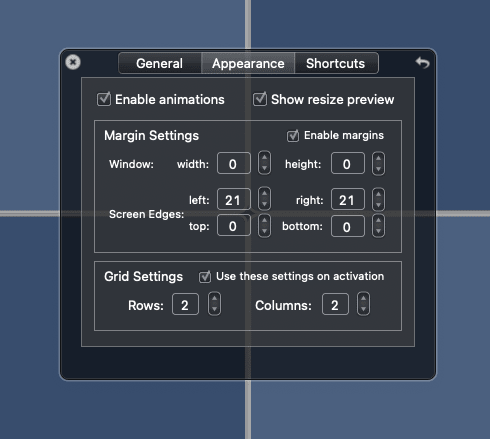
This is an amazingly simple, but yet very powerful tool. You can break your screen up into anything from 1x1 all the way to 10x10 blocks. There are a lot more features check out the below video to see more of what is possible.
What is the big deal
So if you are using Divvy Window Manager and placing your windows into 4 equal locations, what this really means is that you will end up with a ratio closer to 55.625%. This small difference of only .625 might not seem like much but when you are producing a 4K screen capture those 40+ pixels really show up (trust me)!