Git Your Build System Right
Demonstrating how to quickly deploy using Angular CLI to 6 places. Then how to setup CI/CD in Azure, AWS, and Google Cloud Platform.
I’m the founder of CodingCatDev, where we create “Purrfect Web Tutorials” to teach the world how to turn their development dreams into reality. I am a professional full stack developer, and I am passionate about mentoring new developers and helping the community that has allowed me to live my development dreams. I firmly believe that anyone can learn to be a developer. The CodingCatDev team is here to help!
Original: https://codingcat.dev/tutorial/git-your-build-system-right
This lesson is on setting up CI (Continuous Integration) and CD (Continuous Delivery) across four of the most popular systems today Google Cloud Platform Cloud Build, Azure Pipelines, AWS Code Pipelines, and GitHub Actions. We will be using a simple Angular application (although you could replace this with almost any app) and using GitHub as a source repository. We will then create triggers from git branch commits to launch the processes.
Please note you will need to create a GitHub repo, which is not covered in this lesson.
Git Flow!

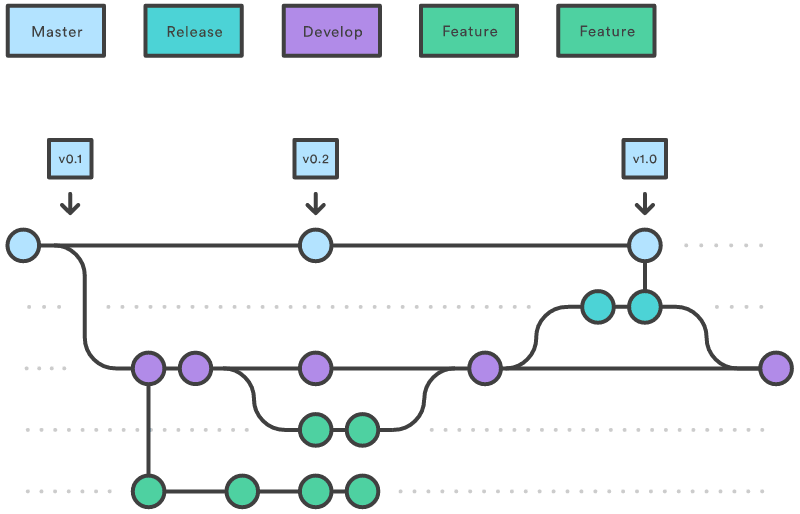
If you have been slapping keys for a long time now and have not worked on a large project, you are probably used to just committing to the master branch and calling it a day. However on large teams/projects most follow the Gitflow workflow. Atlassian does a nice job on explaining what exactly this workflow looks like.
The reason I suggest giving this a good read is both to advance your career on all project types and we will utilizing this flow in our CI/CD method. Albeit a very light version where I will create release branches for each CI/CD type merging in from a develop branch.
Google Cloud Platform - Cloud Build
You will need an account setup on GCP for this tutorial https://cloud.google.com/gcp/
I have been a user of GCP for several years now and what I love about GCP CloudBuild is that you can build just aboutanything! This is due in large part to the fact that Cloud Build uses Docker images to create It offers 120 free build-minutes per day and up to 10 concurrent builds. This works especially well if you work with mono repos, having to build several projects at the same time. Admittedly I usually use Firebase to serve all of my static sites, but to keep things similar across all of the pipelines you will utilize CloudStorage.
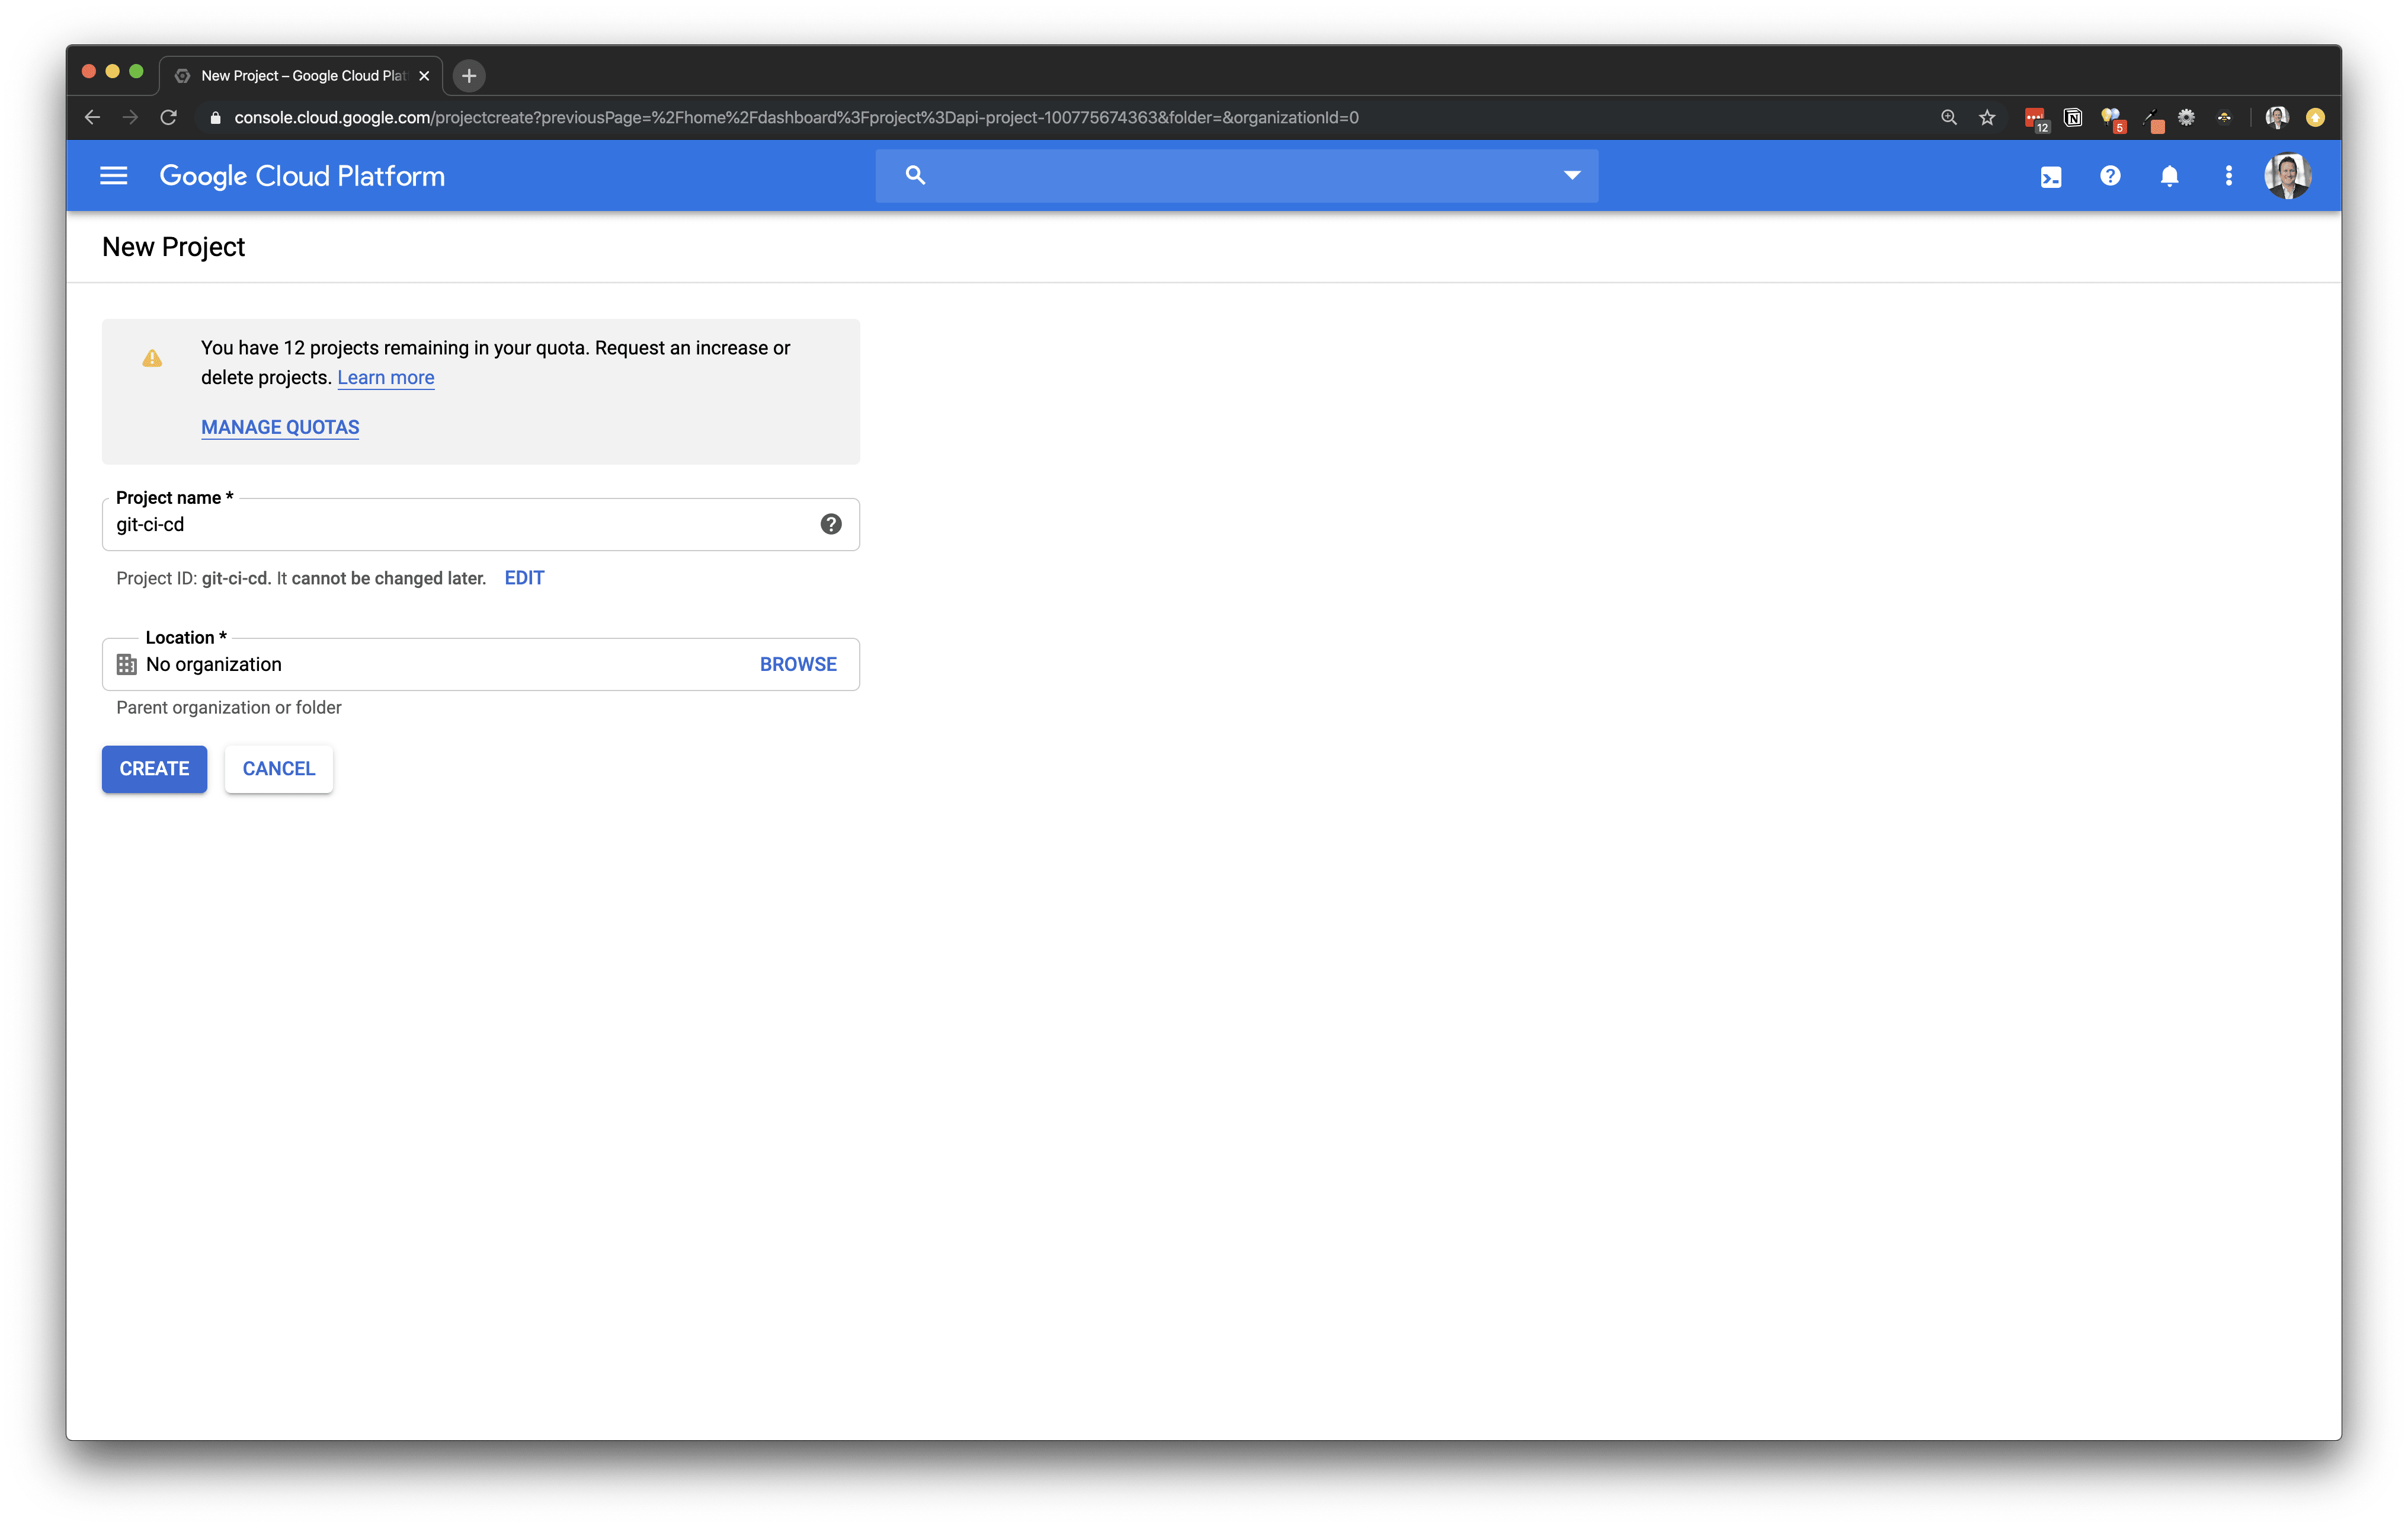
Create New Project
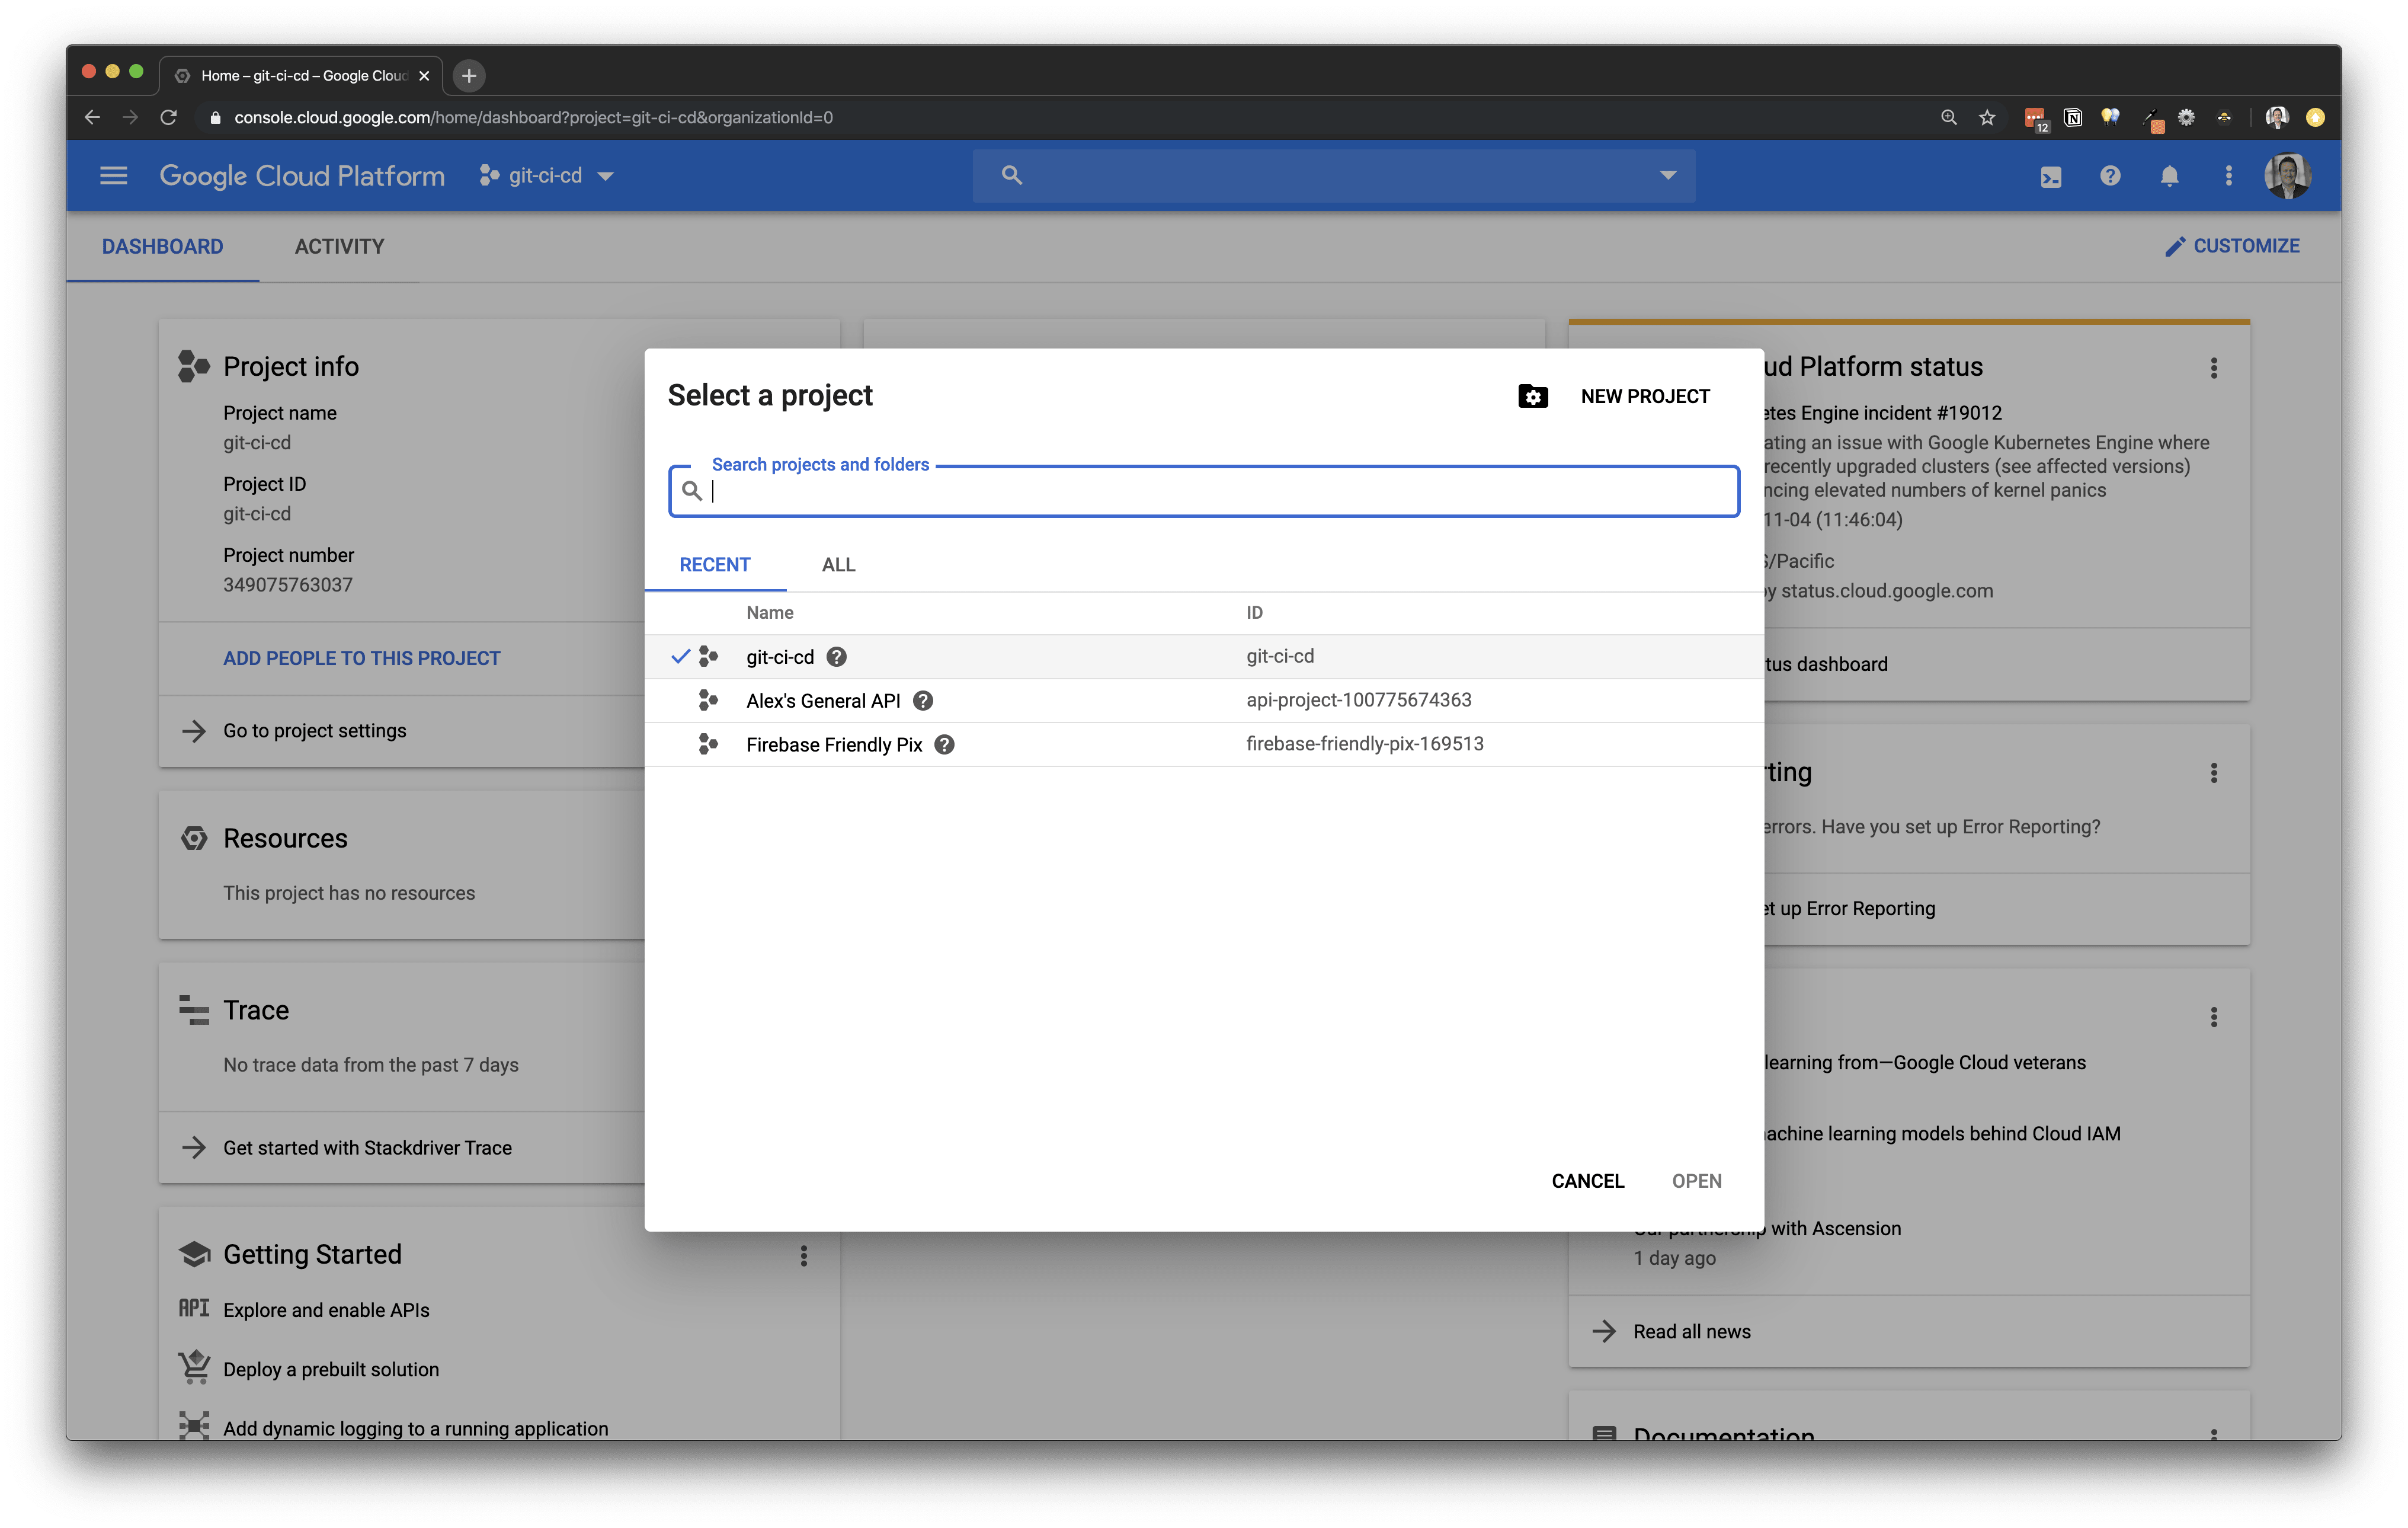
Go to GCPConsole and create a newproject.
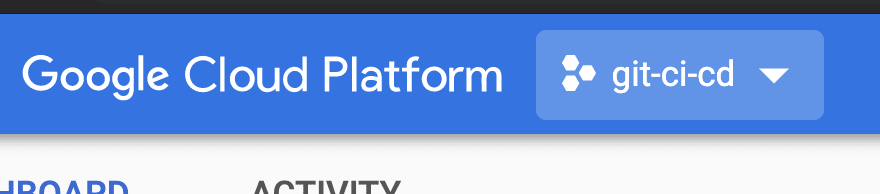
If you have multiple projects you will have to select the newly created project.
In order to use several of the features we will require, you will need to also enable billing
https://console.cloud.google.com/billing/linkedaccount.
Remember that unless you use over 120 minutes to run your builds this will remain free. I won't walk through all of this, but you can find more details here.
Create Cloud Build Trigger
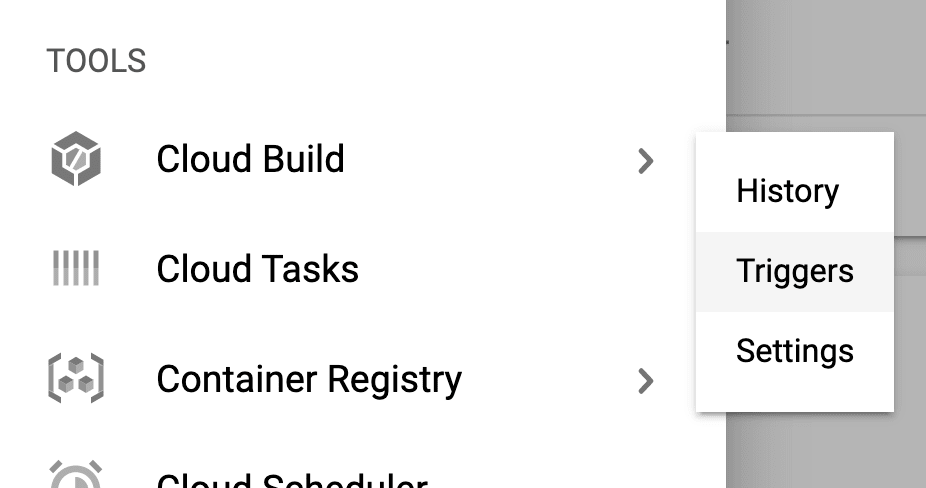
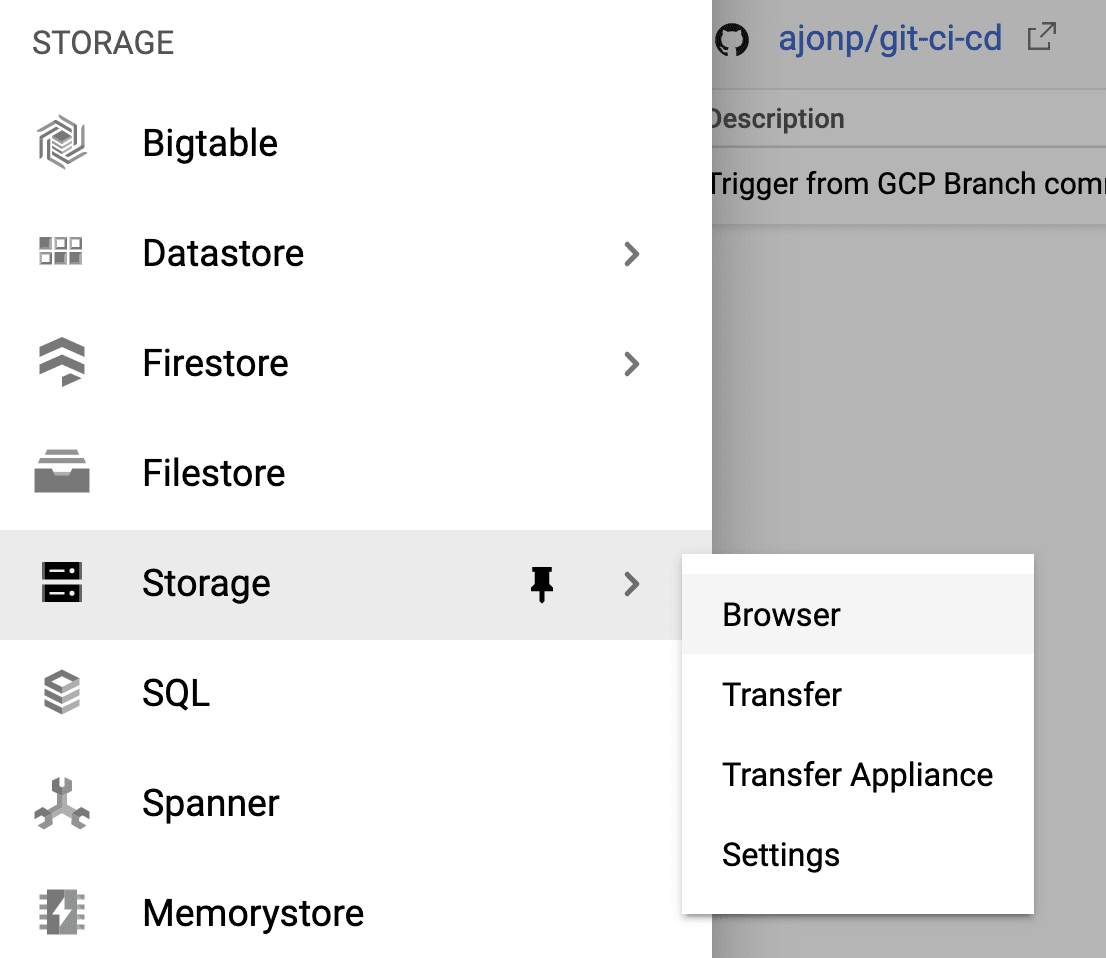
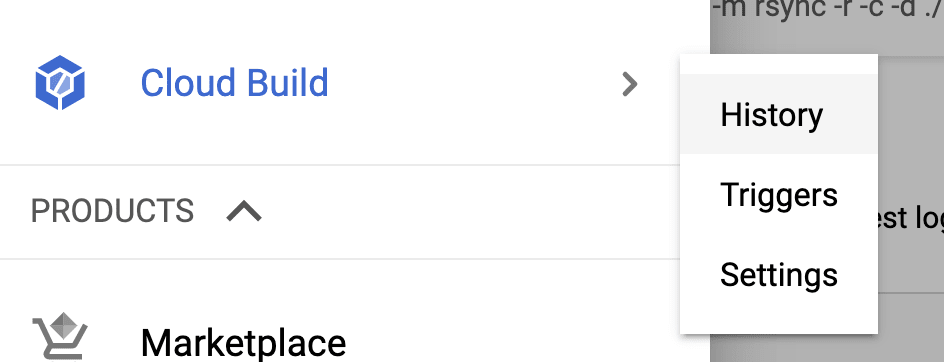
You may need to scroll down in the menu drawer to findthe Tools heading. This is where Cloud Build will be located. Hover over Cloud Build and click on Triggers https://console.cloud.google.com/cloud-build/triggers
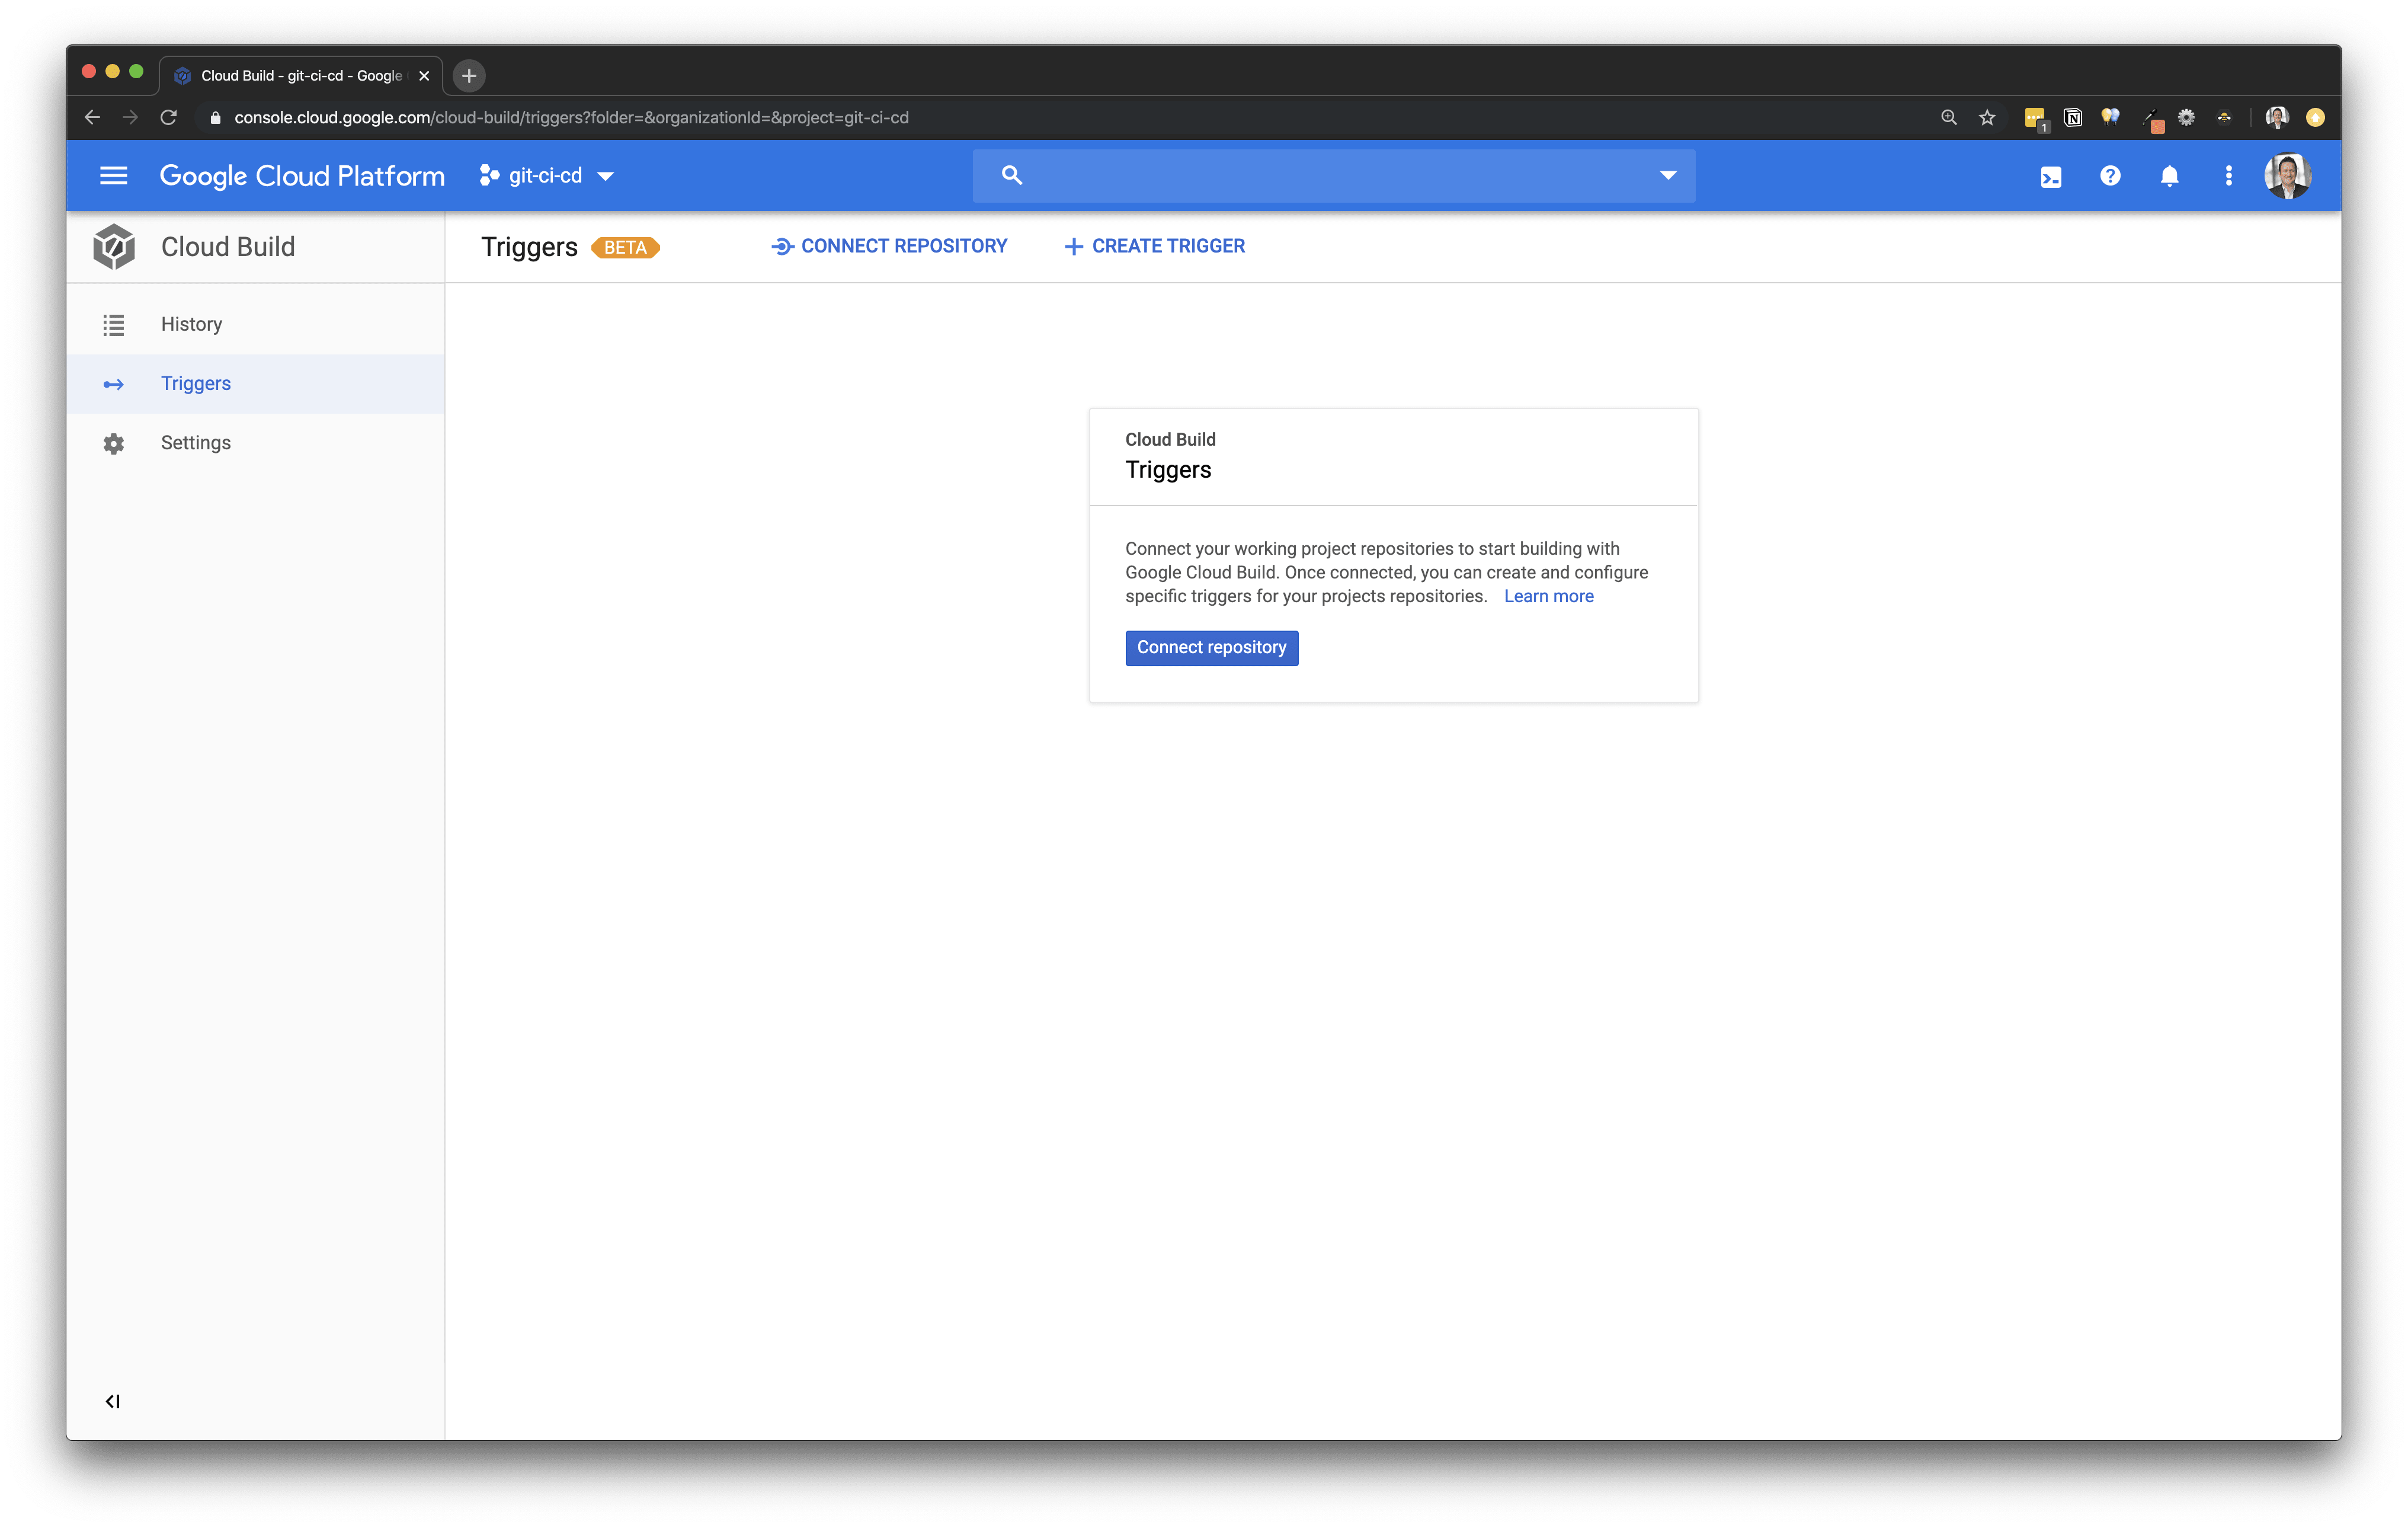
You will need to Enable the Cloud Build API in order to use triggers.

Once the enabling is complete you can then connect our prior created GitHub repository.
Select your source
- GitHub
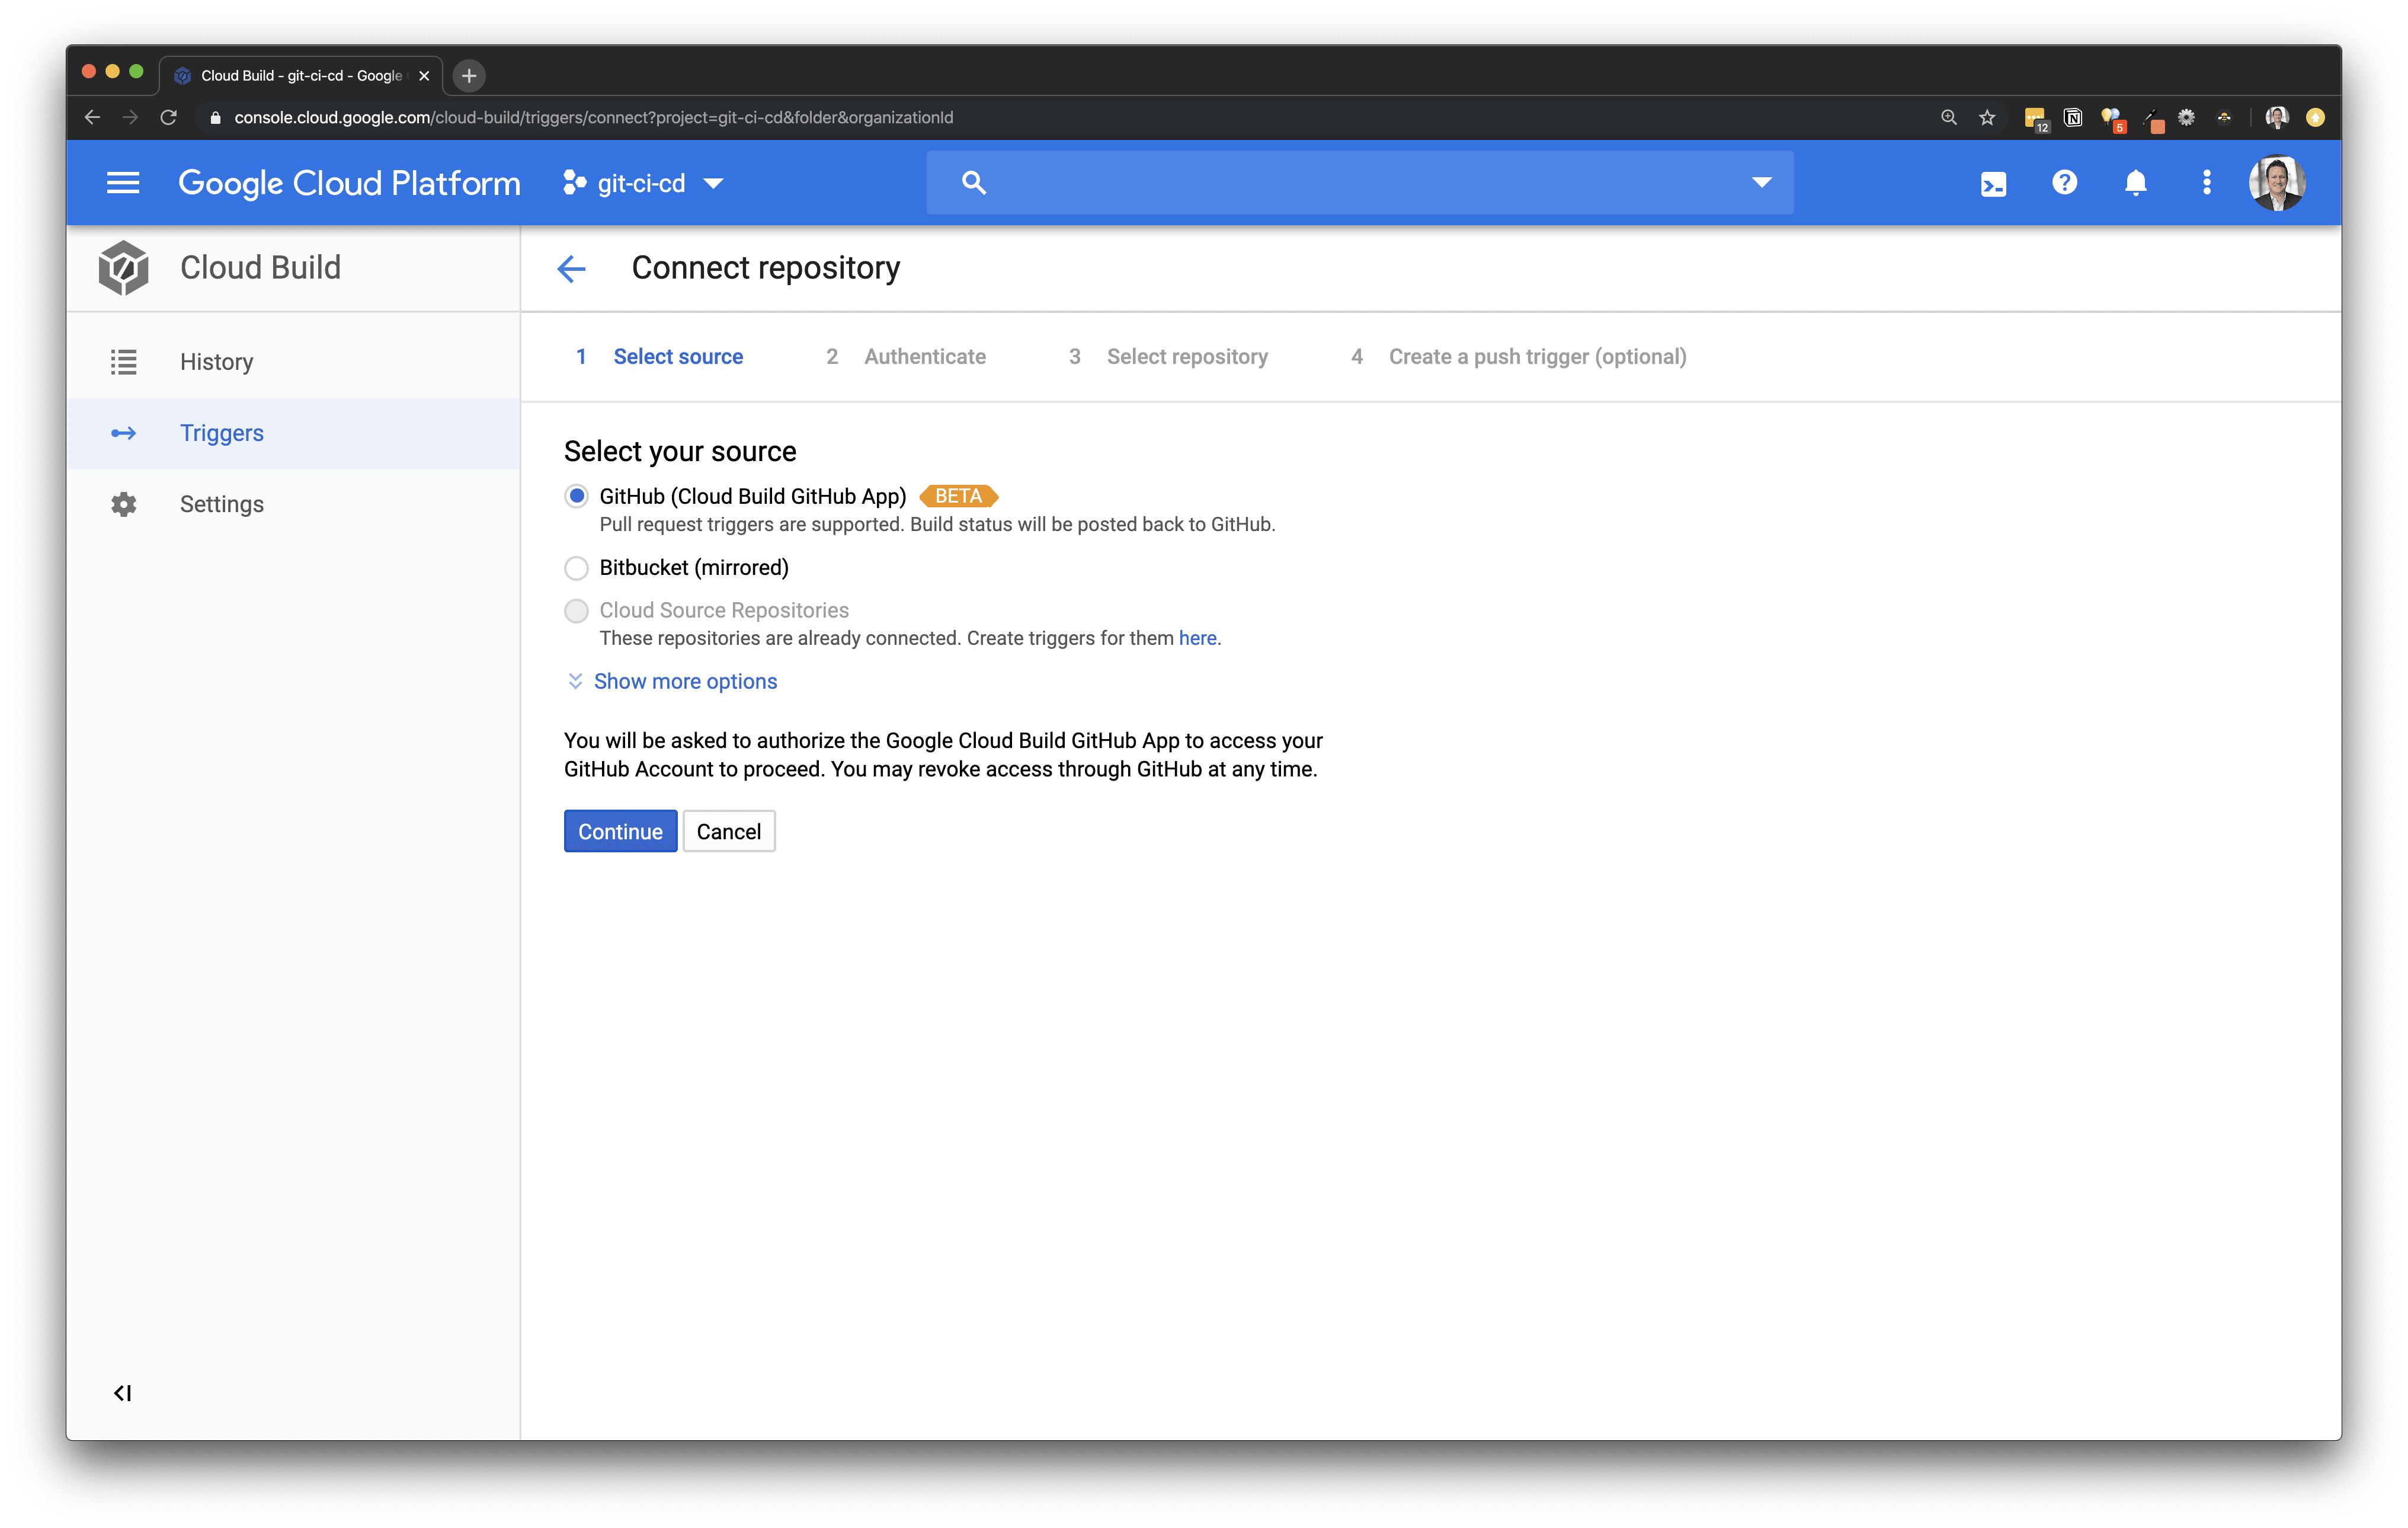
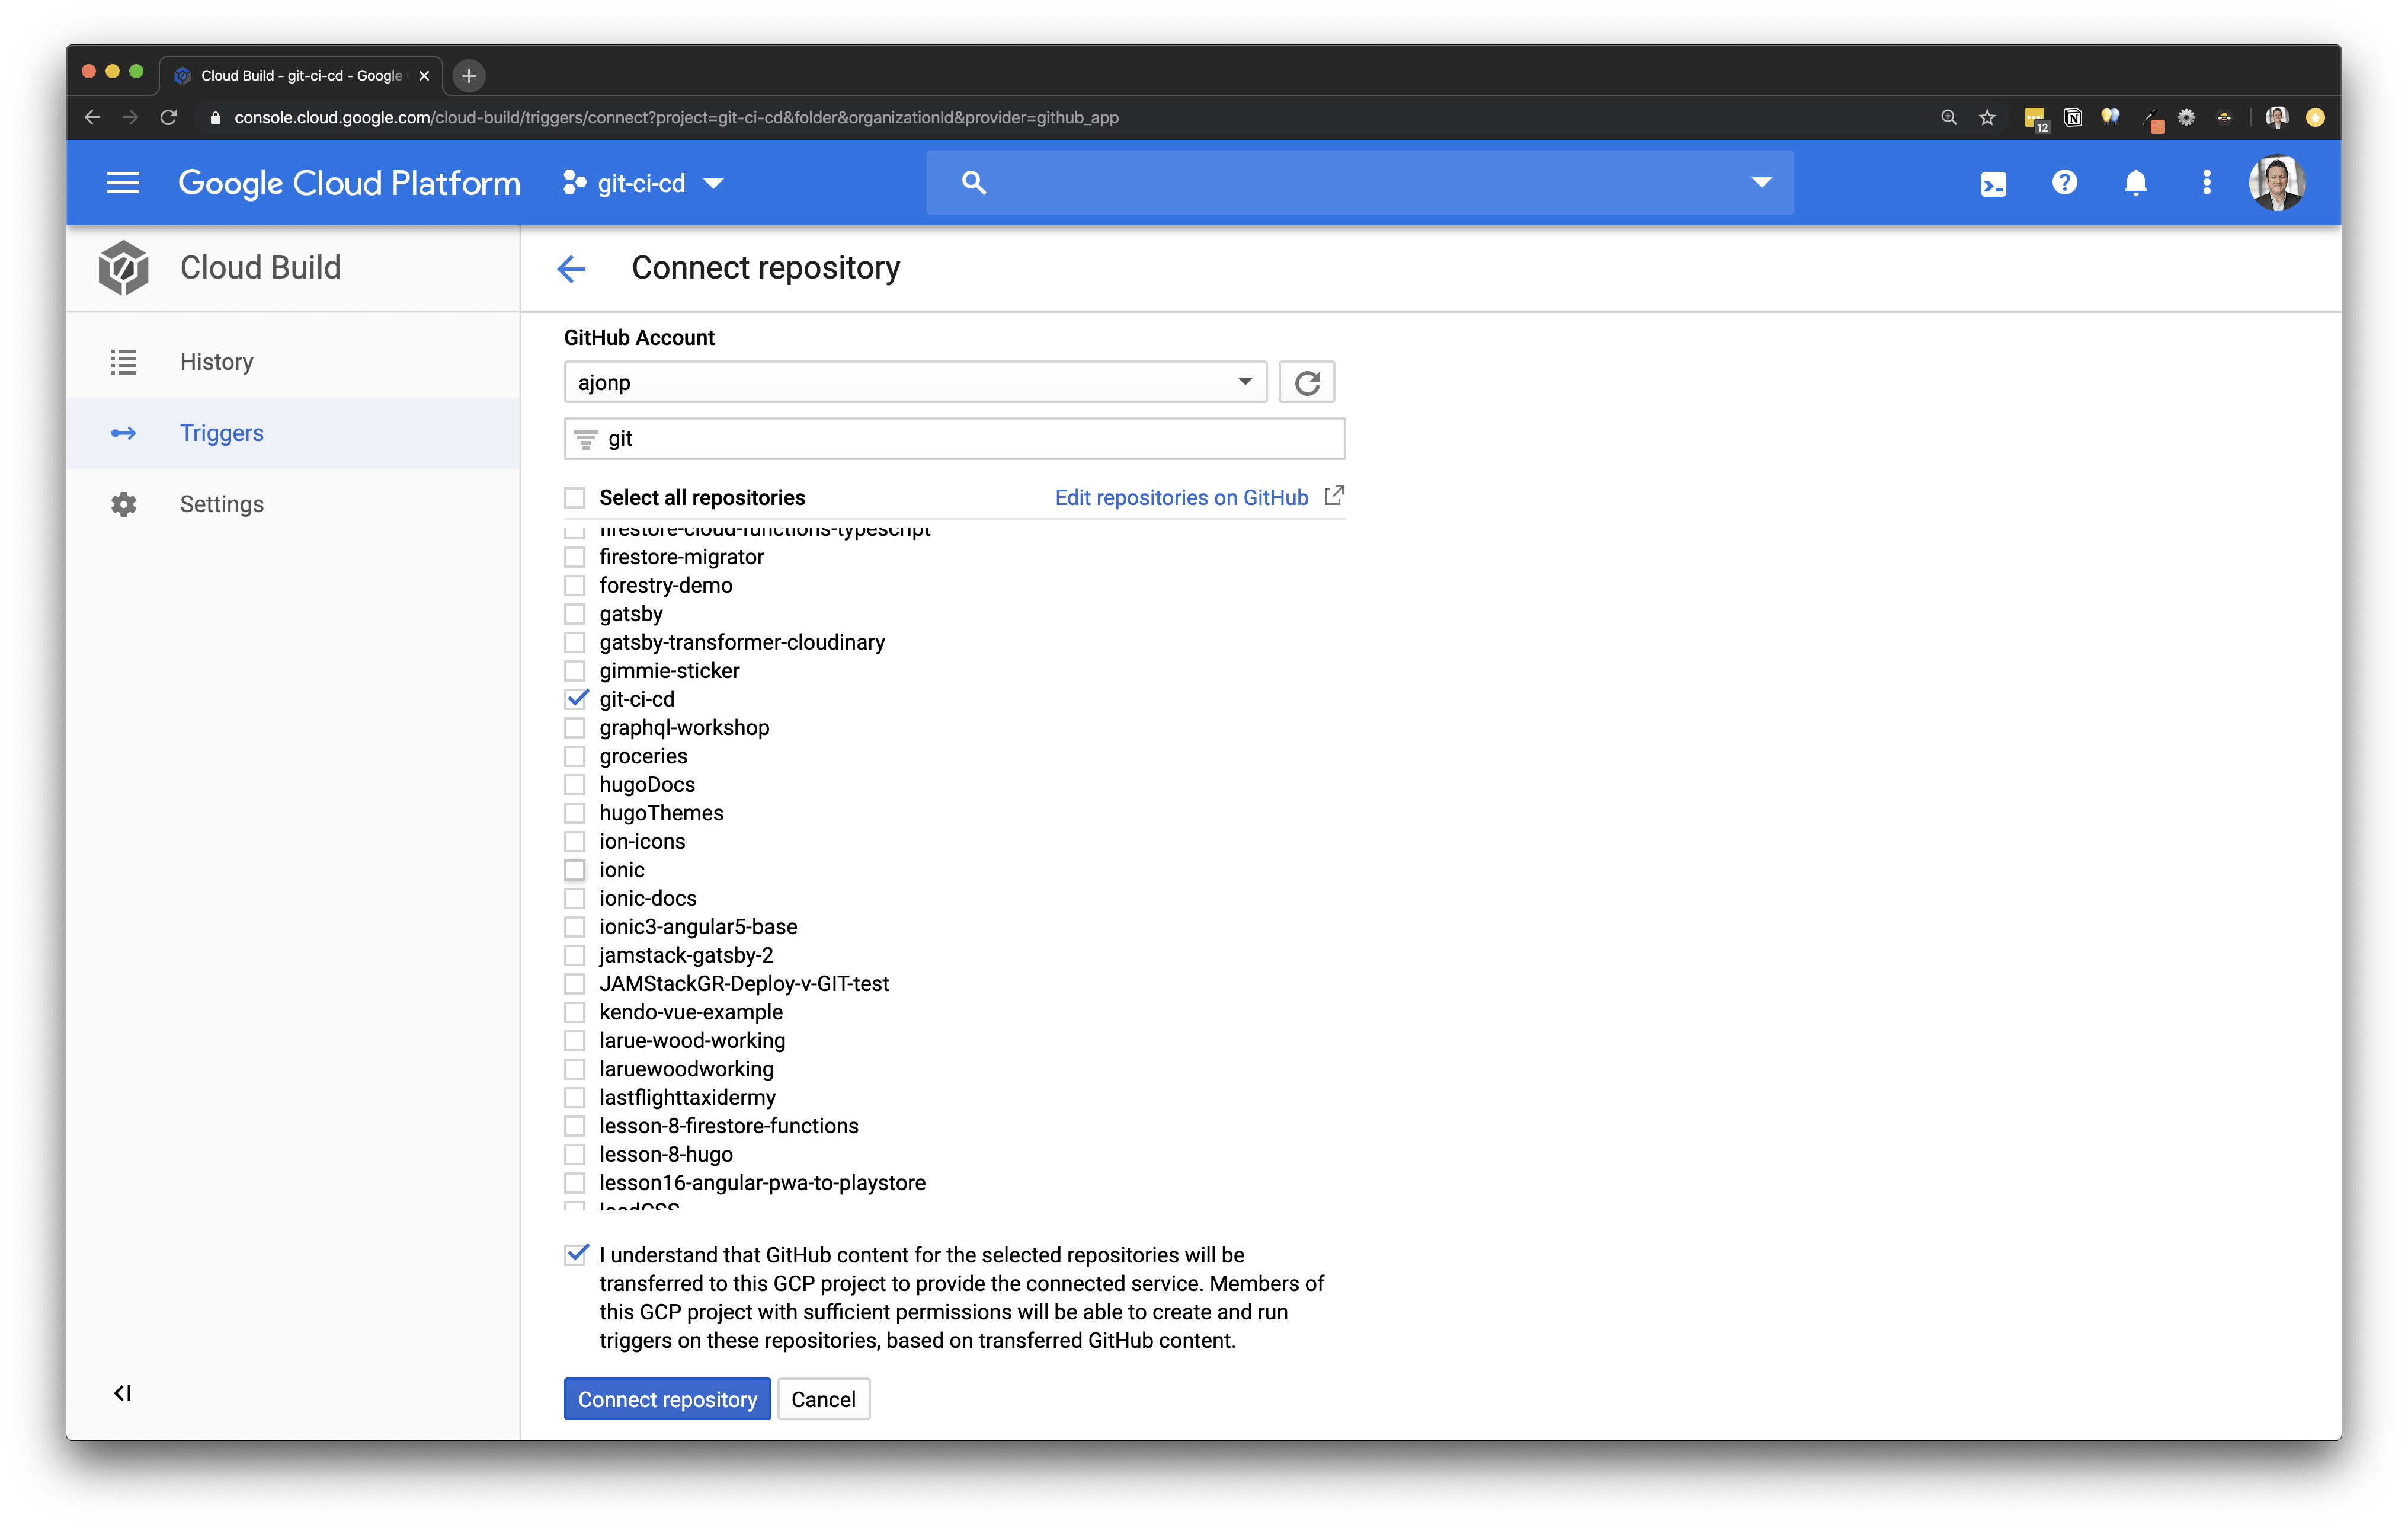
You will then need to authenticate and provide GCP with access to your repository, once this is complete you will see a list of all your repositories and you will need to find the one associated with this example like below.
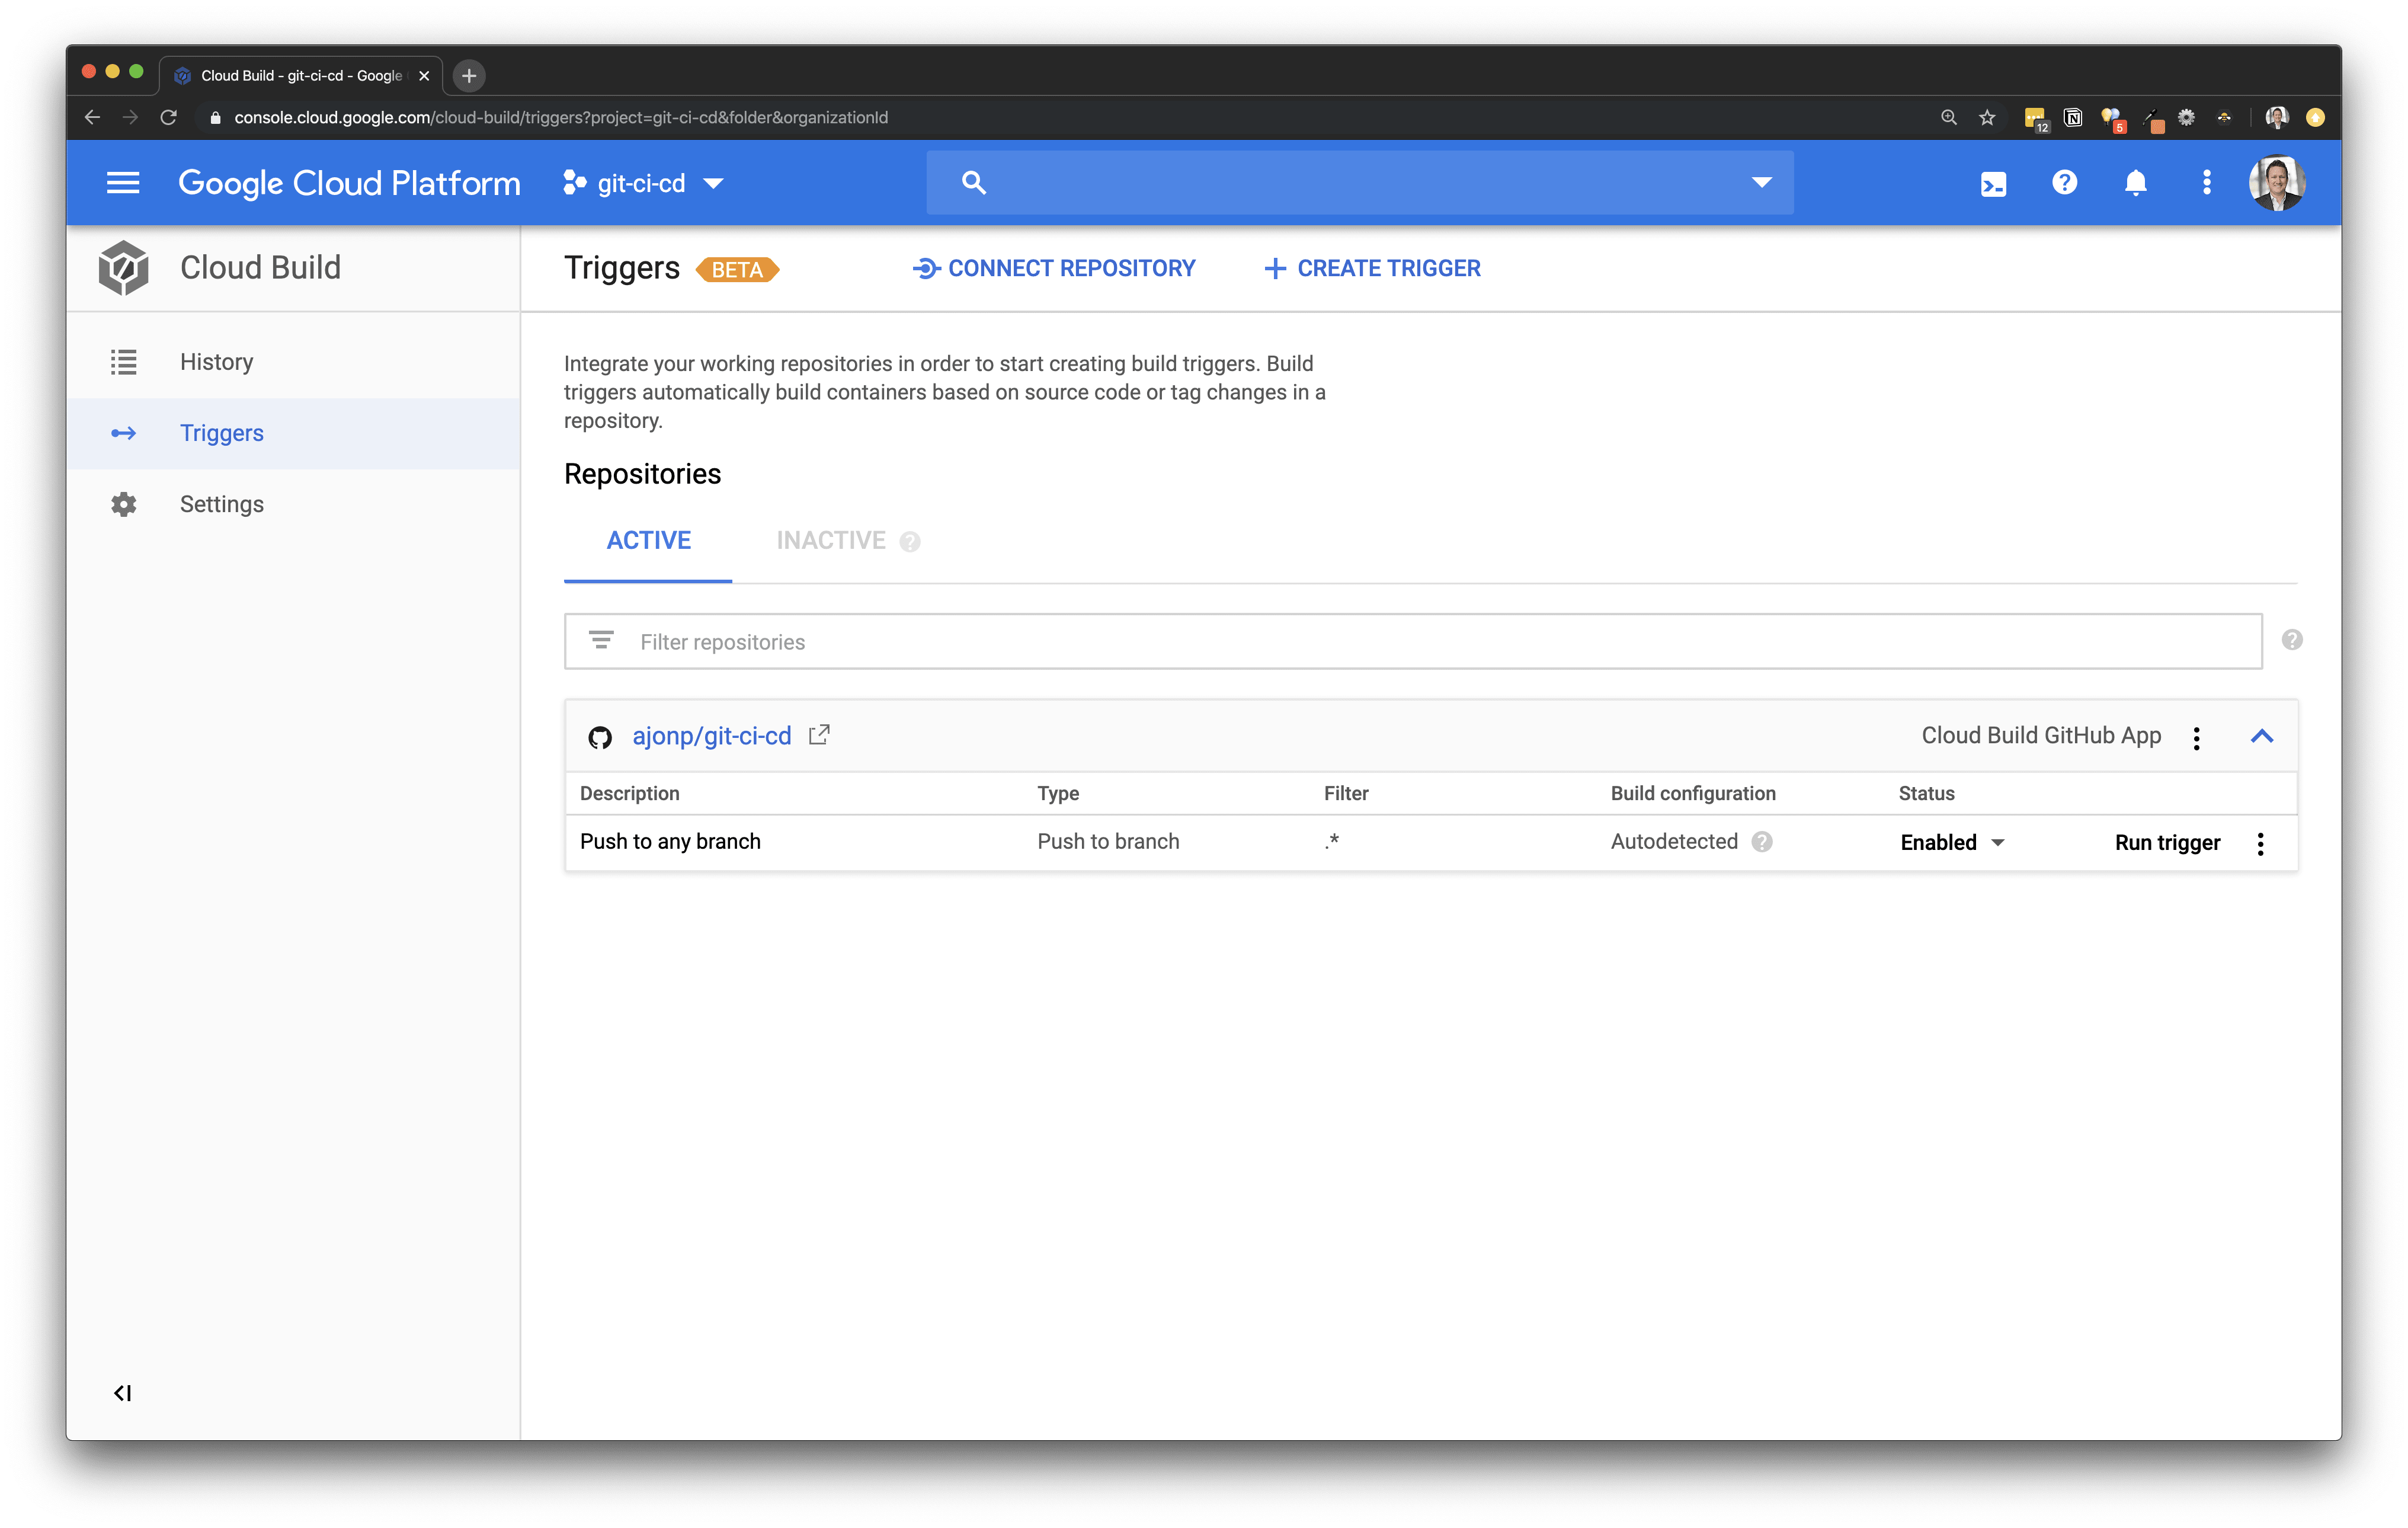
You will then receive a prompt to create a push trigger for this repository, click Create push trigger.!
By default this will setup a trigger for every commit, for every branch. Trying to stick with the release methodology from the above Gitflow workflow, you will only build this when the gcp branch has been committed.
Open this trigger and update it just like below, by selecting the branch gcp for builds. You will also leverage a new file named cloudbuild.yaml, more on this in a later step.
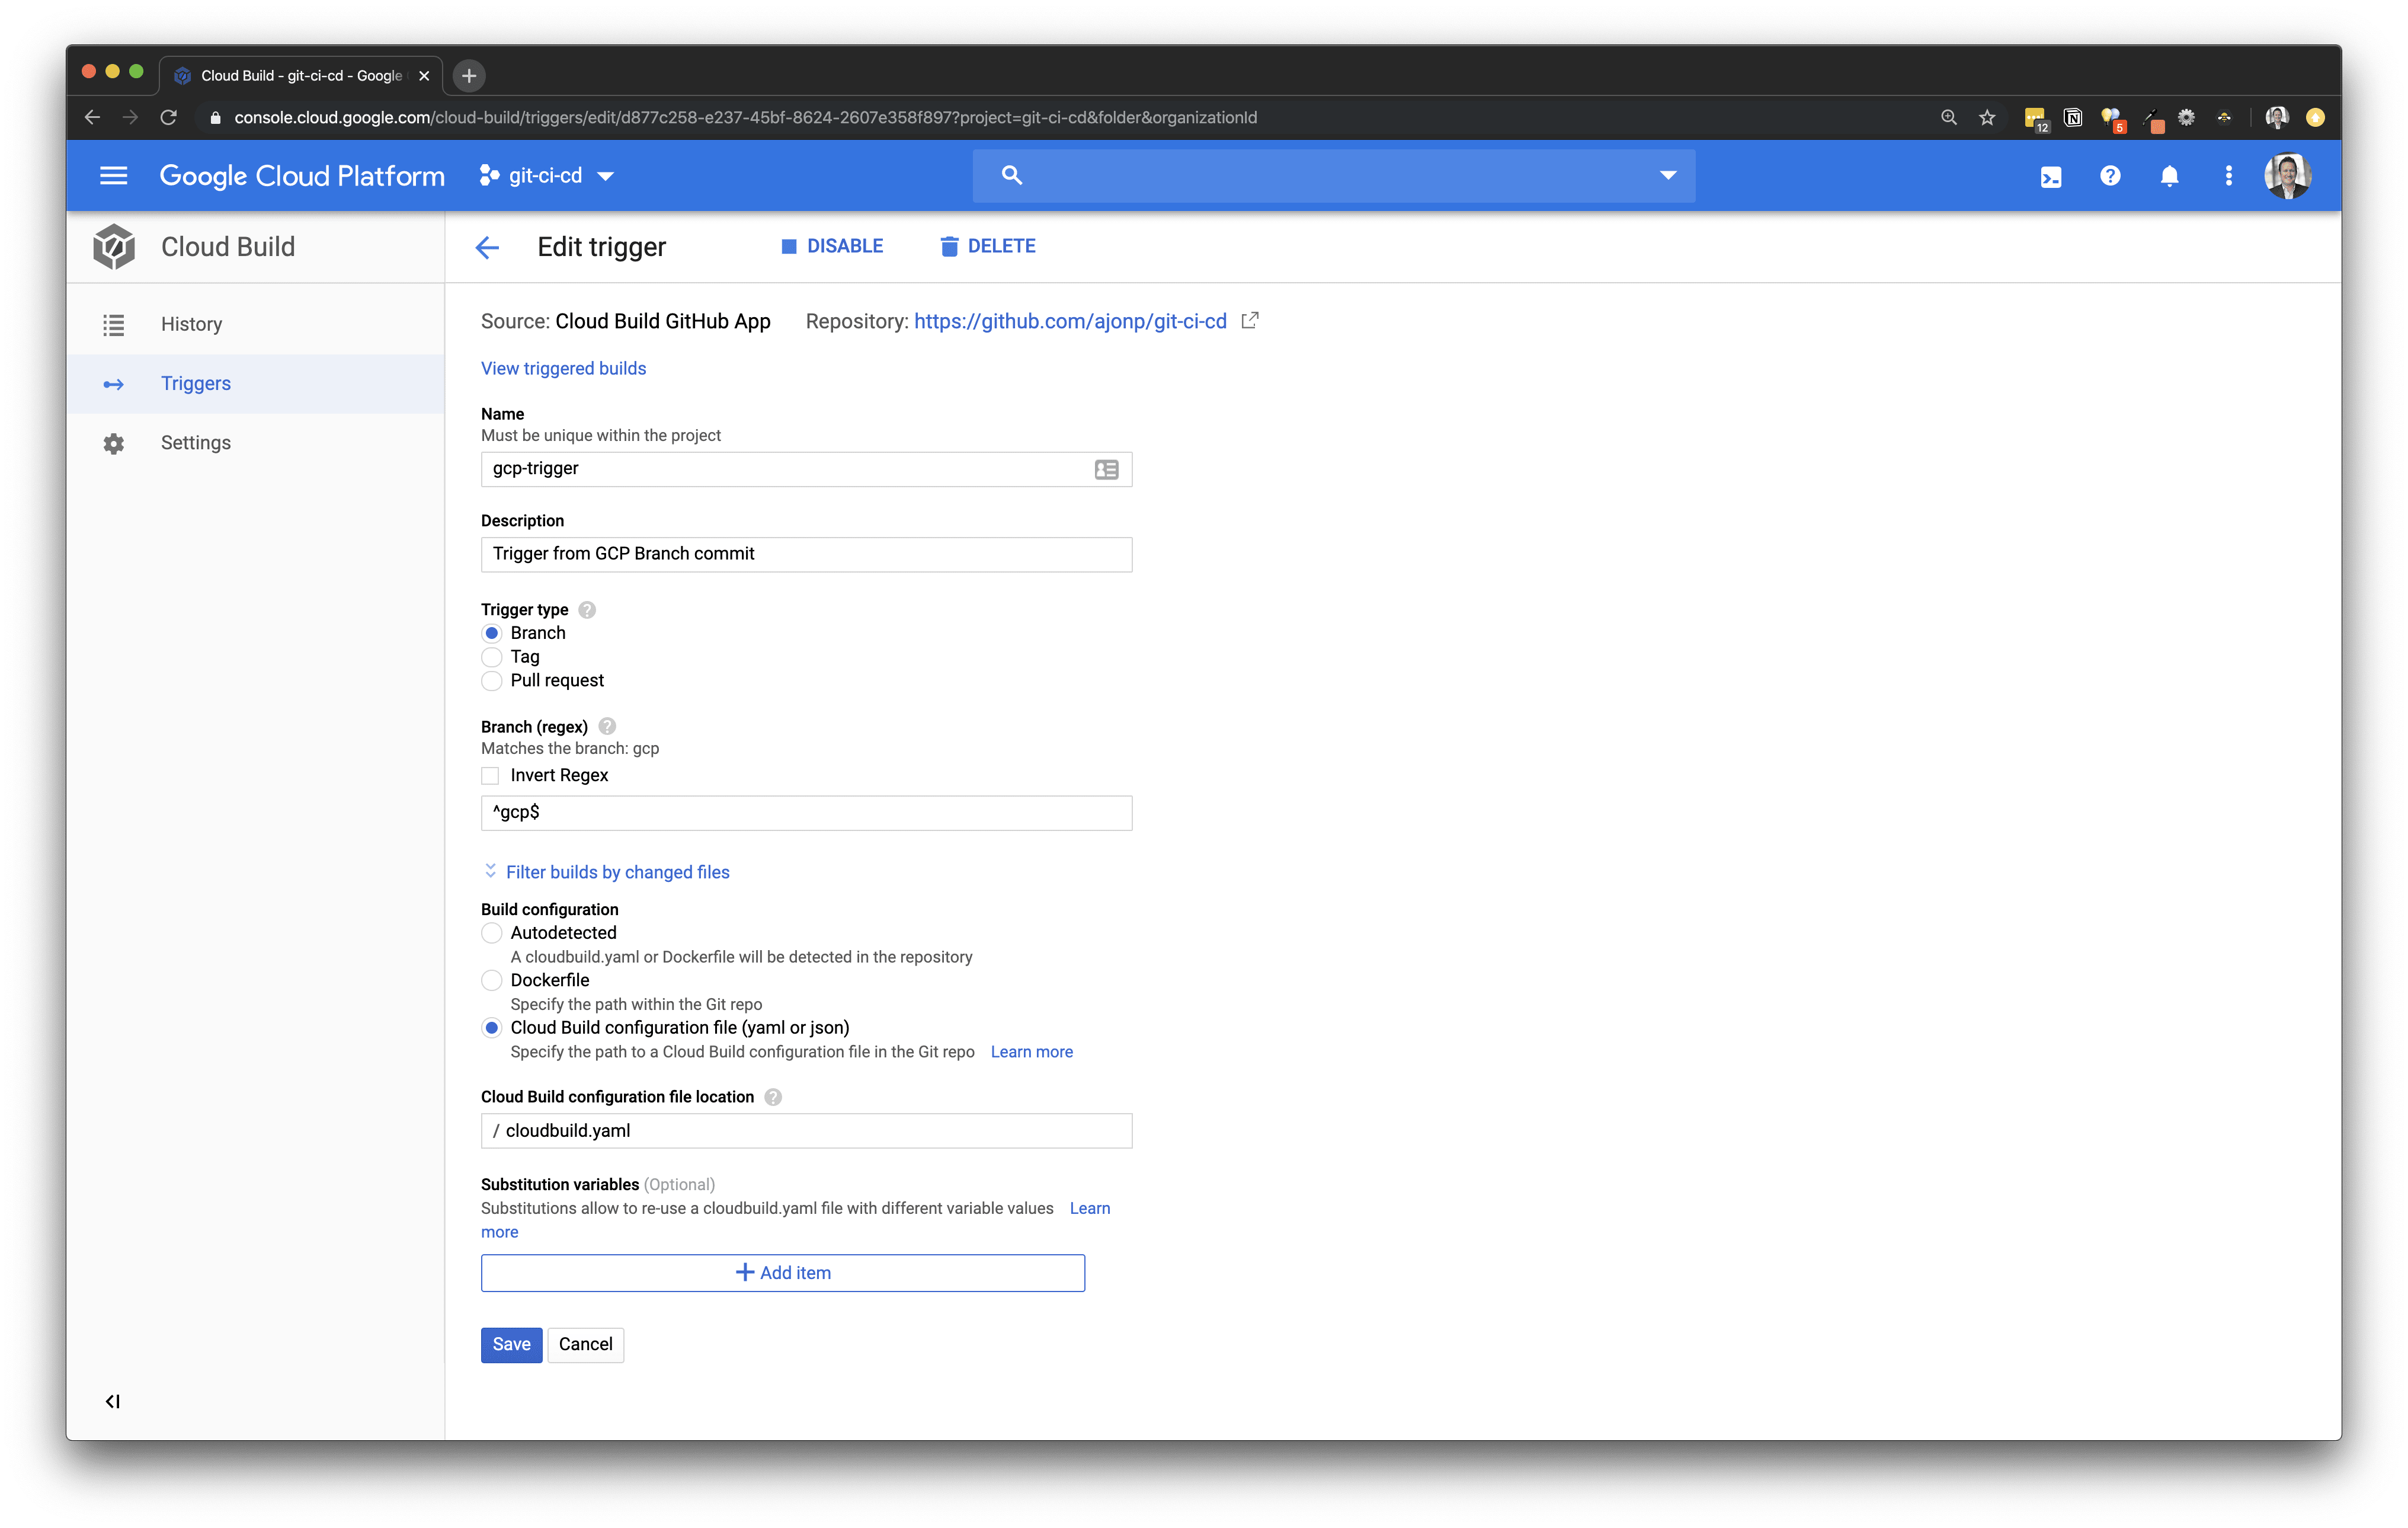
Pro tip: if you are missing branches as you type, you might not have pushed them all to GitHub, you can do this by running the command `git push --all origin`
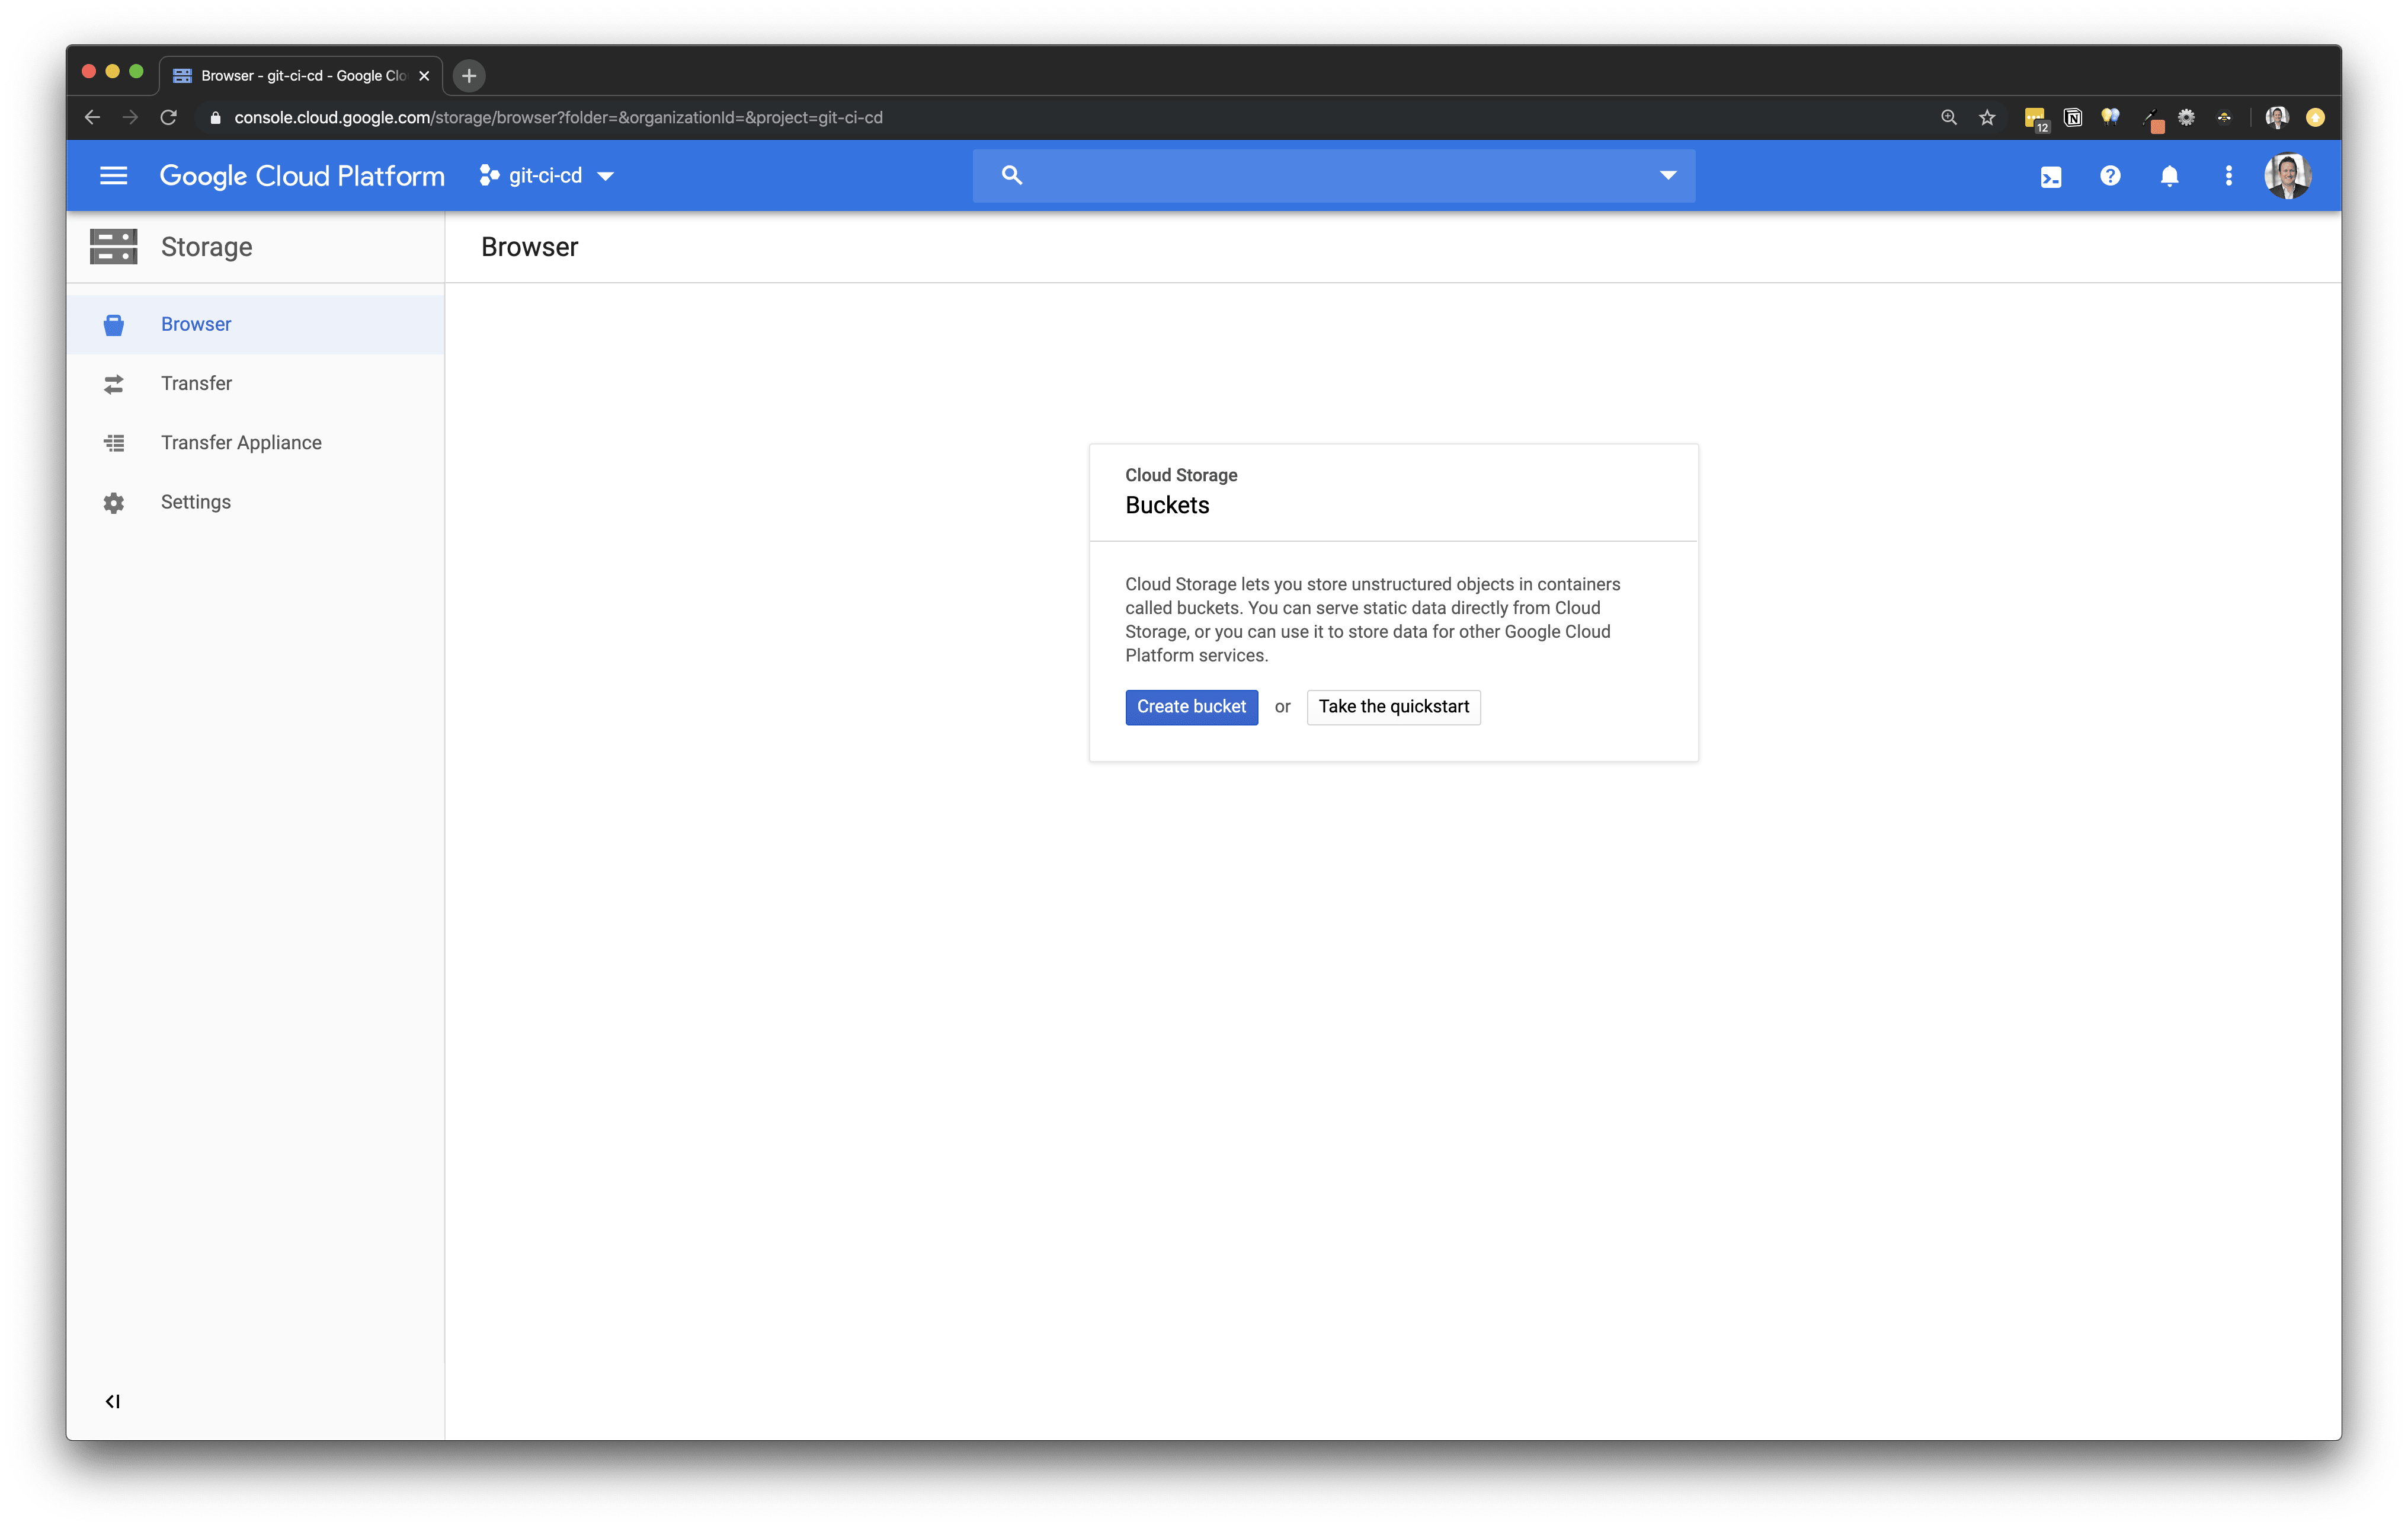
Set up Storage Bucket
We need a place for our Angular project to be hosted, and on GCP I would typically recommend Firebase like in our Google Cloud Repository Lesson for CI/CD.
As I said before you will use a storage bucket, similar to other cloud hosting providers.
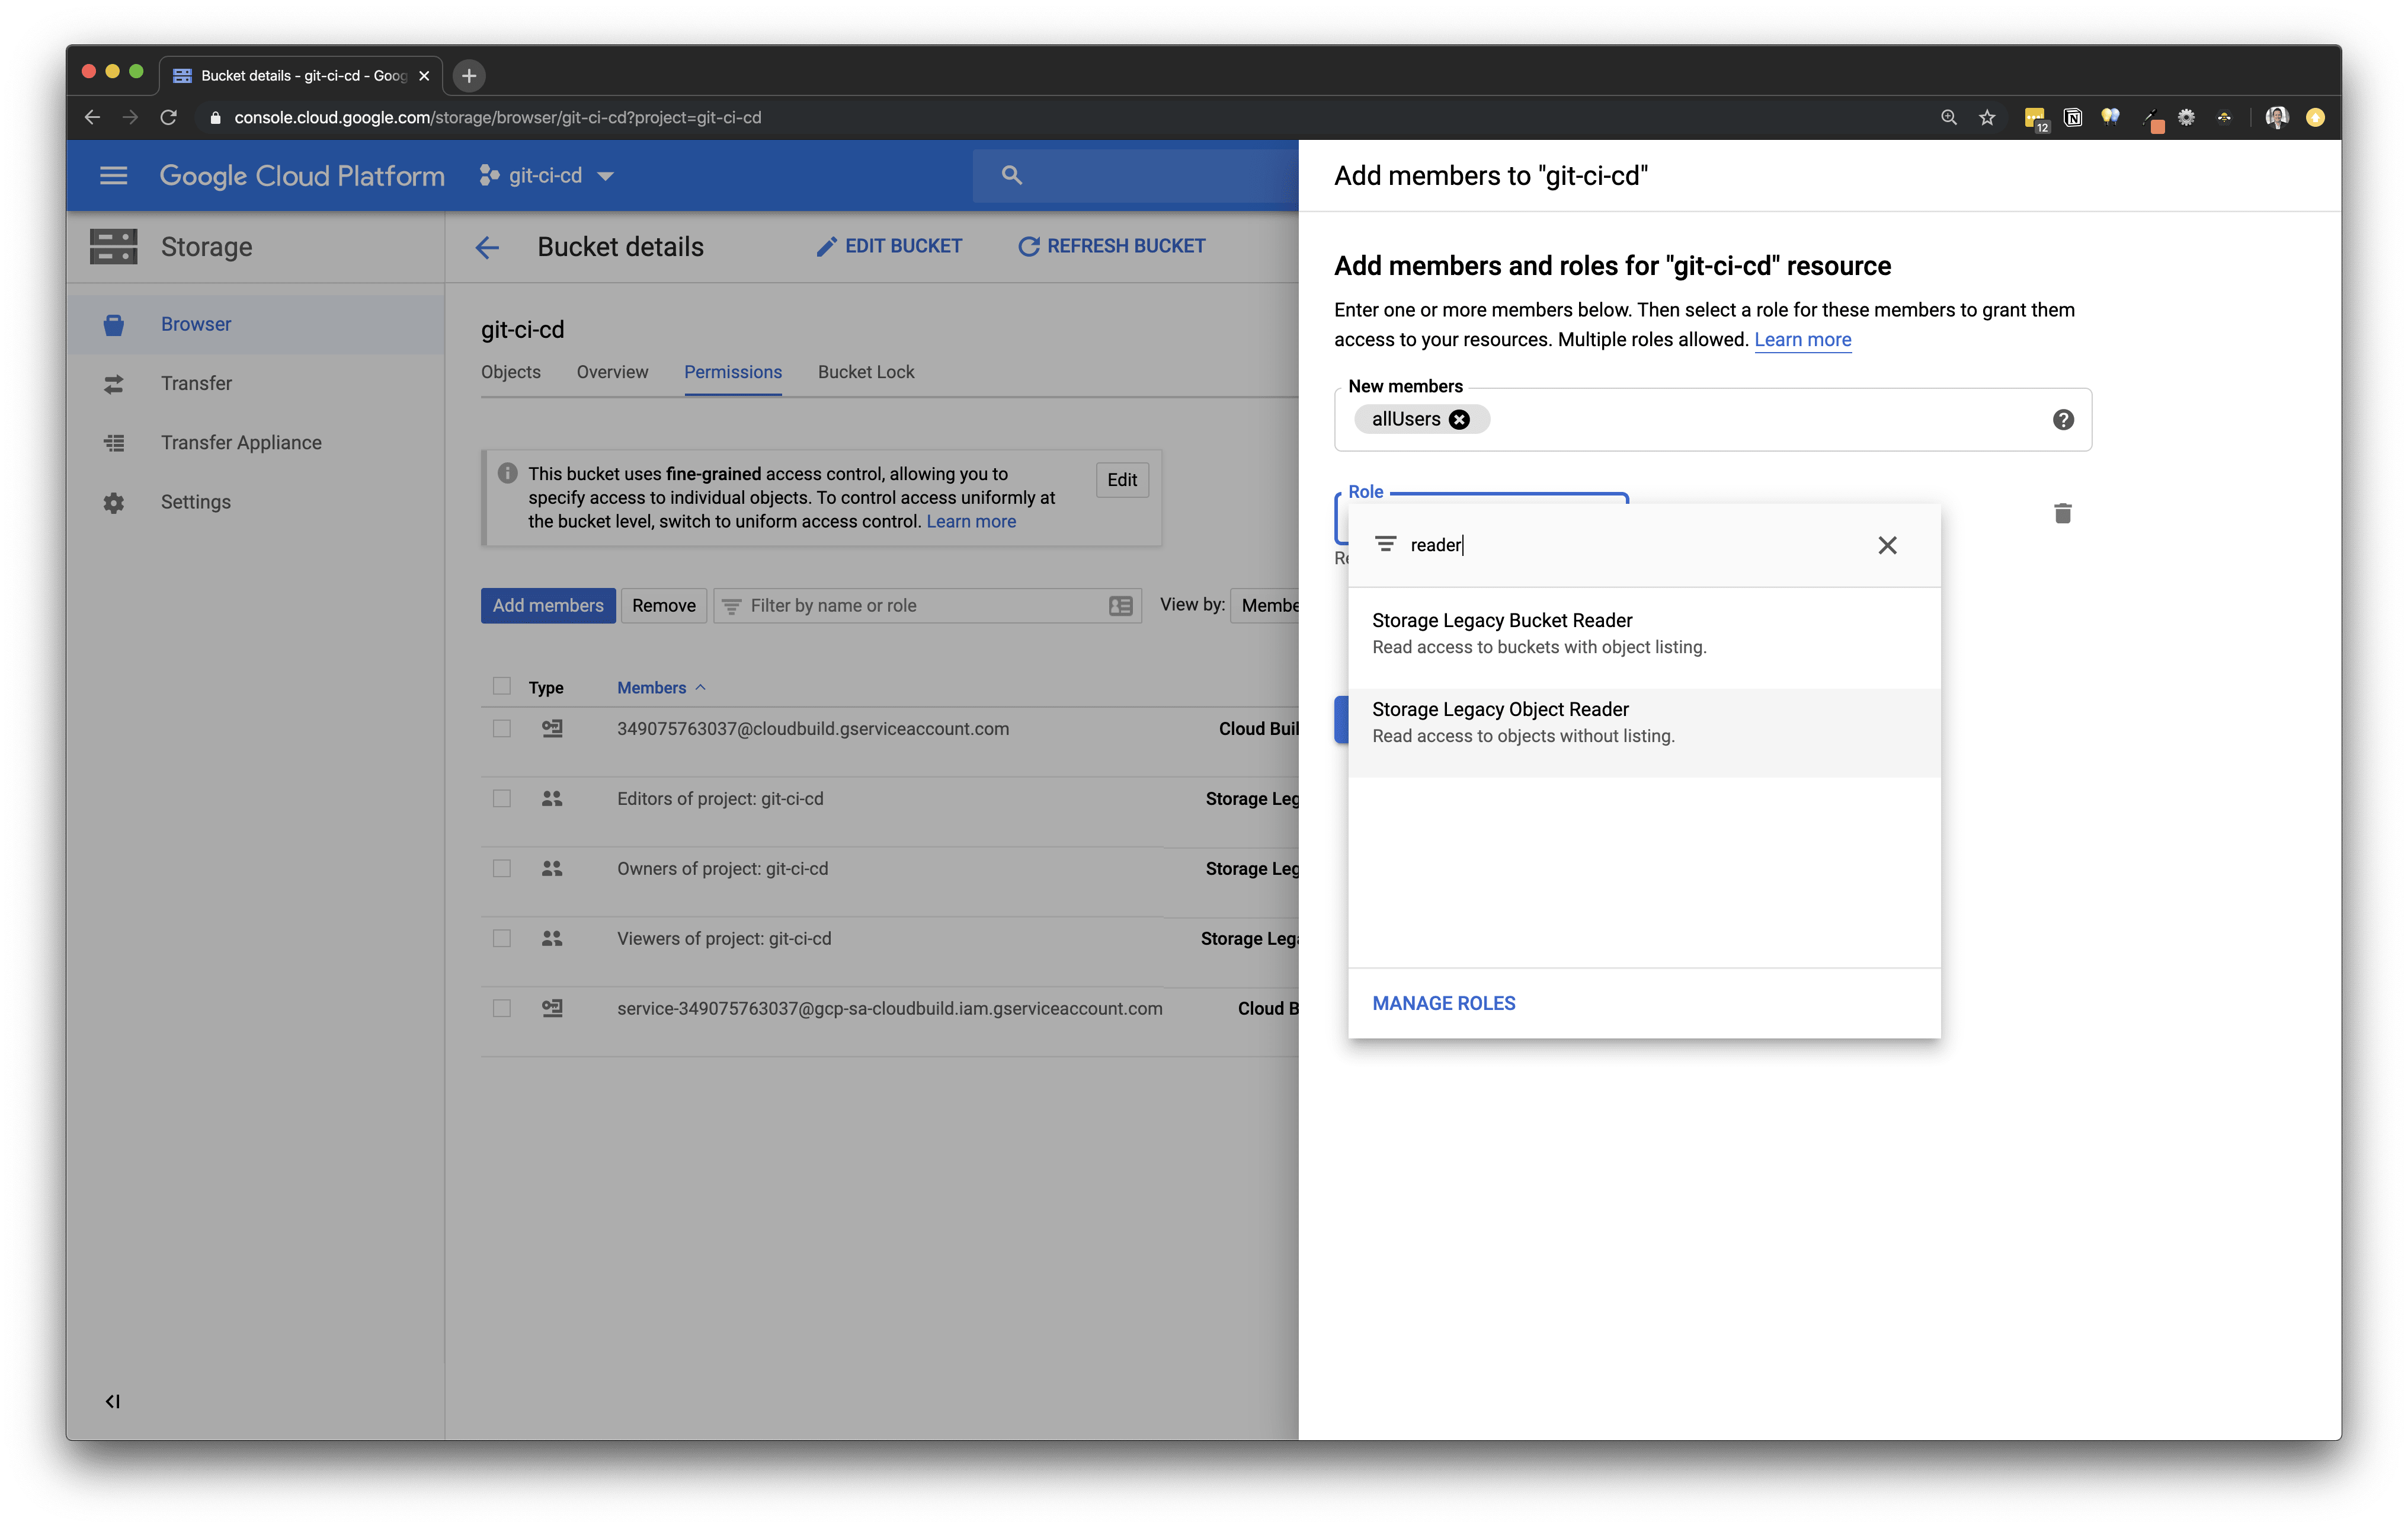
You will then need to give your bucket a unique name, choose Multi-region, Standard storage class, and Fine-grained Access control and then create your bucket. This bucket is currently only accessible by select roles (members), you will need to give read all access by selecting Add members. Add new members called allUsers and the role Storage Legacy Object Reader.
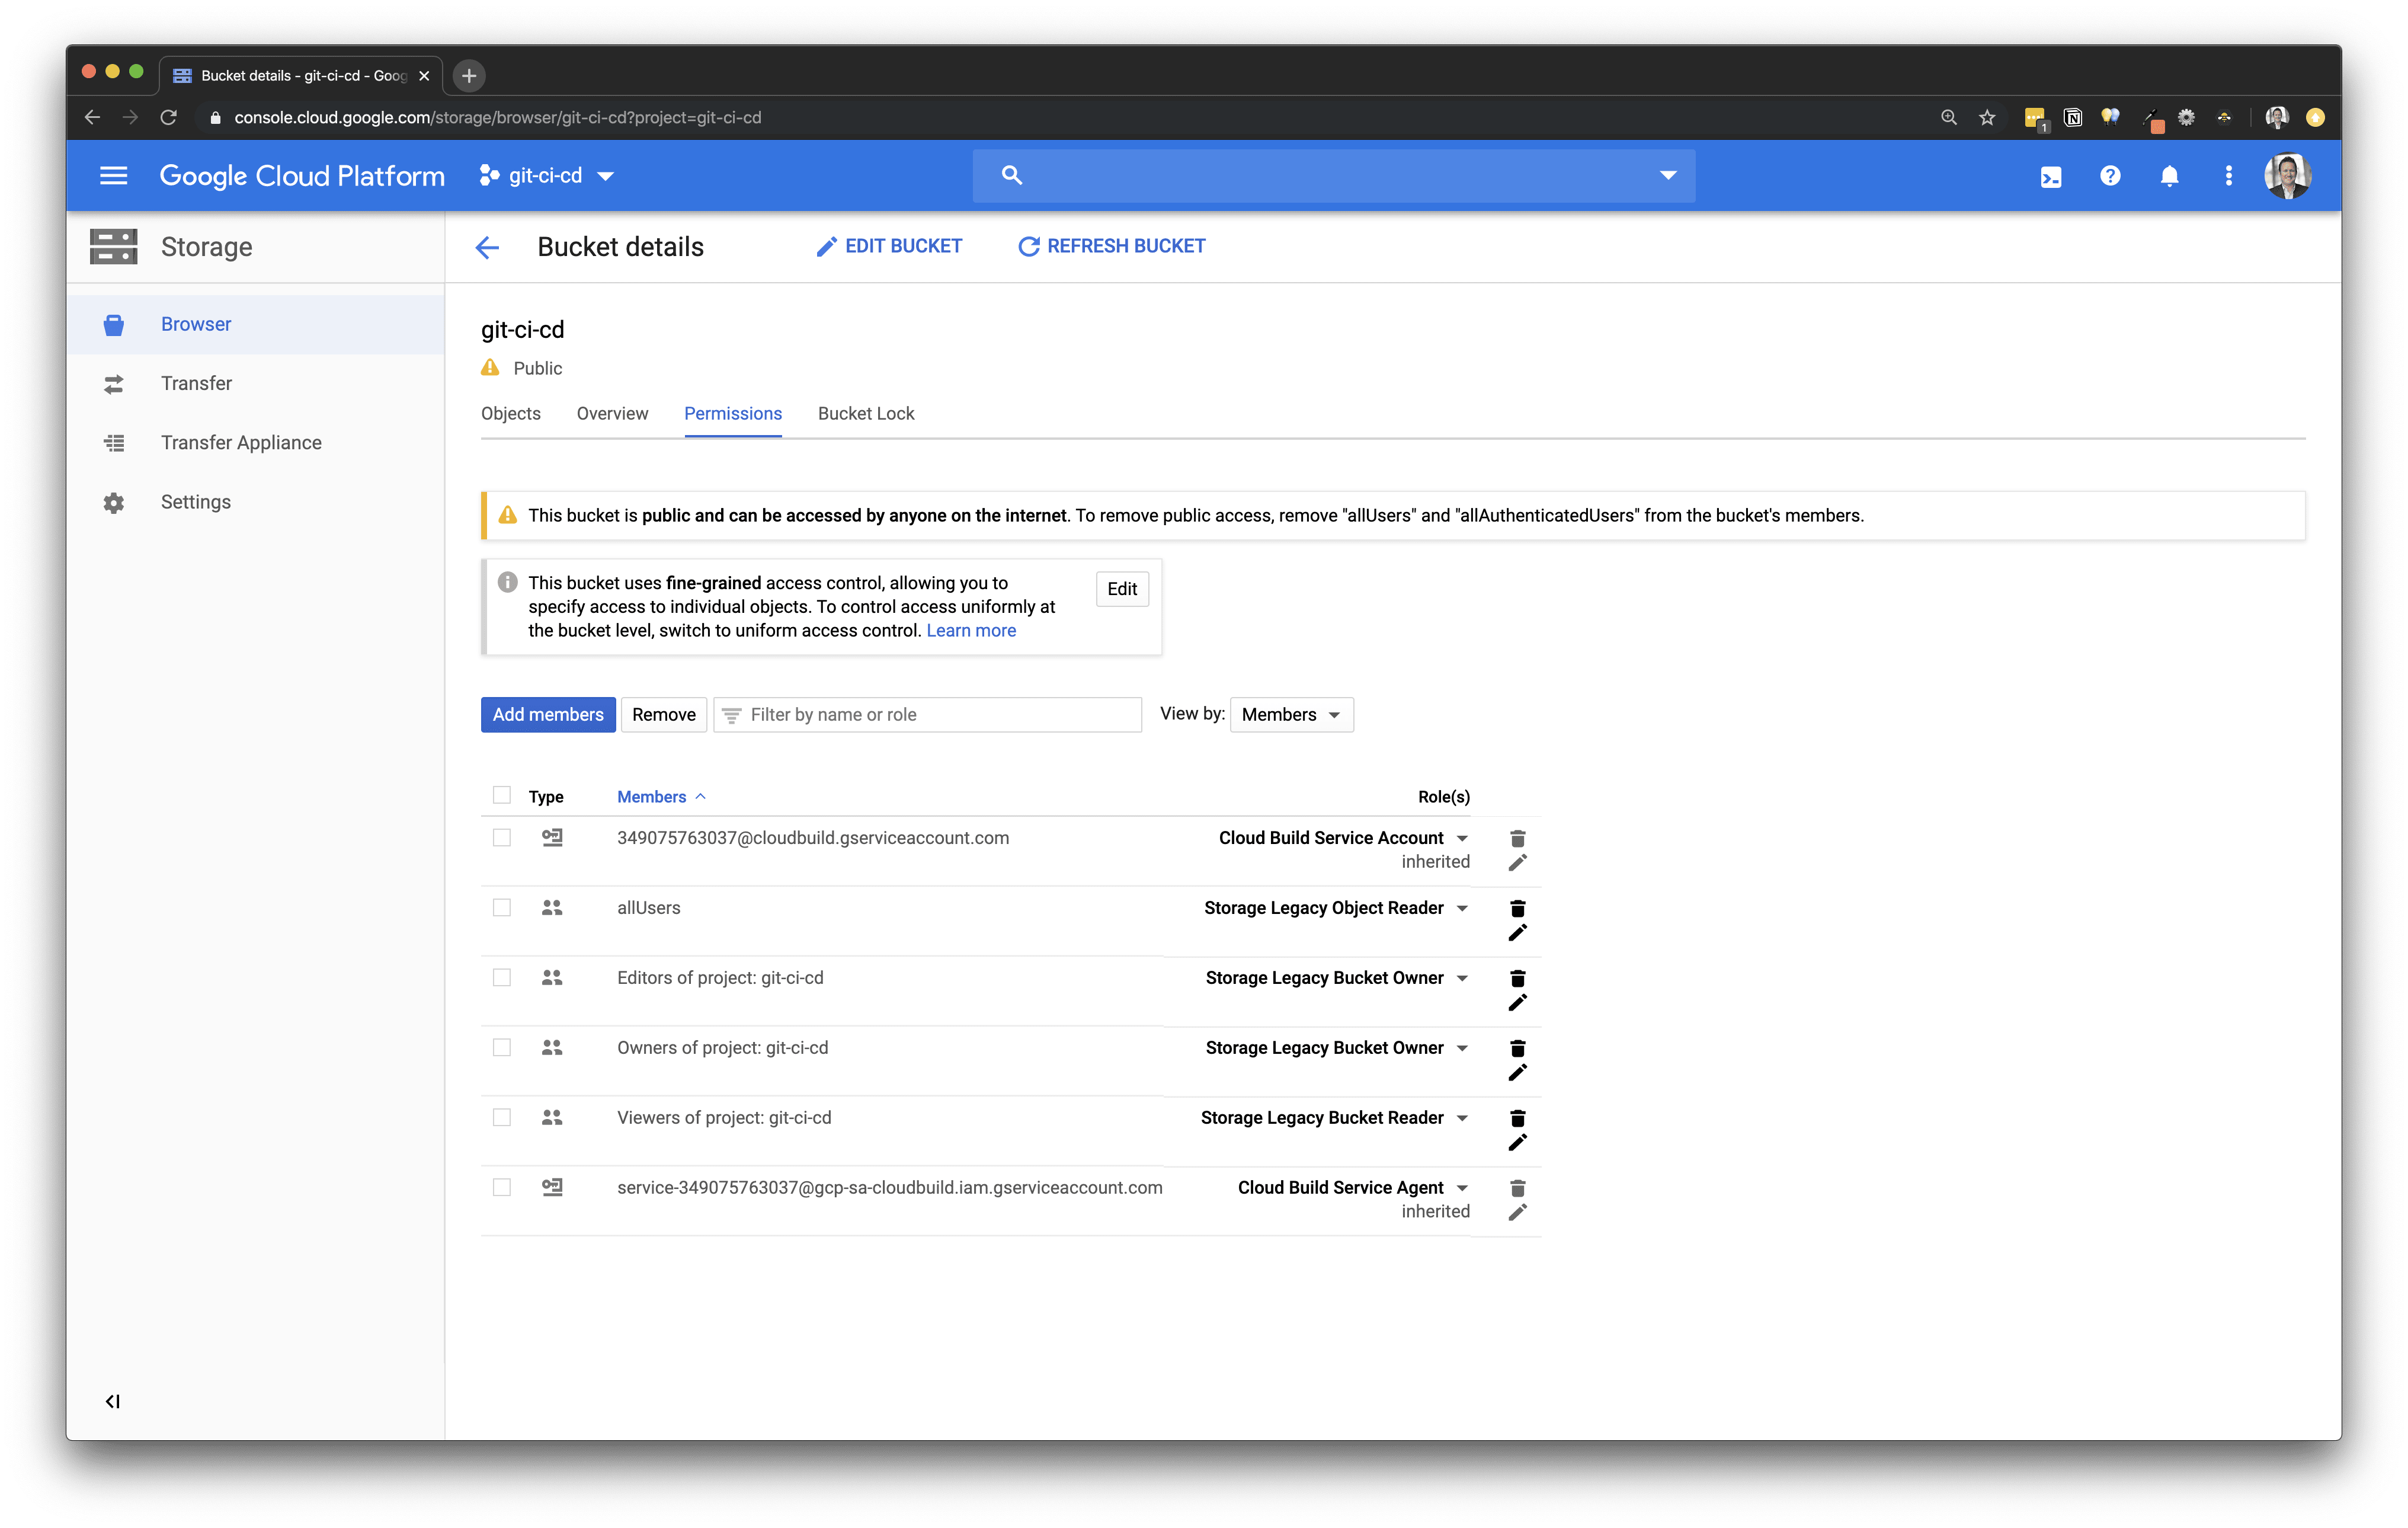
You should see a warning This bucket is public and can be accessed by anyone on the internet. To remove public access, remove allUsers and allAuthenticatedUsers from the bucket's members. This is exactly what you want so that the bucket is available to the internet.
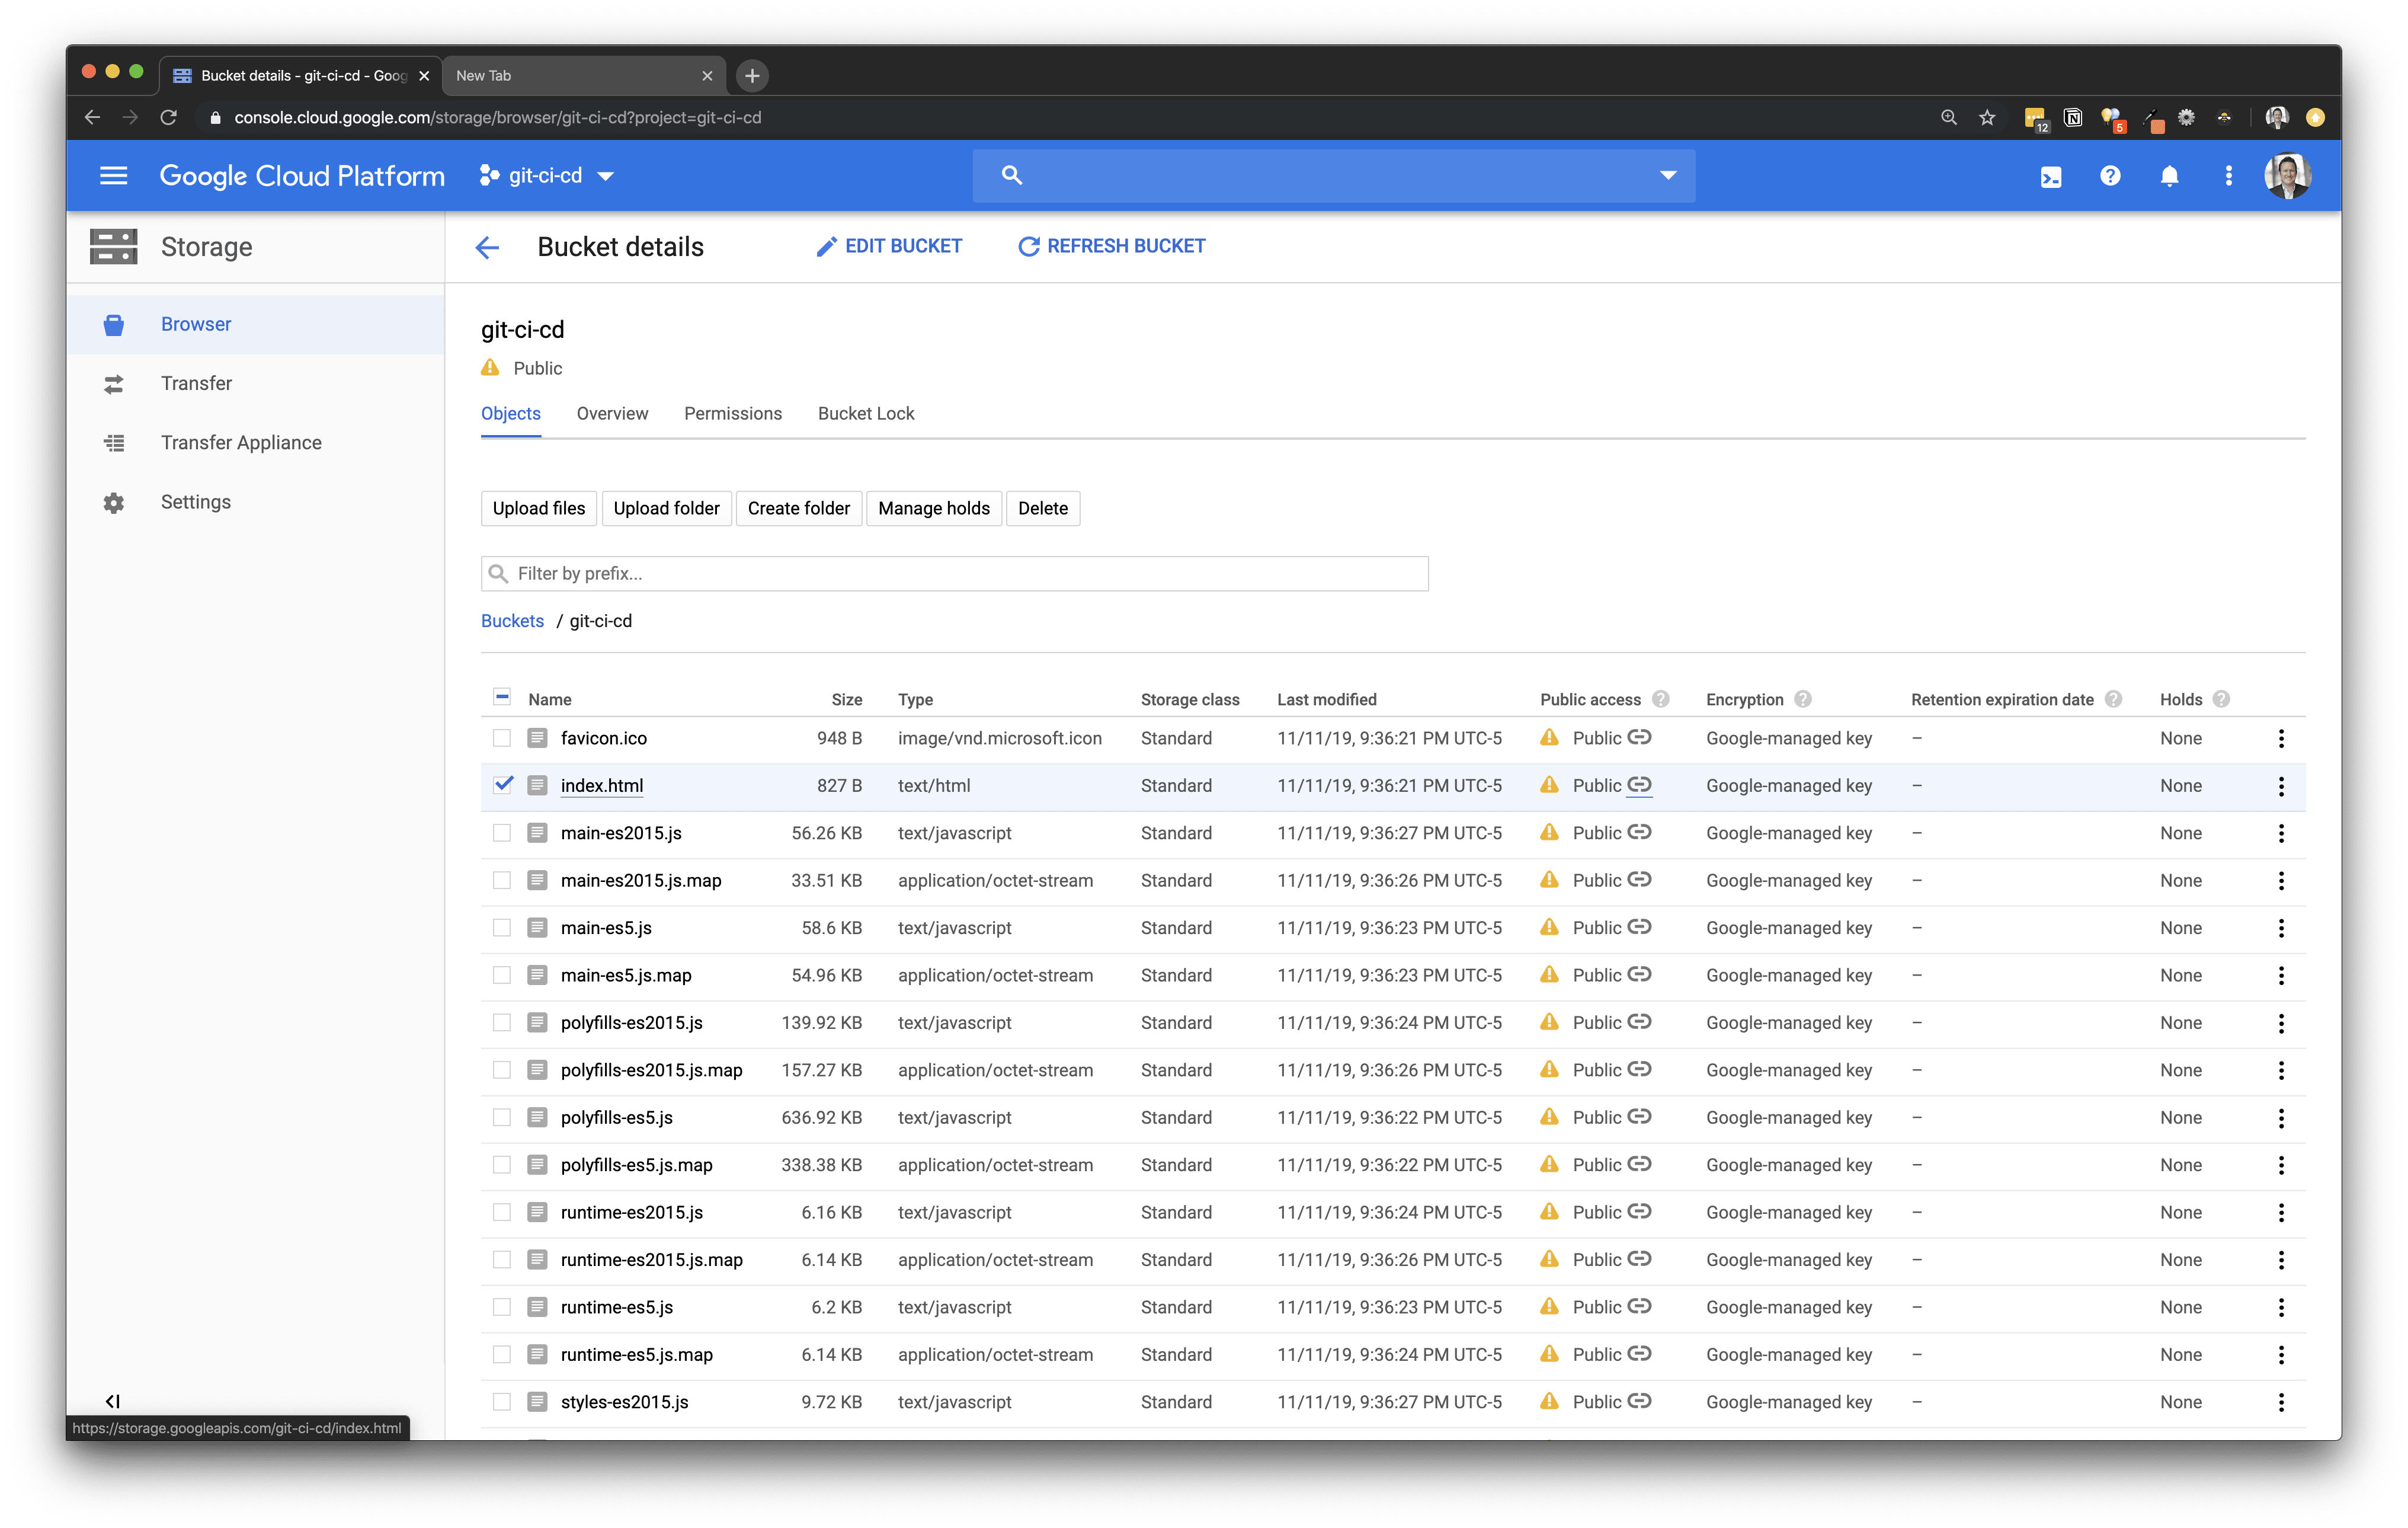
Storage Bucket Inital
I always like to build angular locally once and upload the current dist/ folder to the bucket to see if it works. Make sure that in your src/index.html you update your base href to match your new bucket. If you upload your files an easy way to find this url is by selecting the chain link icon in the index.html row.
Here is an example of the failure without updating your baseref, notice all the 404 missing files.
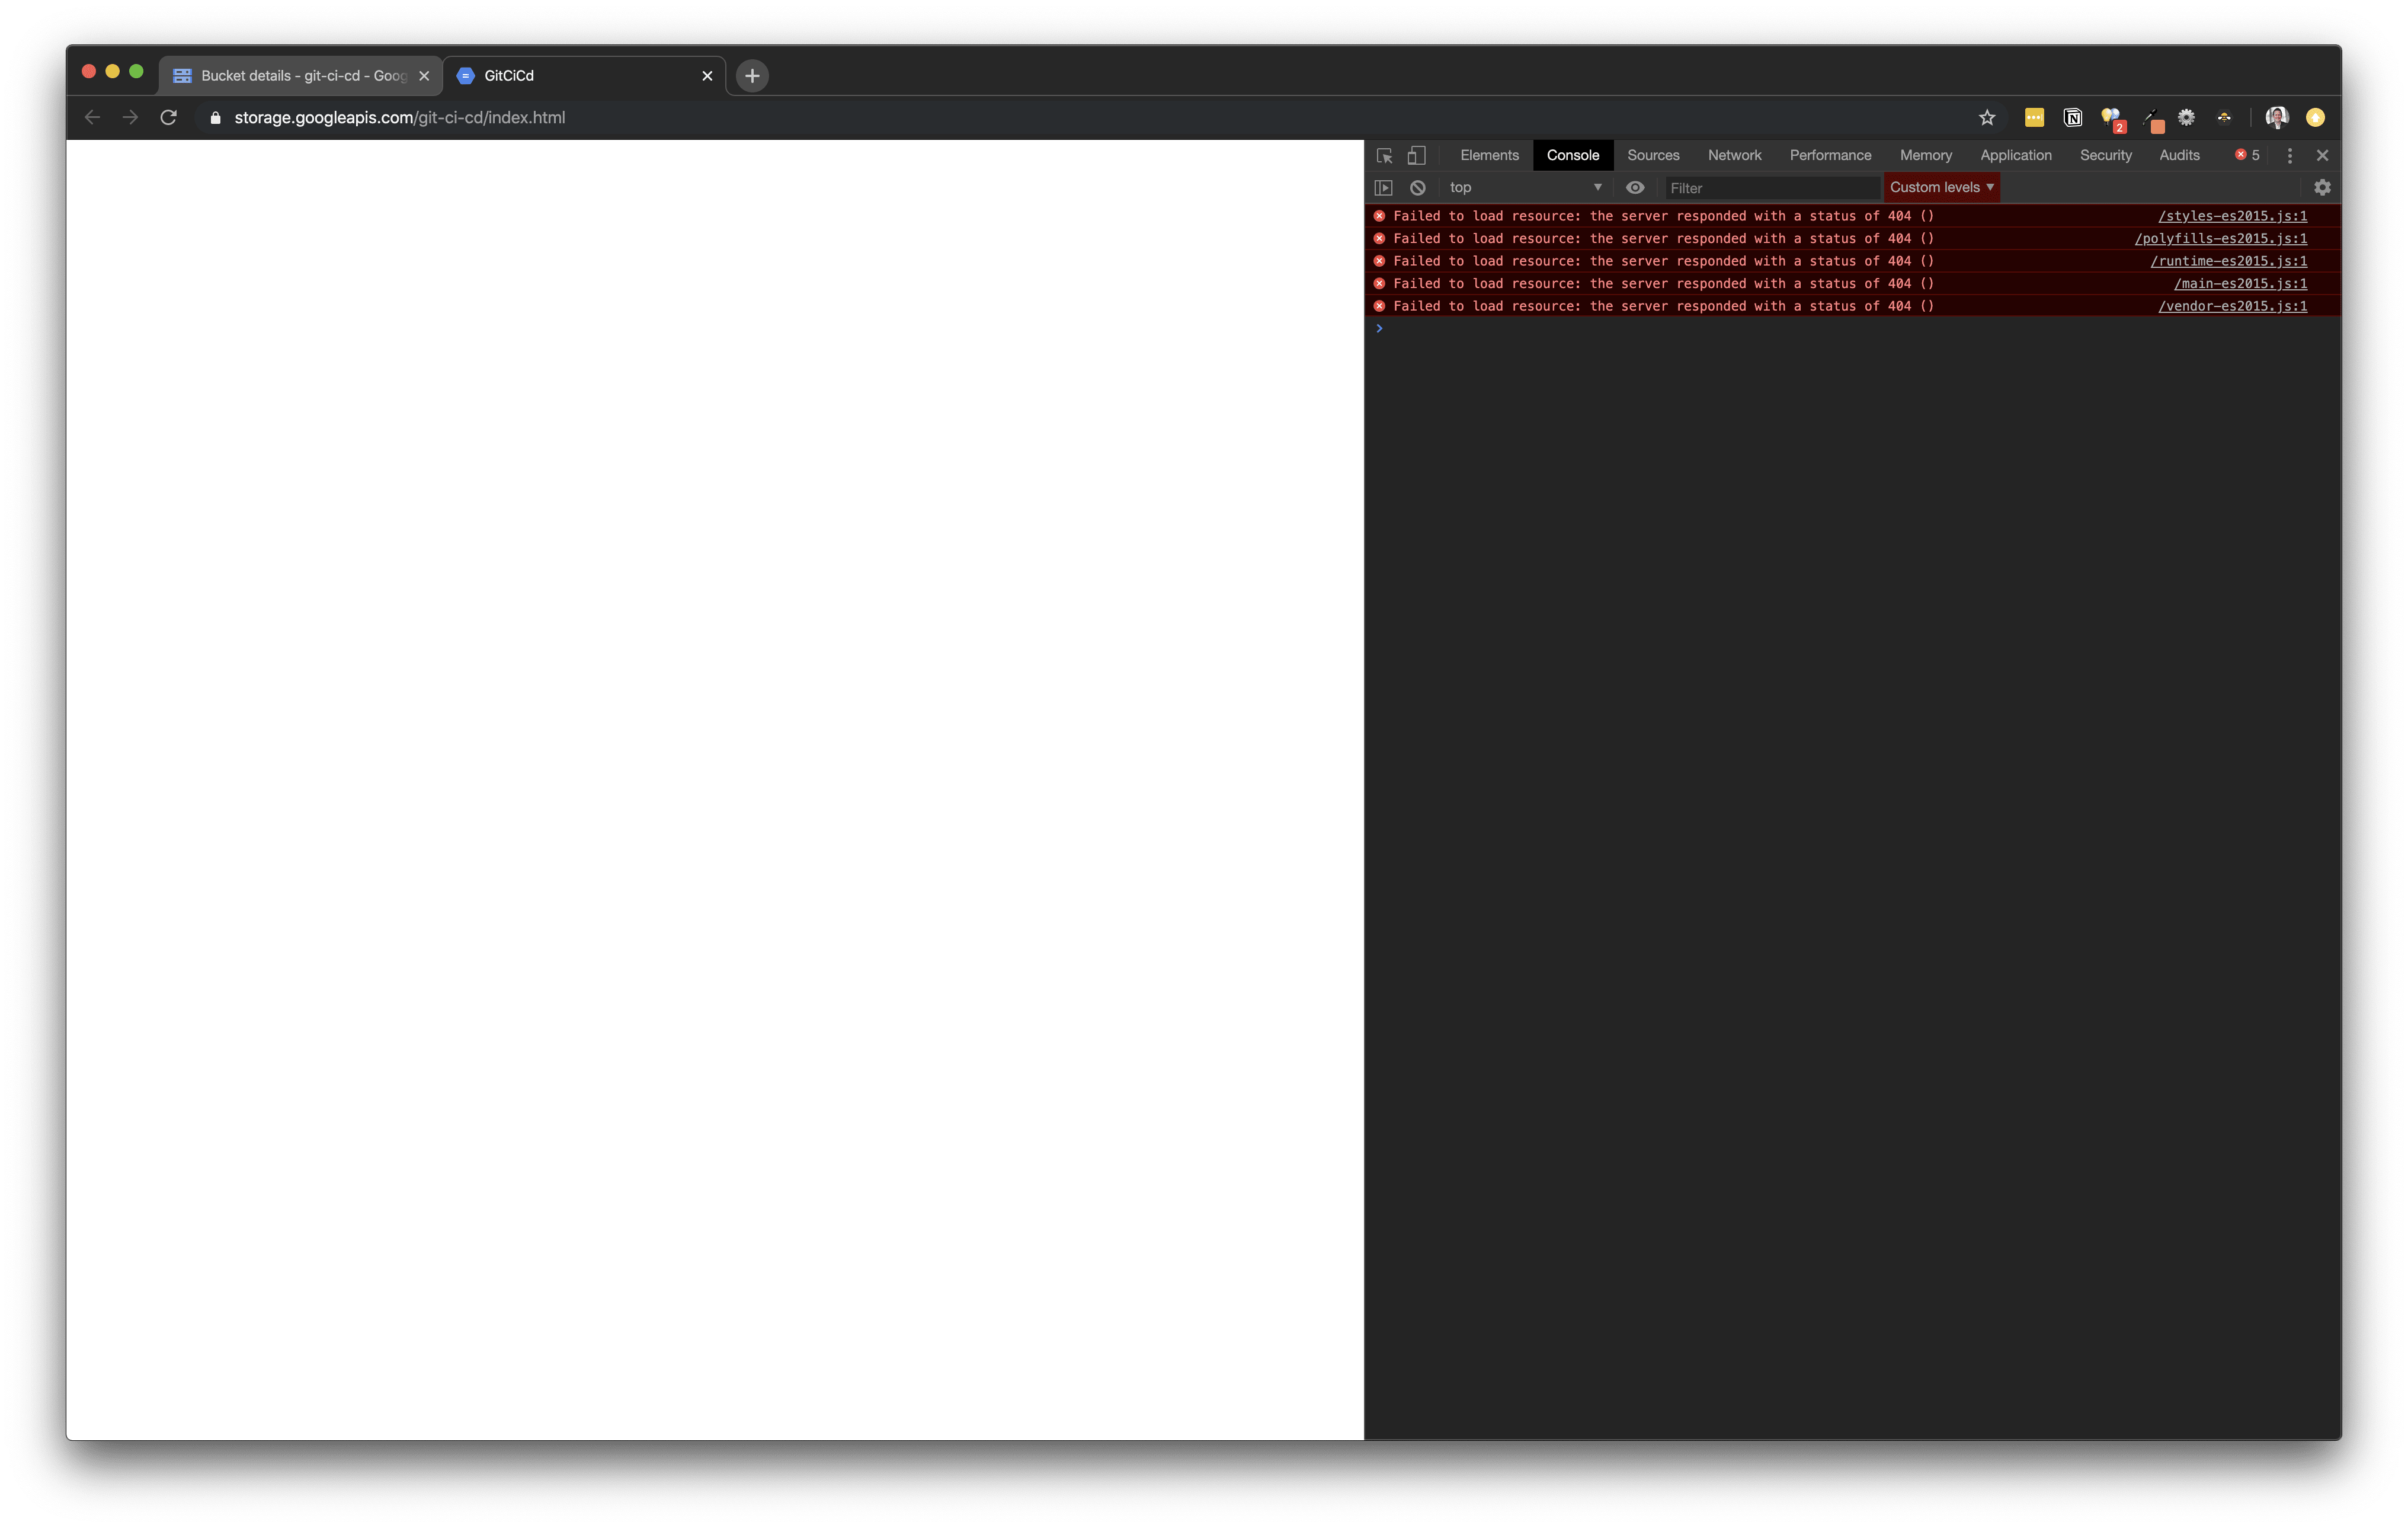
Update your html to include this new base href.
<base href="https://storage.googleapis.com/git-ci-cd/">
Make sure to build locally again to see this working.
npm run build
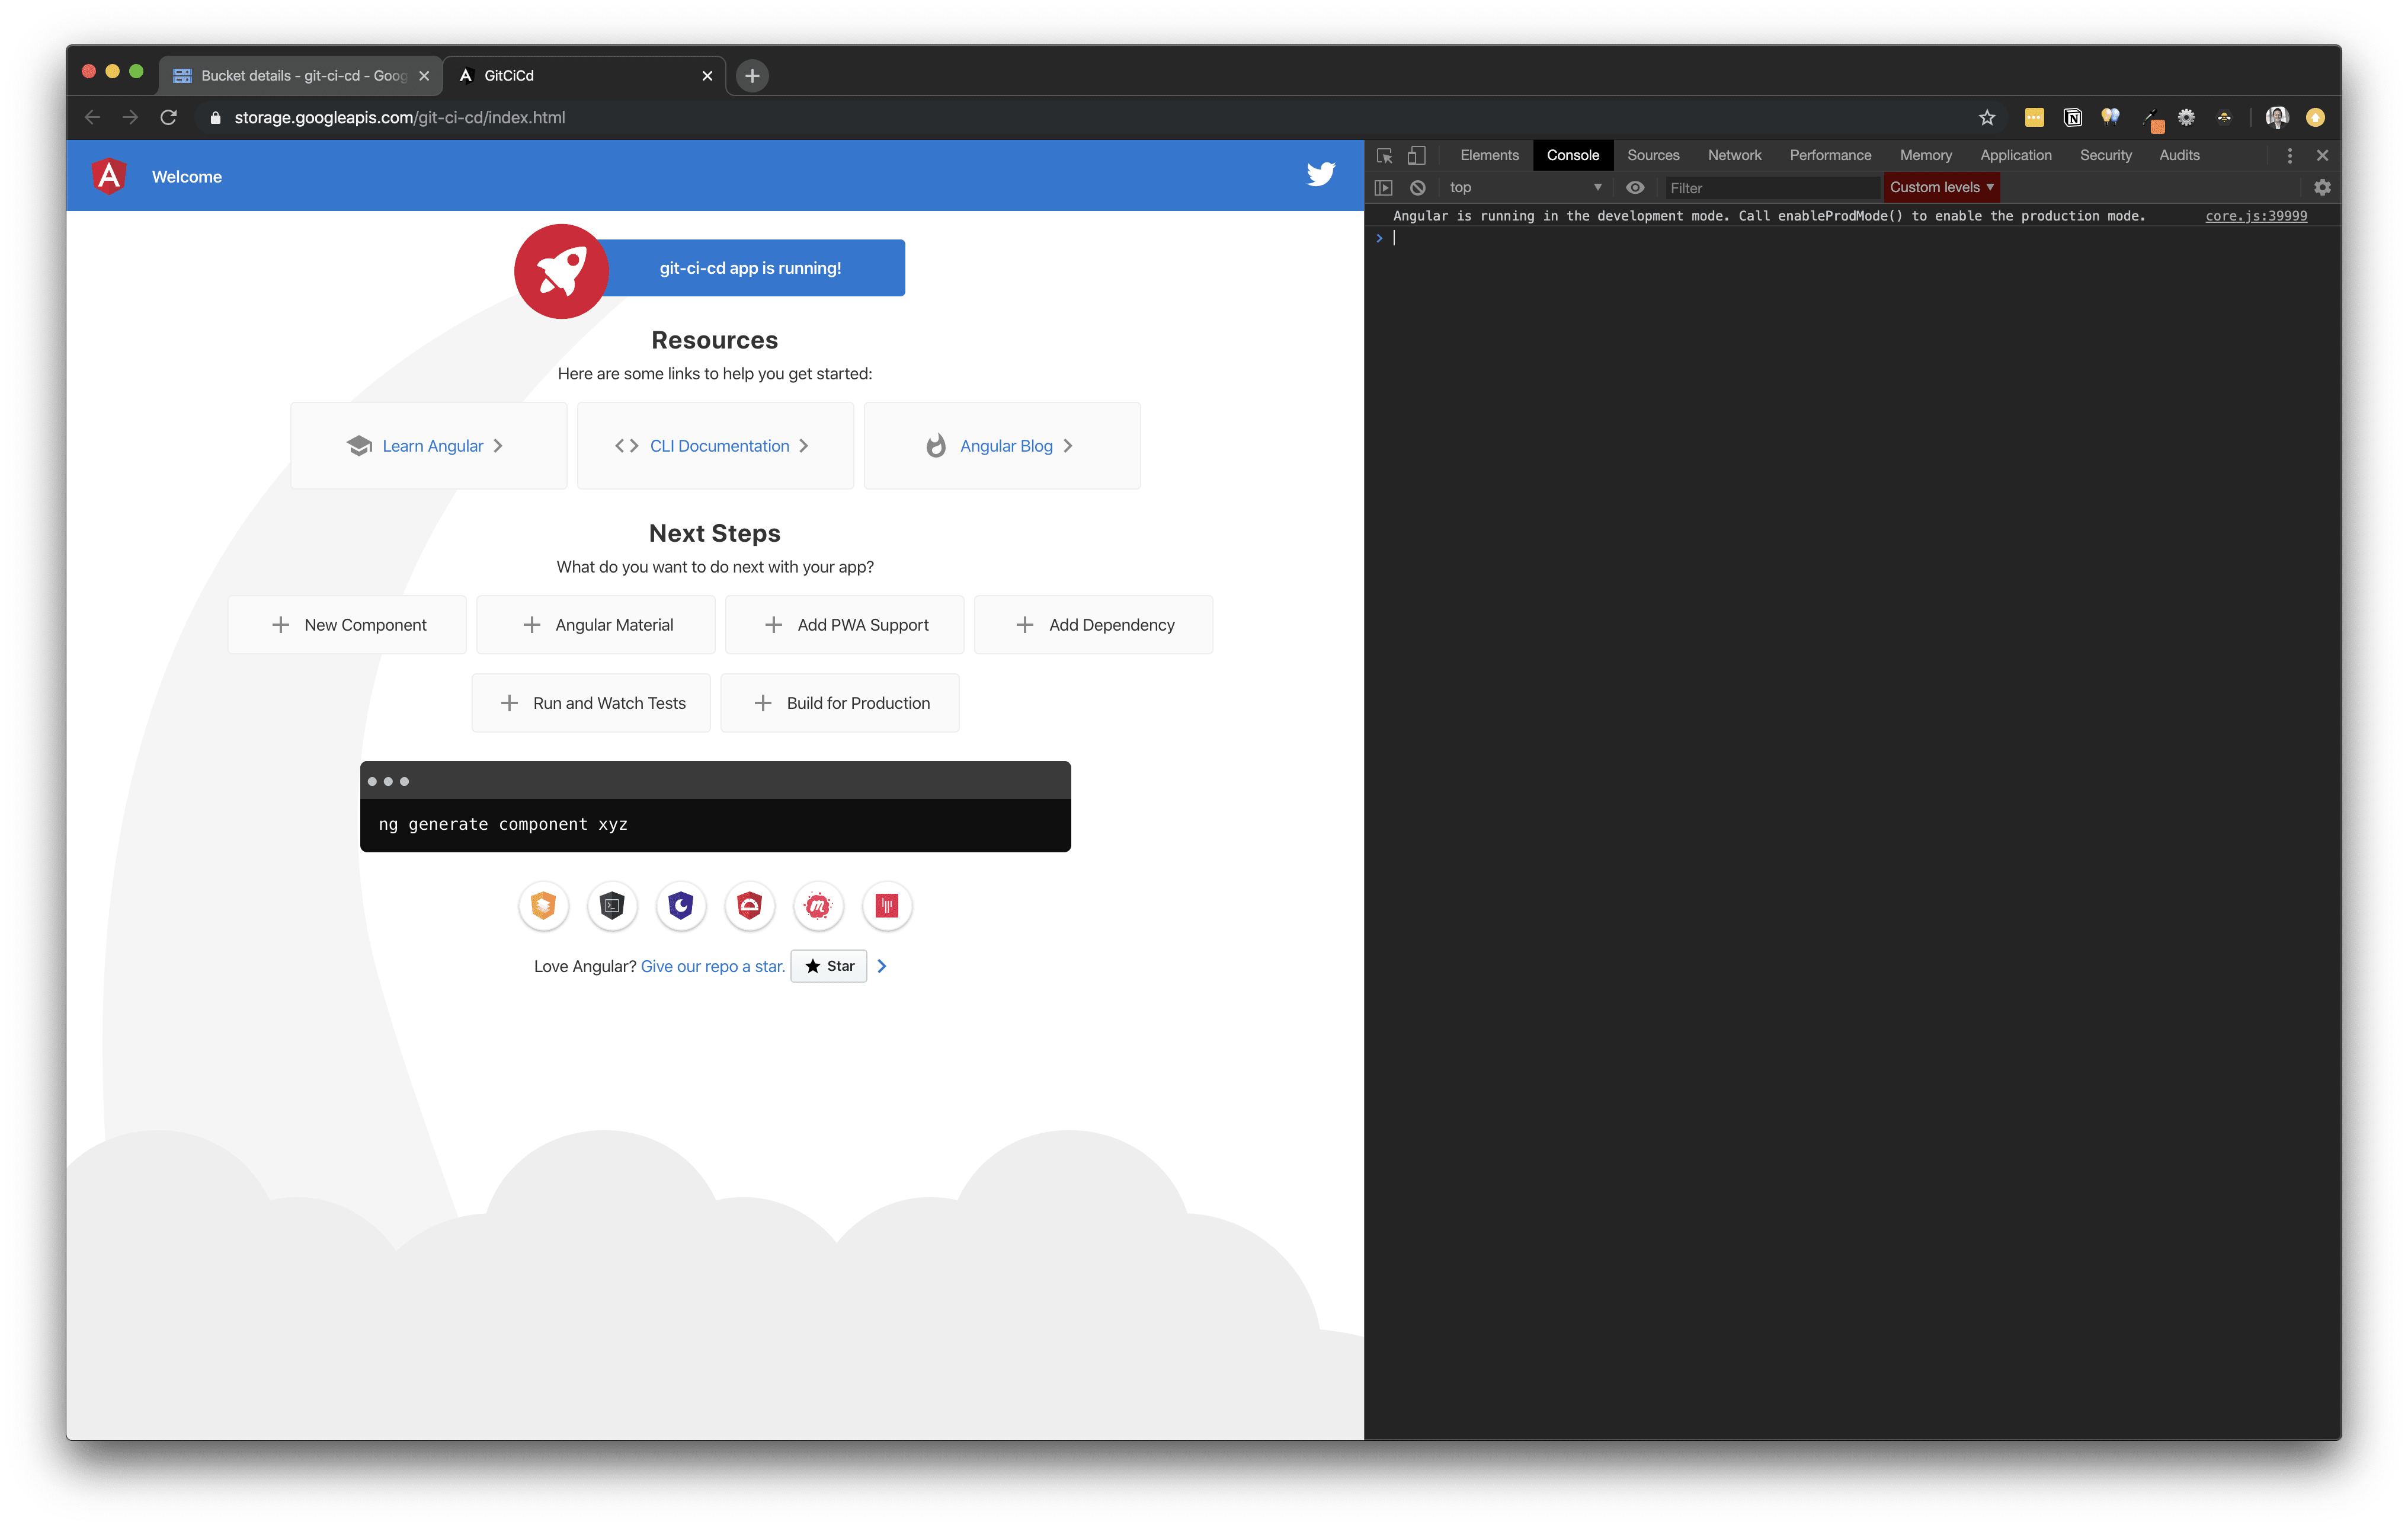
Once again remove all the files from your storage bucket and re-add them, you should see the default Angular app up and running.
Build Setup
Now that you have setup your build trigger, the build needs to do something once this trigger is executed. You will create a cloudbuild.yaml file in the root of your project that will tell the build how to execute. GCP uses Docker images to facilitate environments to build. There are several popular images that are created and maintained directly by Google, and a number more that are communitymaintained.
In order for you to gather all the appropriate packages and use the Angular CLI to create a production build, you will use an npmimage in your build file.
Installing Dependencies`cloudbuild.yaml
dependenciessteps:- name: node:10.15.1 entrypoint: npm args: ['install']
# Build Angular cloudbuild.yaml

# Install dependenciessteps:
- name:
node:10.15.1 entrypoint: npm args: ['install']# Run Build command- name:
node:10.15.1 entrypoint: npm args: ['run', 'build']
BucketIn order to find your Storage Bucket Link for Gsutil, open your bucket and select tab for Overview.

Replace the below example gs://git-ci-cd with your own bucket link.
cloudbuild.yaml
# Install dependenciessteps:- name: node:10.15.1
entrypoint: npm args: ['install']# Run Build command- name: node:10.15.1
entrypoint: npm args: ['run', 'build']# Upload to Storage Bucket- name:
gcr.io/cloud-builders/gsutil args: [-m, rsync, -r, -c, -d, ./dist/git-ci-cd/,
gs://git-ci-cd]
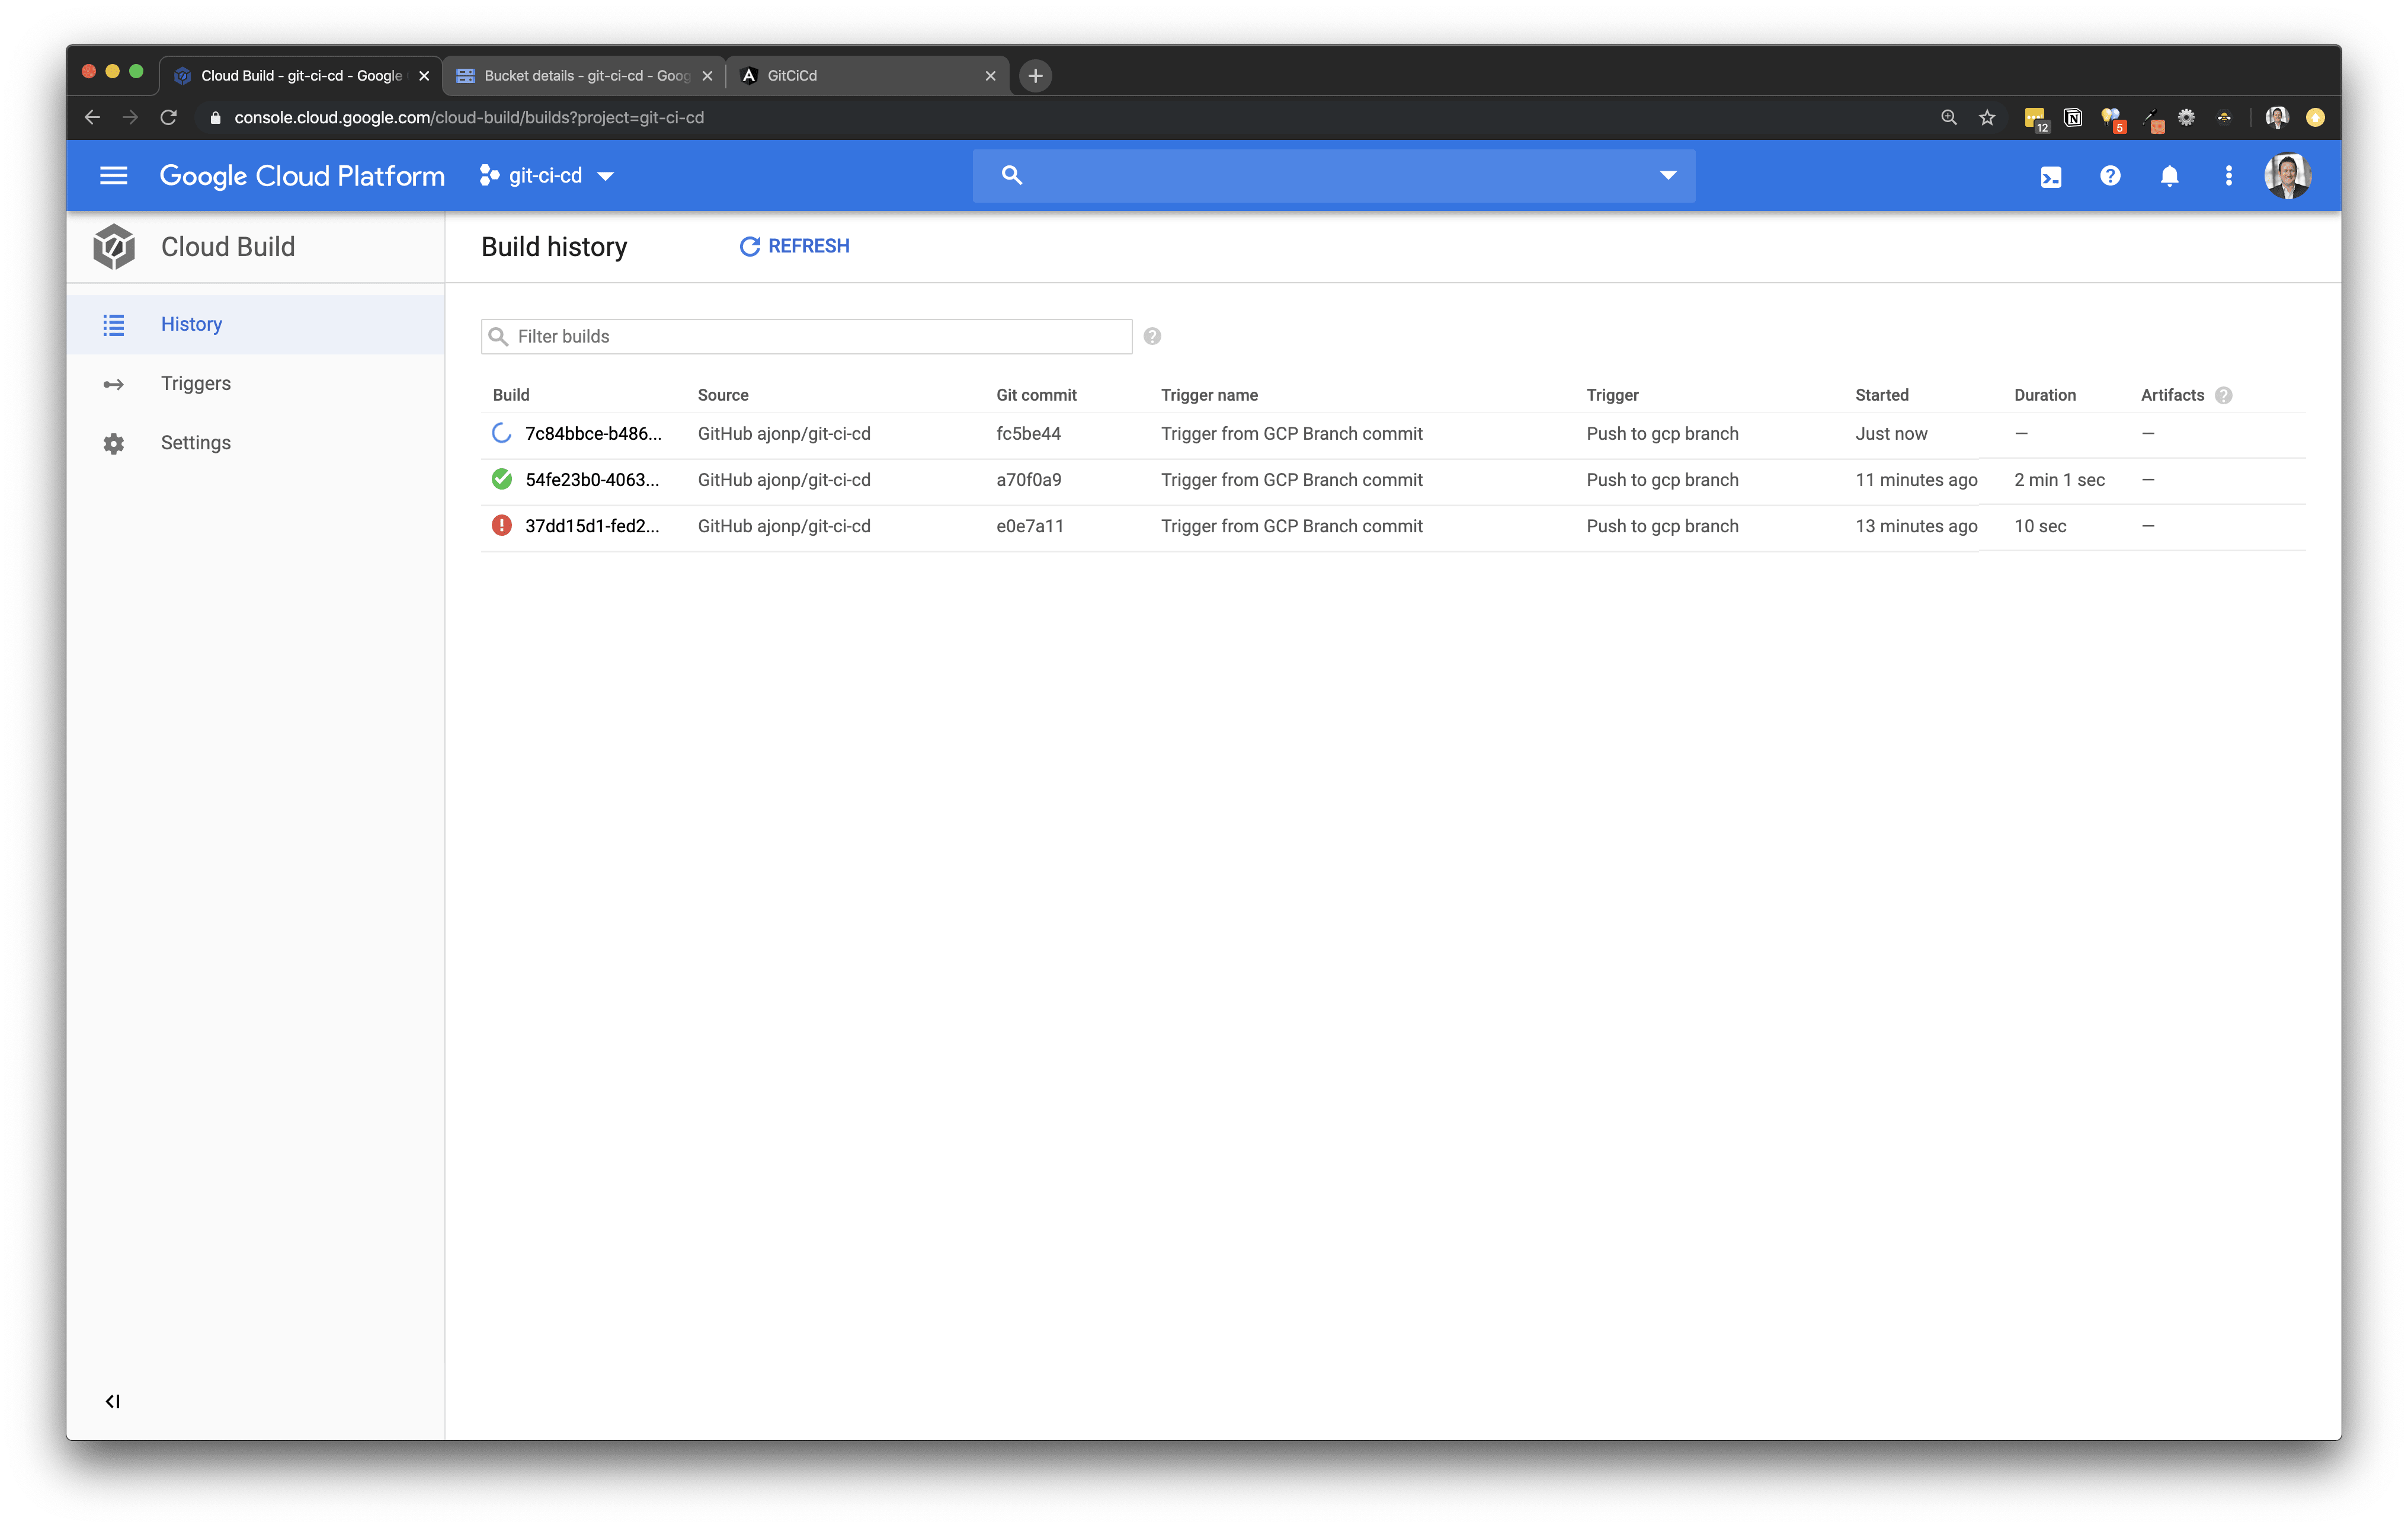
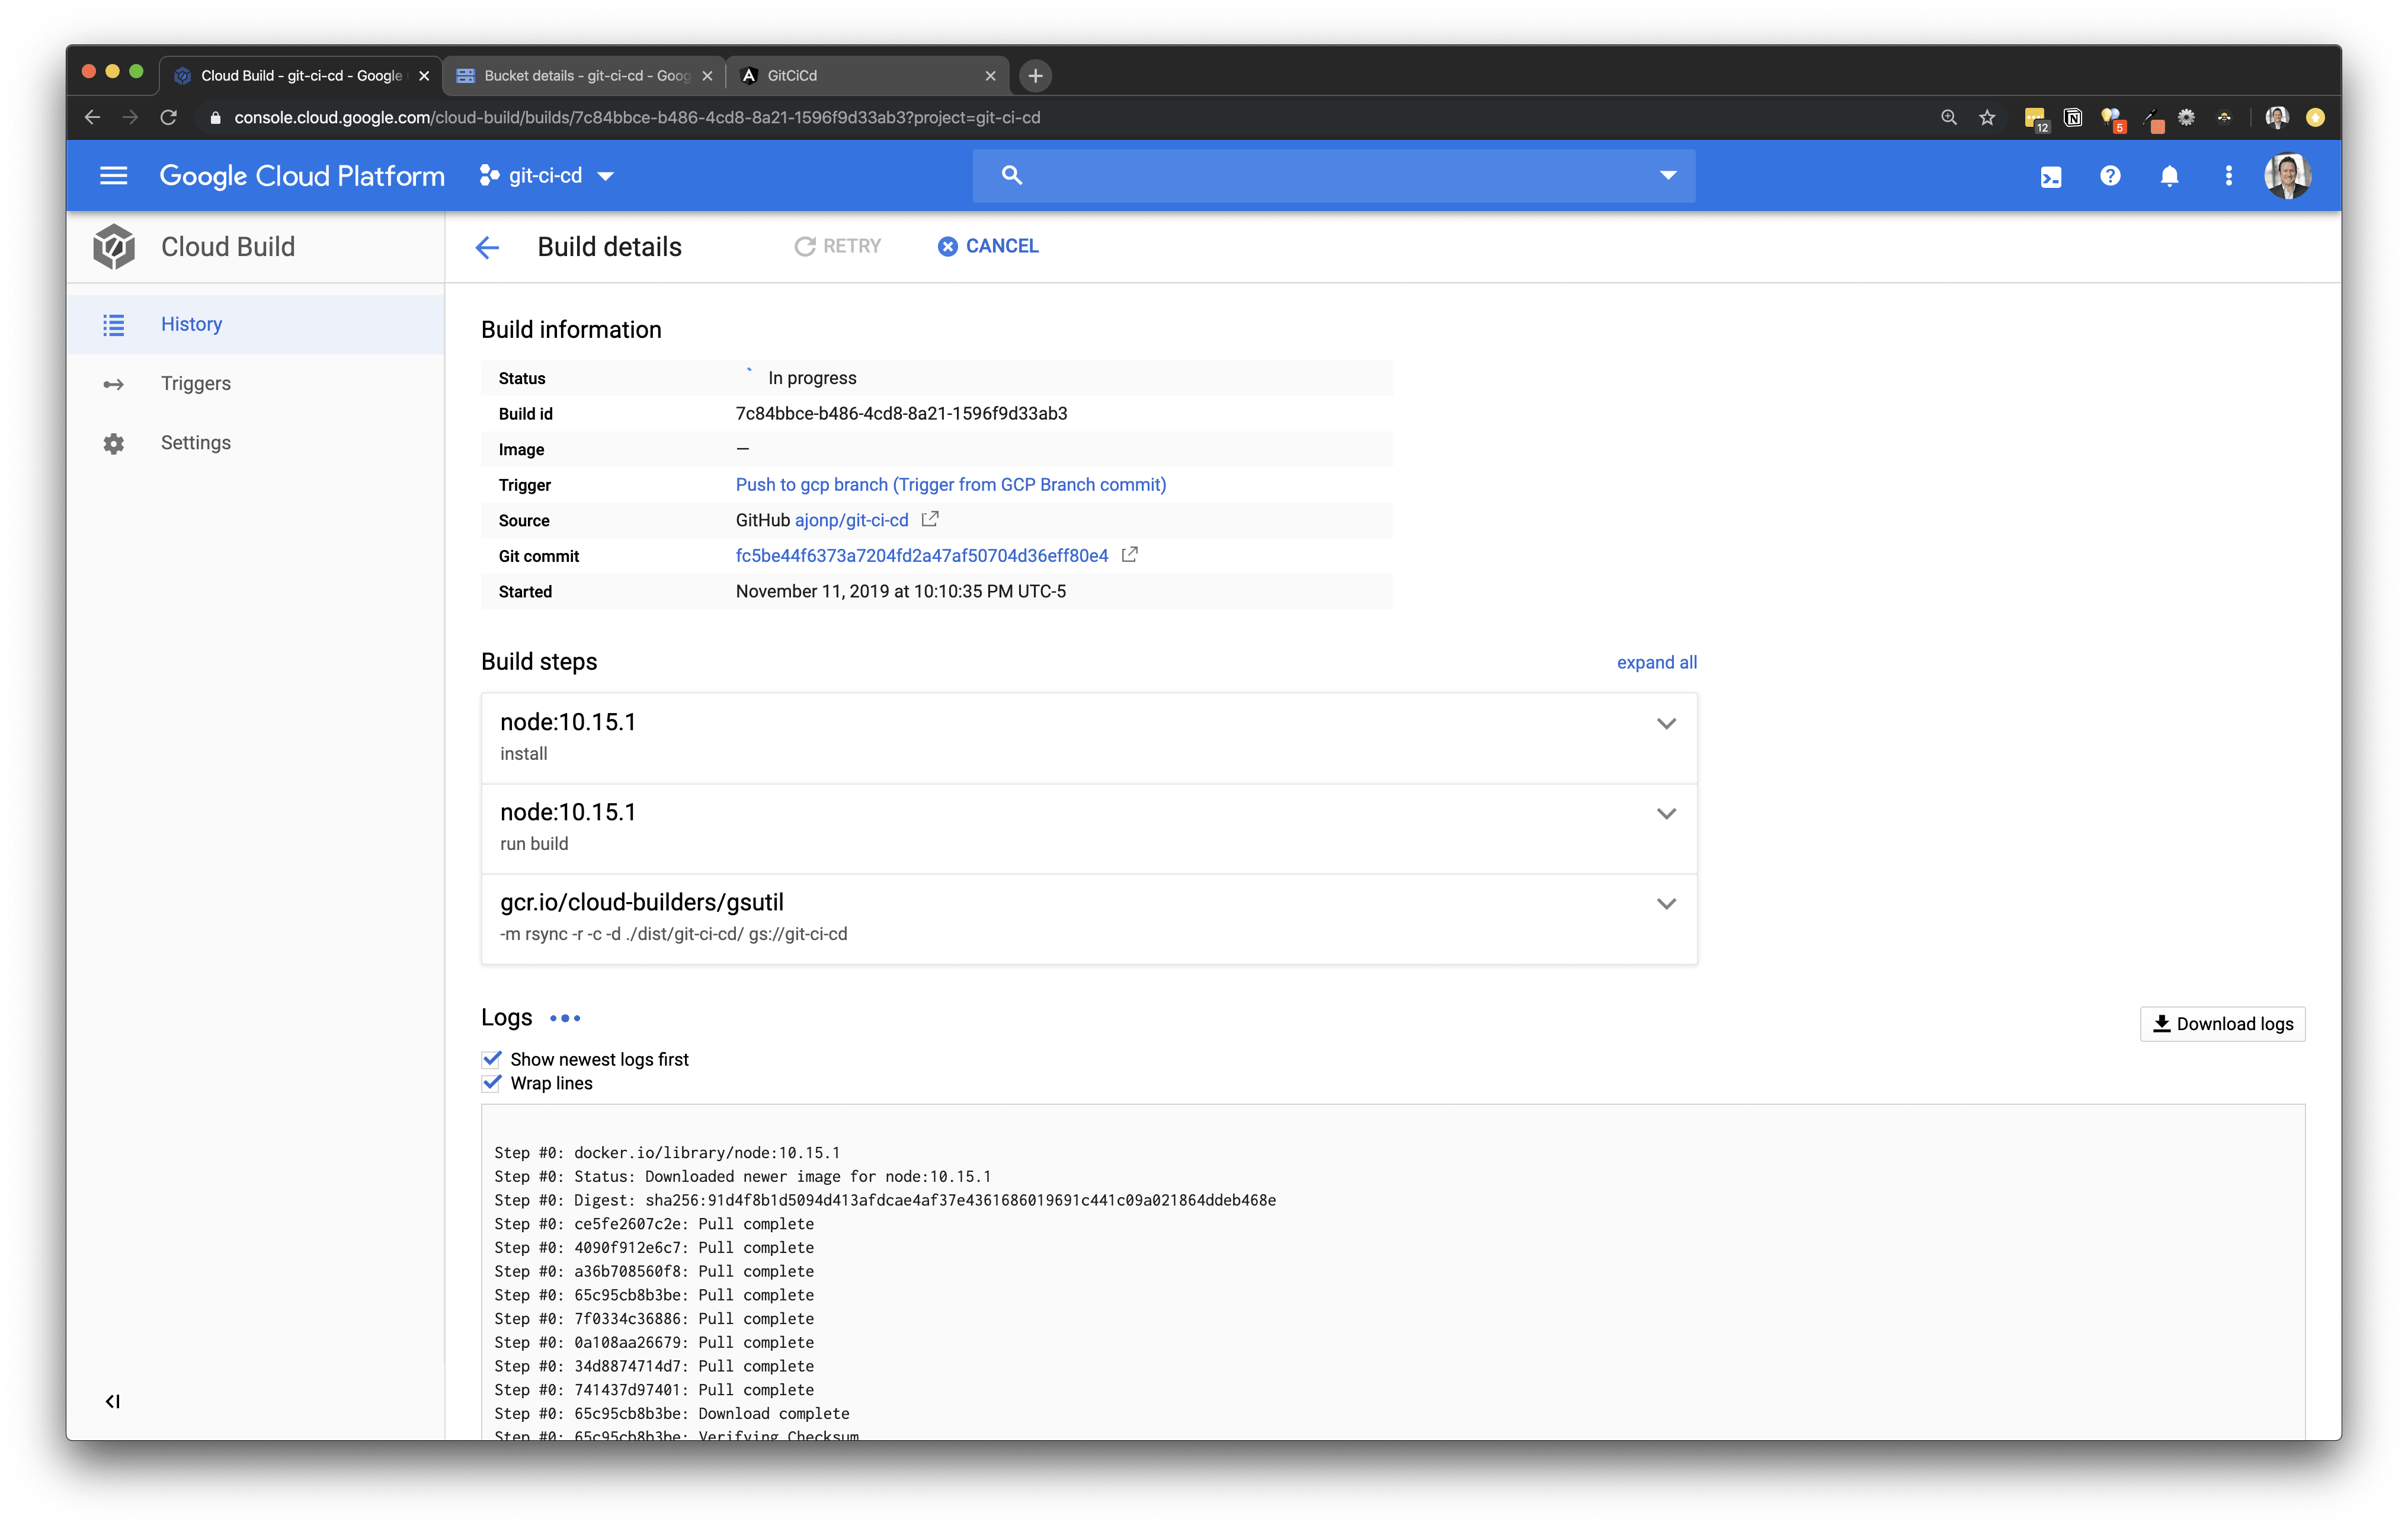
Git Commit and Trigger History
Now anytime you commit to your gcp branch, you will see the trigger execute and all of the history can be found within Cloud Build History.
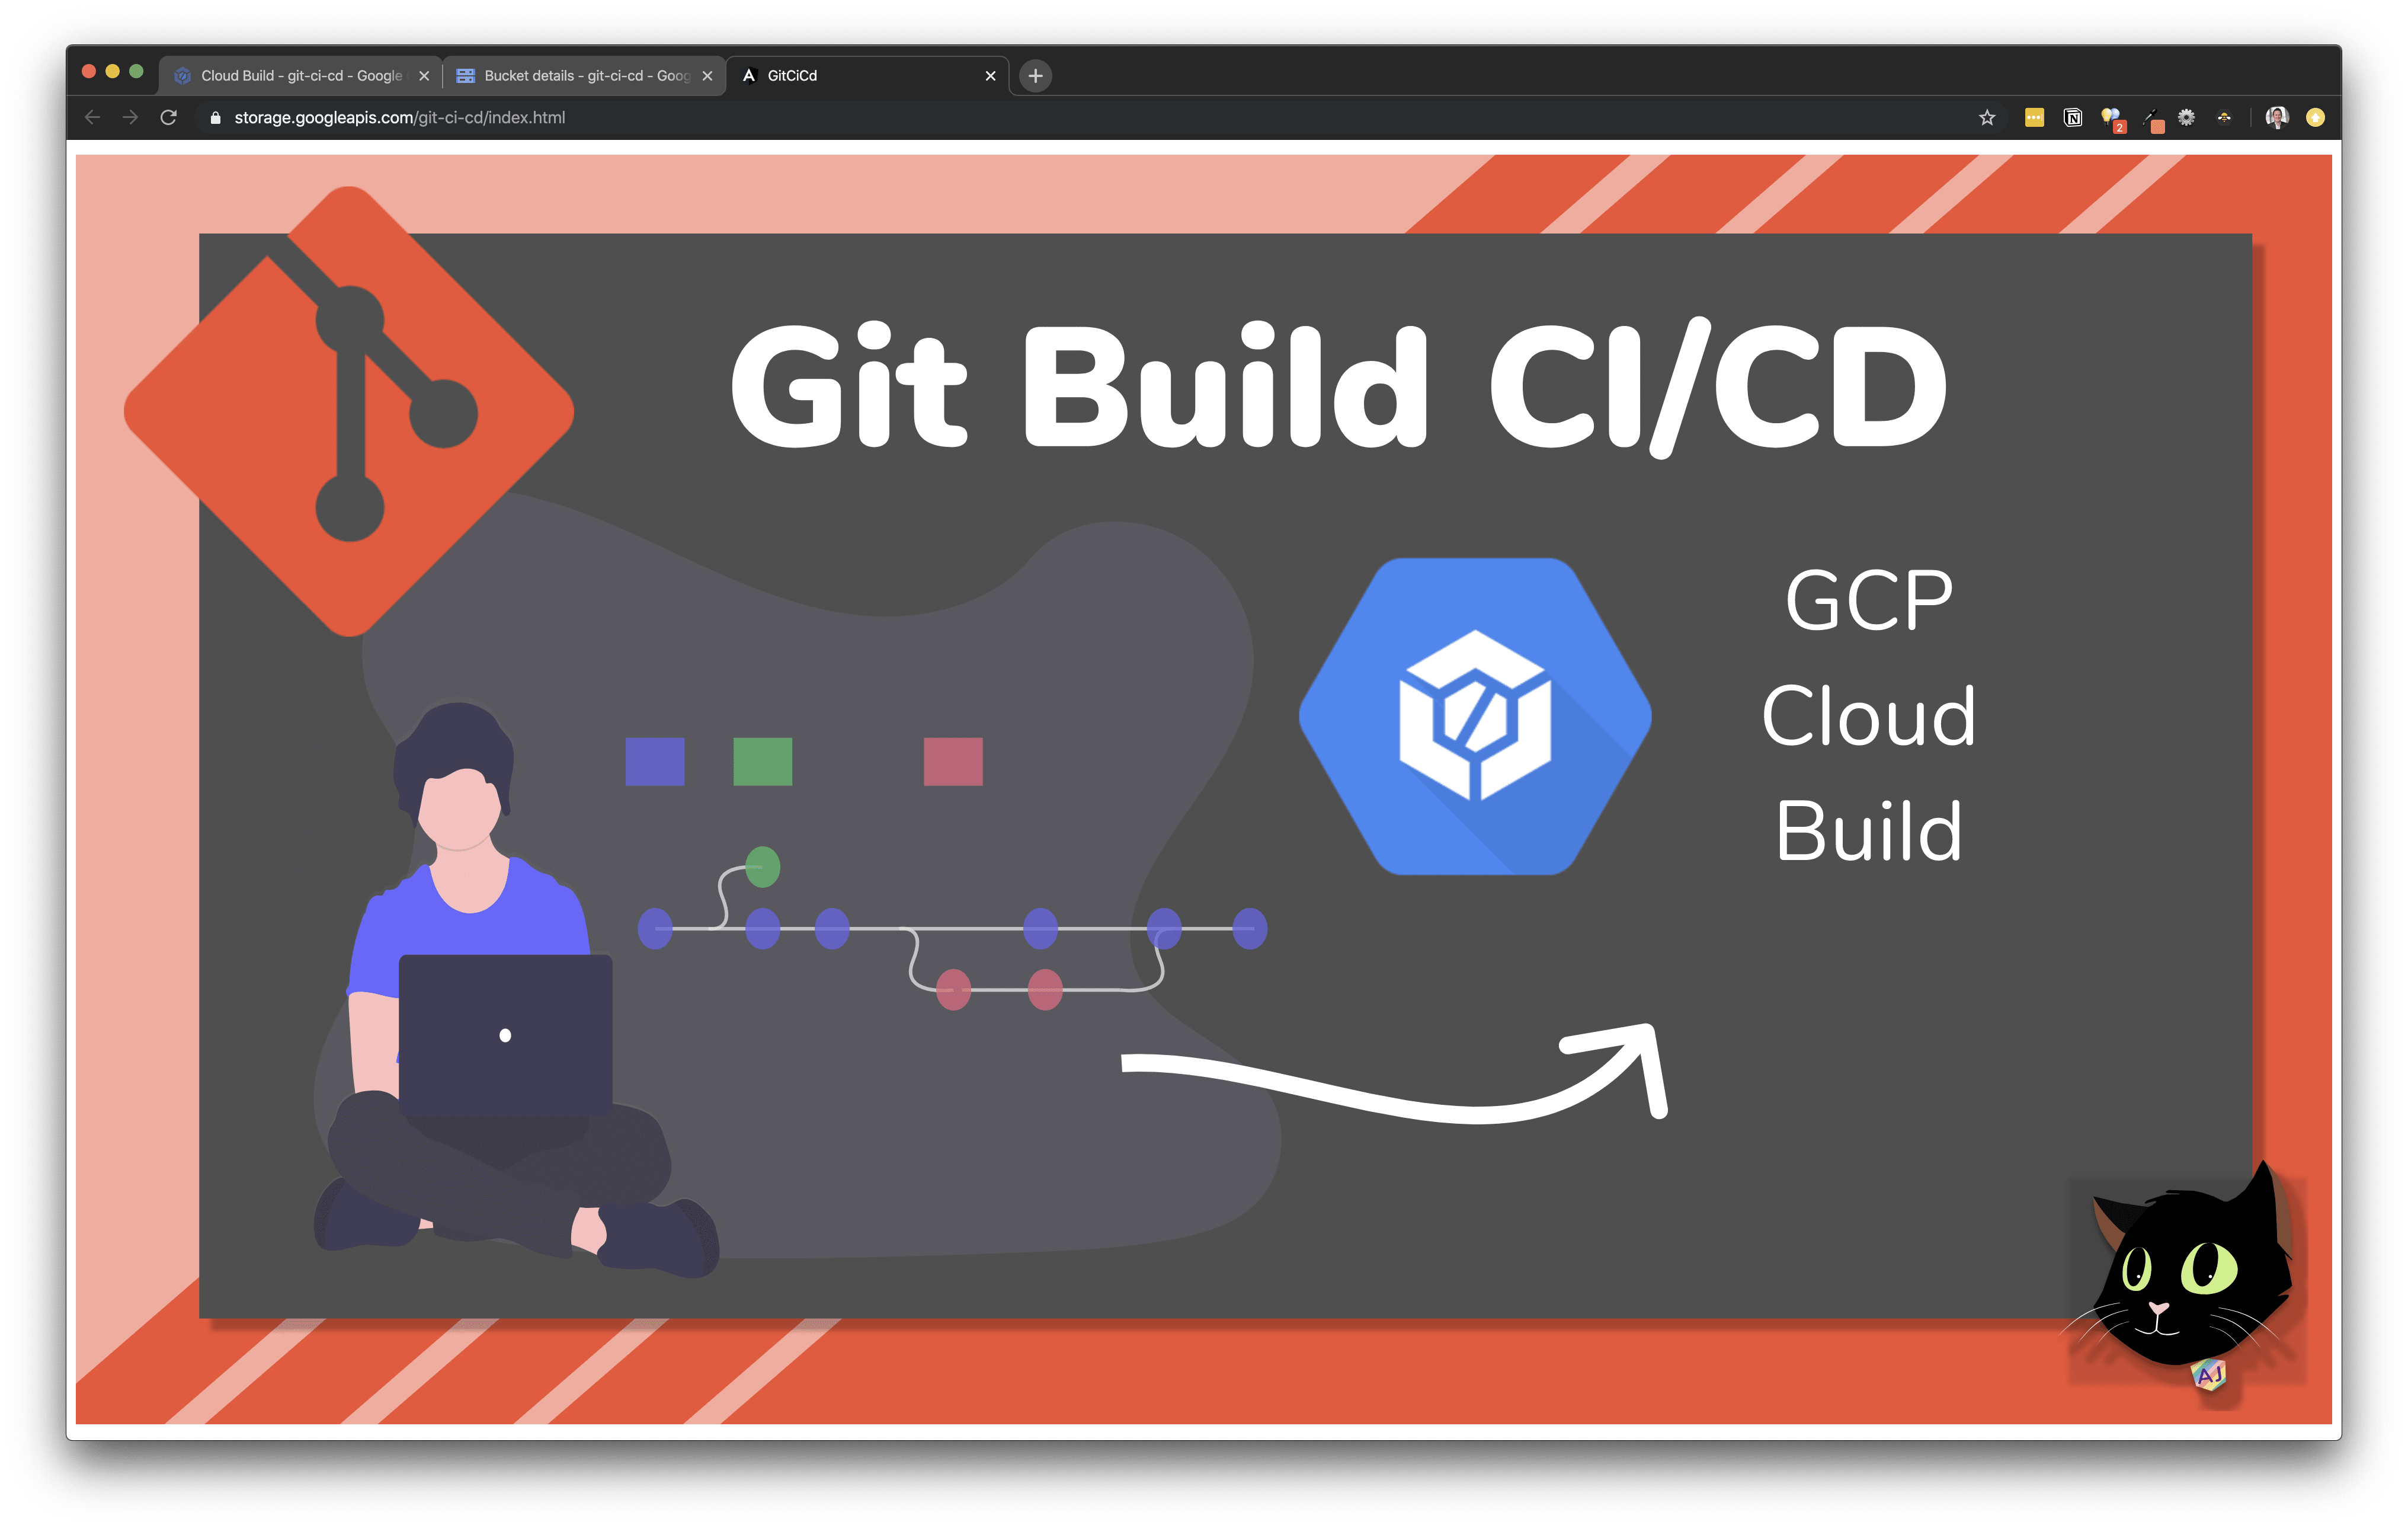
Following our Git Flow now lets update our development branch to change our app.component.html file to show a cool SVG of this lesson flowing to
Now you can push your develop branch and have it updated
git add . && git
commit -m add gcp svg && git push --set-upstream origin develop
To Trigger our build we would like to have this merged to gcp, you might get a prompt to update the merge message.
git checkout gcp && git merge develop && git push
--set-upstream origin gcp
You should see in the Build History that you now have a build active
You can also watch all of the Logs to see what is happening or if there are any errors.
If the build is successful, you can visit the site and see our newly updated screen.
Azure - Pipelines
You will need to create a free microsoft account to build using Azure Pipelines https://azure.microsoft.com/en-us/free/
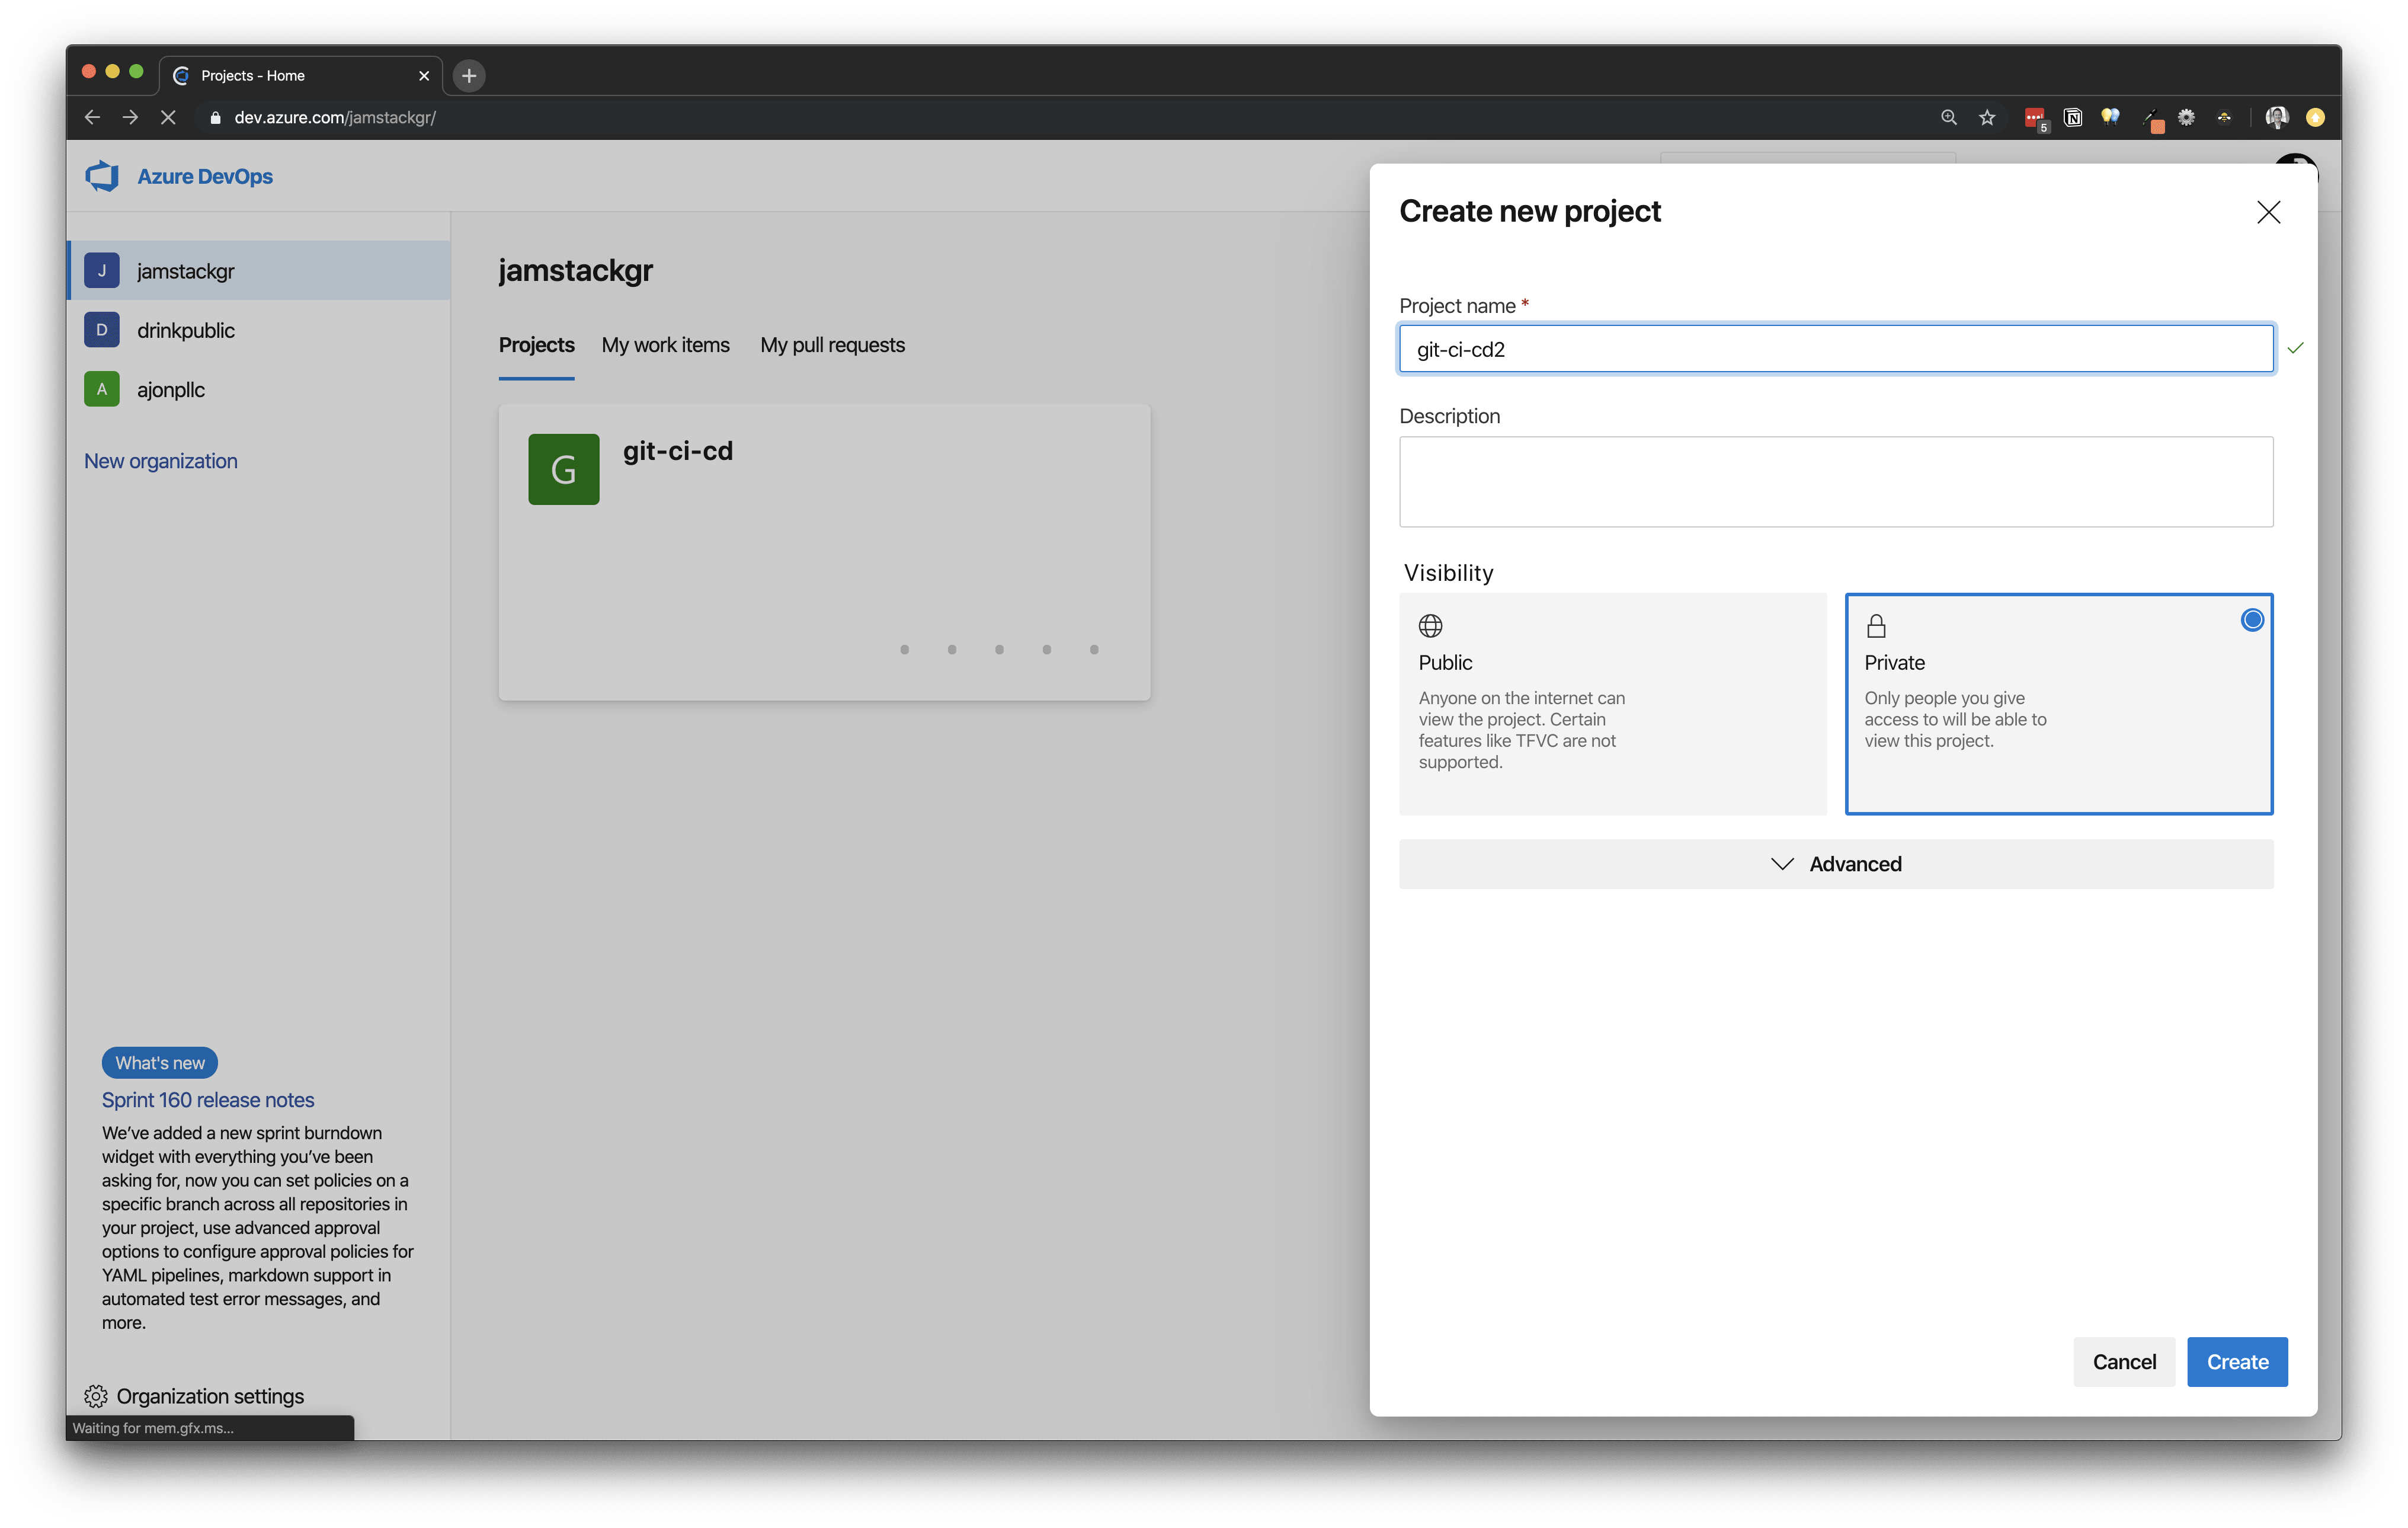
Create A Project
This project can do everything that you might require, from agile project management, to code creation and deployment. In this demo we are only going to brush the surface of what is possible, please dig into the docs to learn more.
To start select Pipelines from the menu.
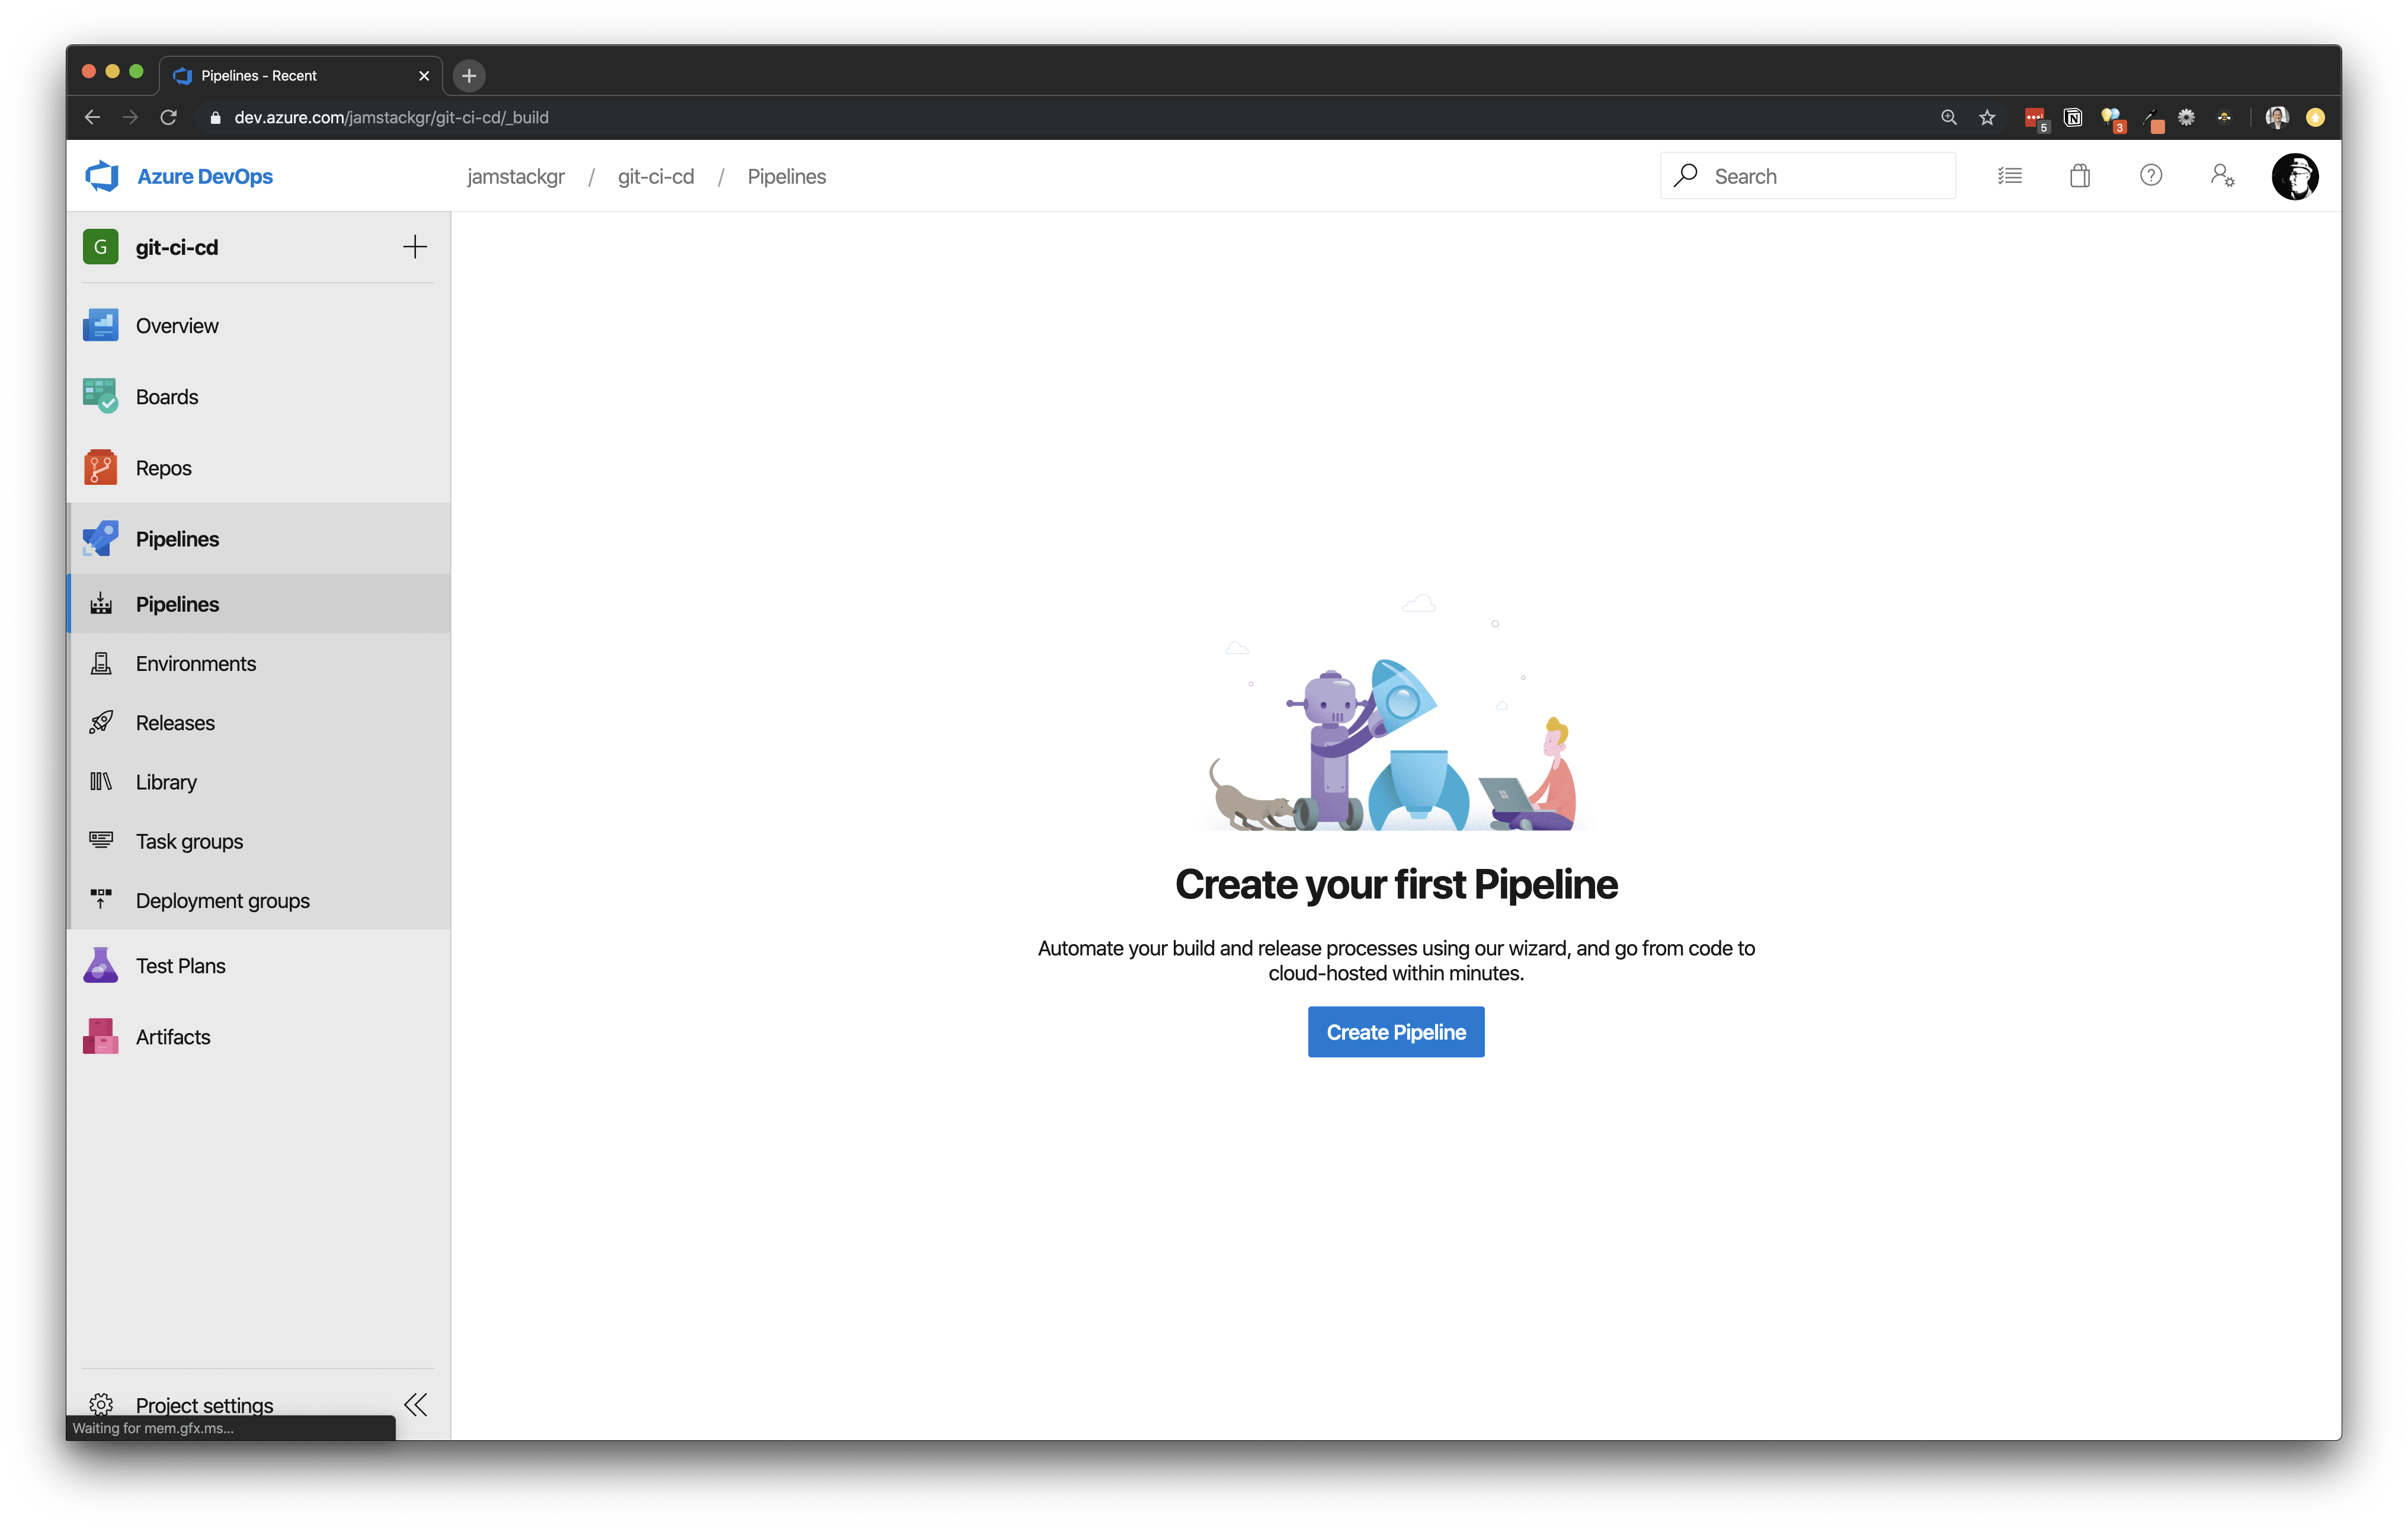
Then click create Create Pipeline button to begin creating our first pipeline.
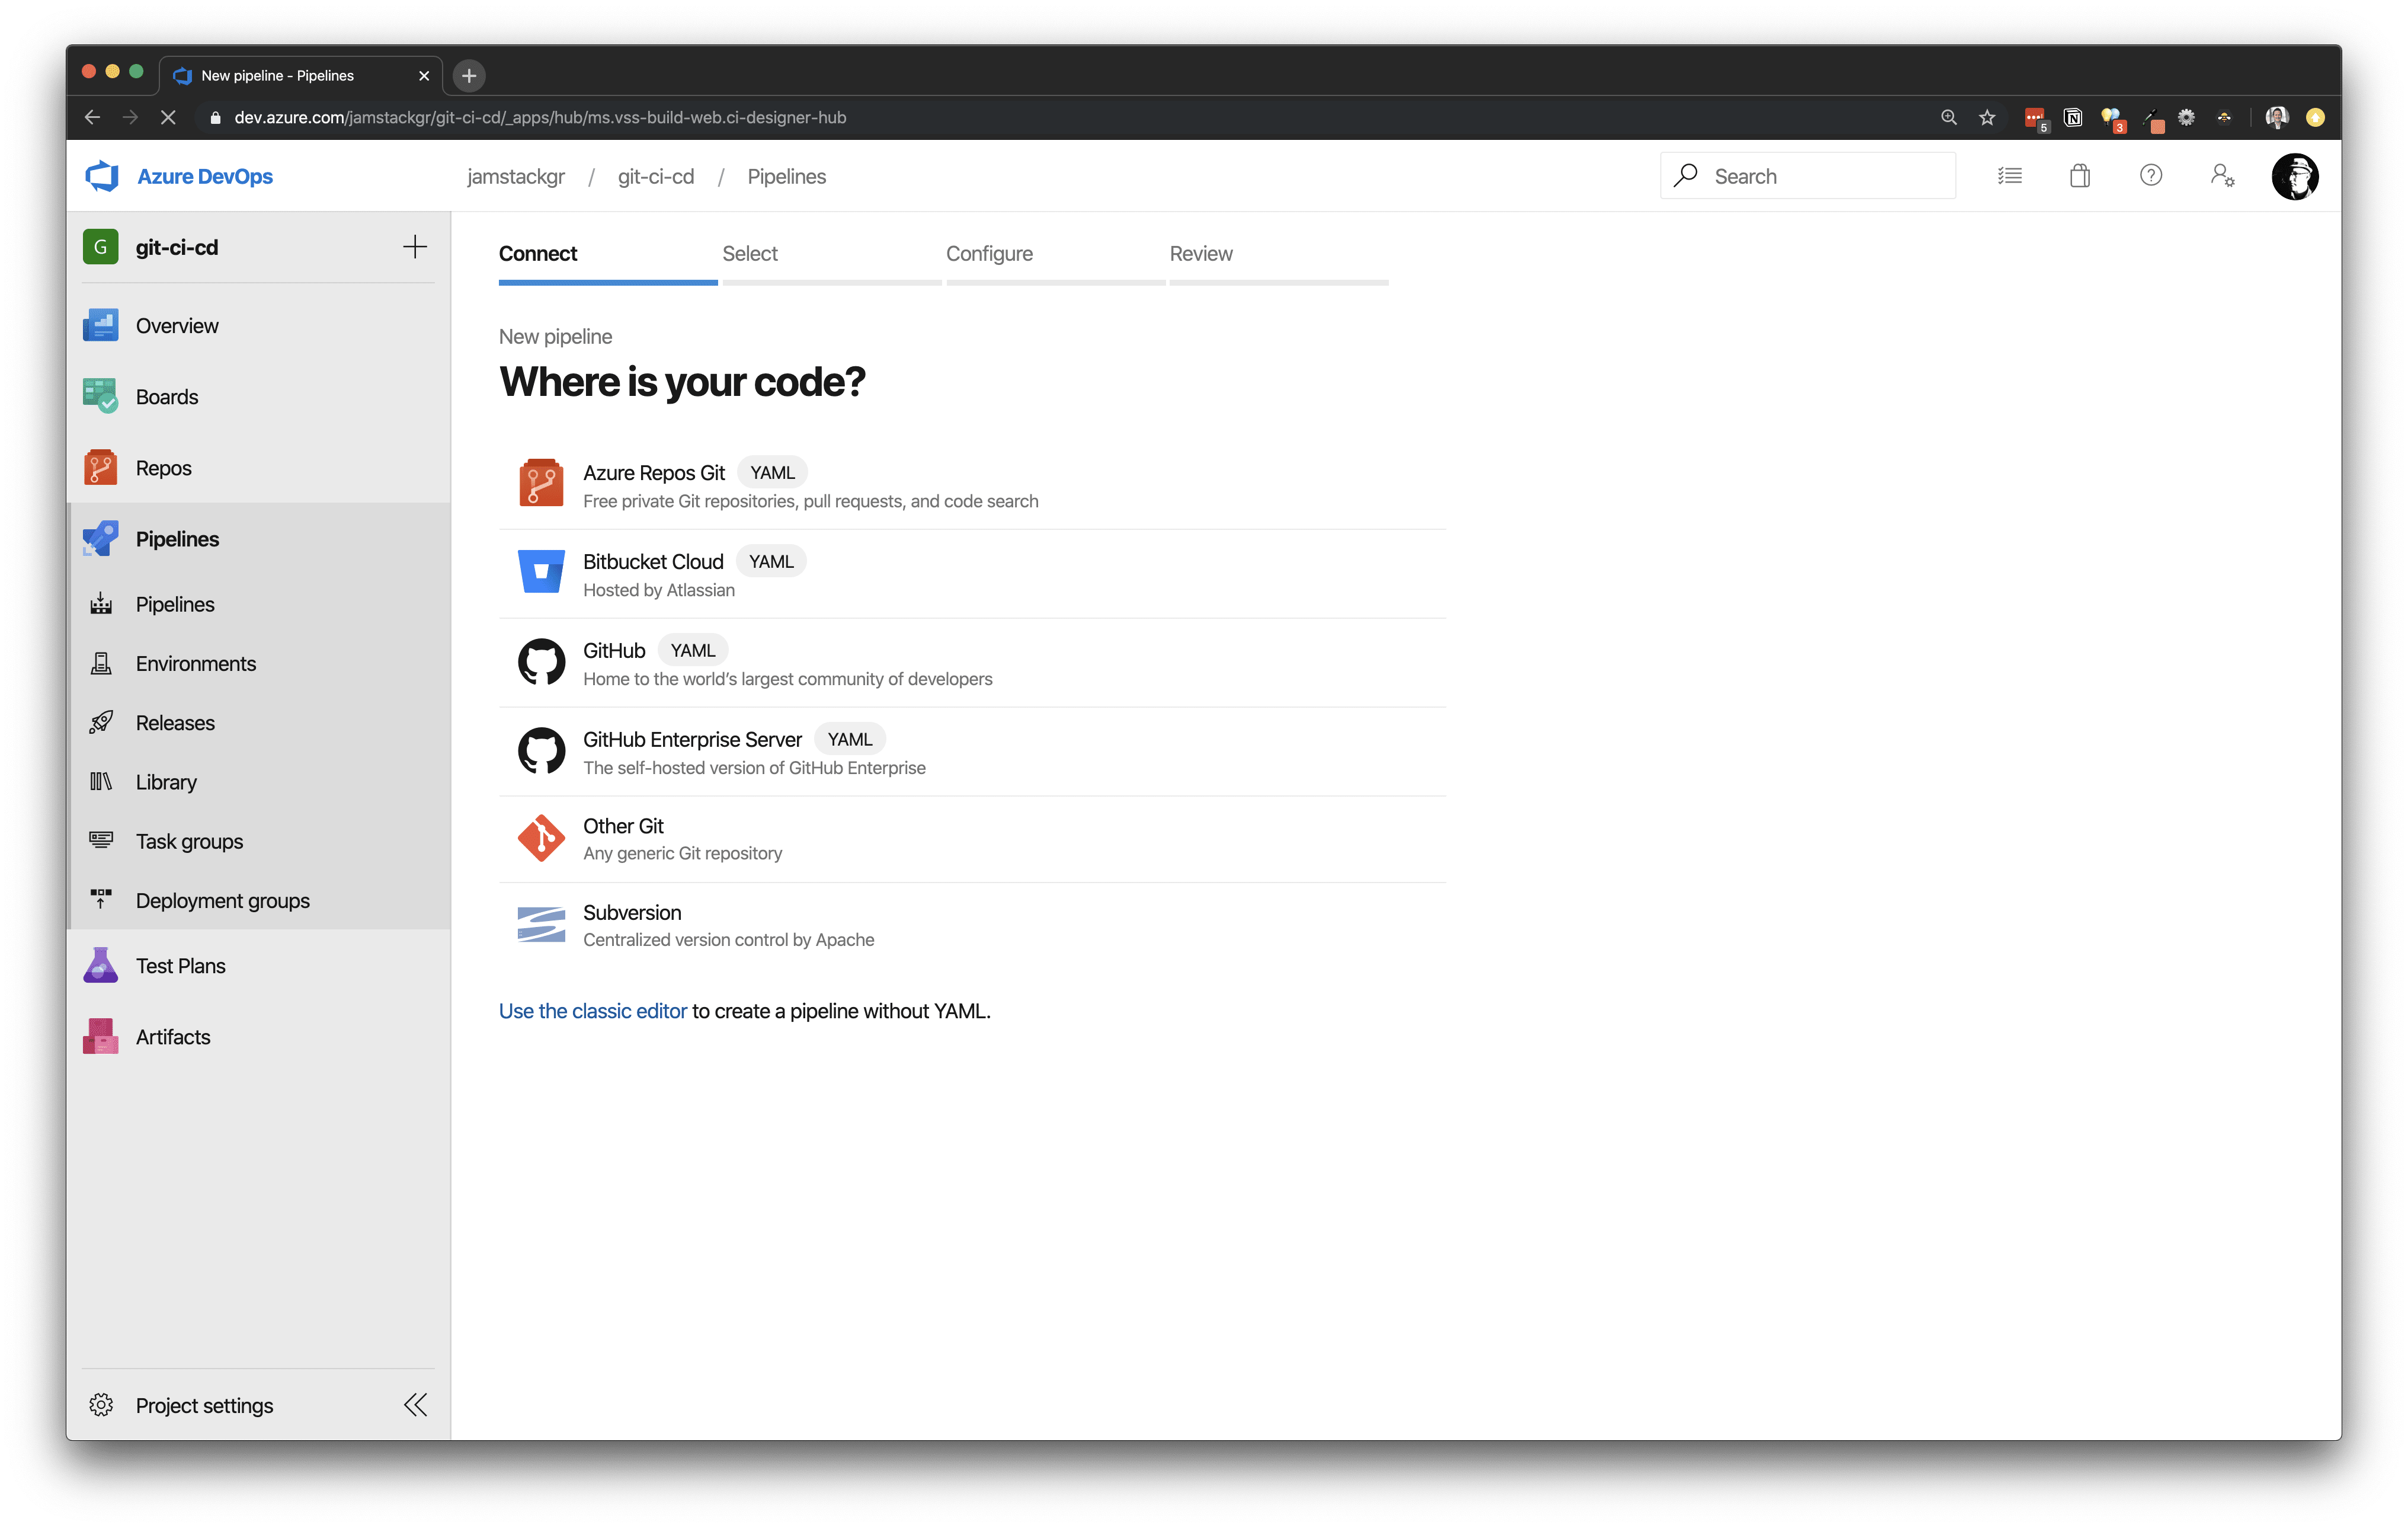
Our code is still hosted on GitHub so we are going to select that option from the menu. You will then need to login to GitHub to grant authorization to Azure Pipelines.
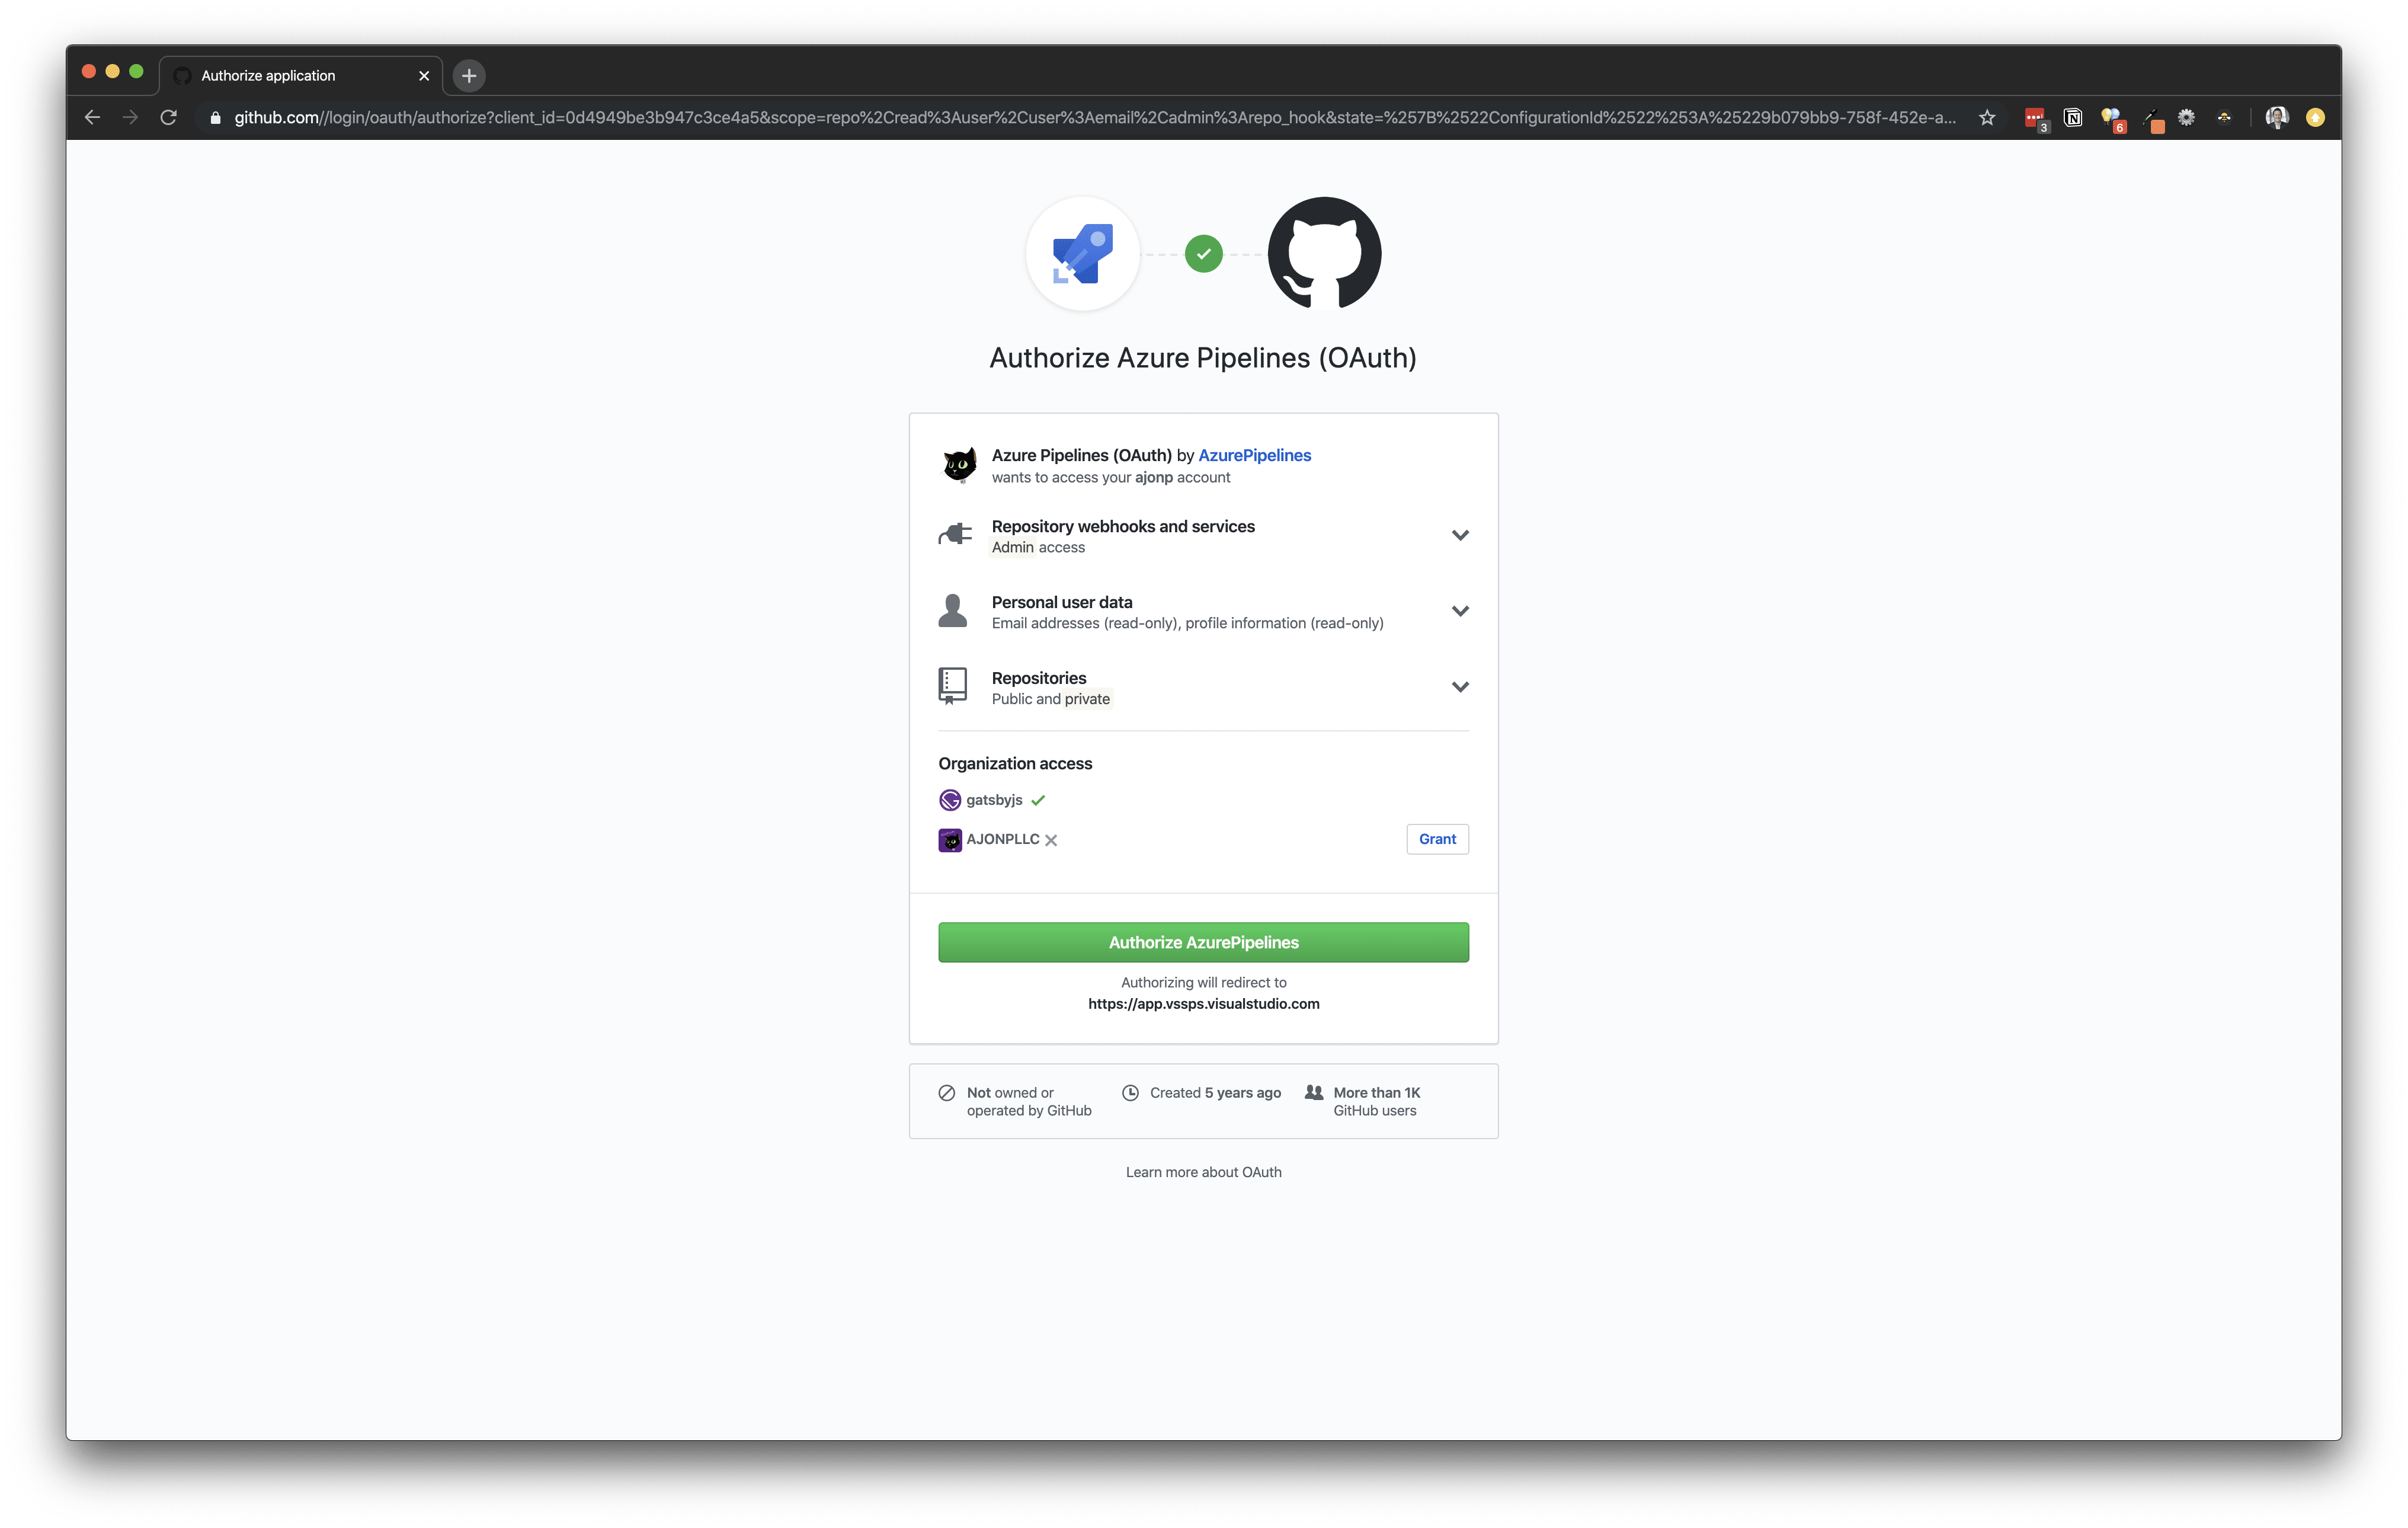
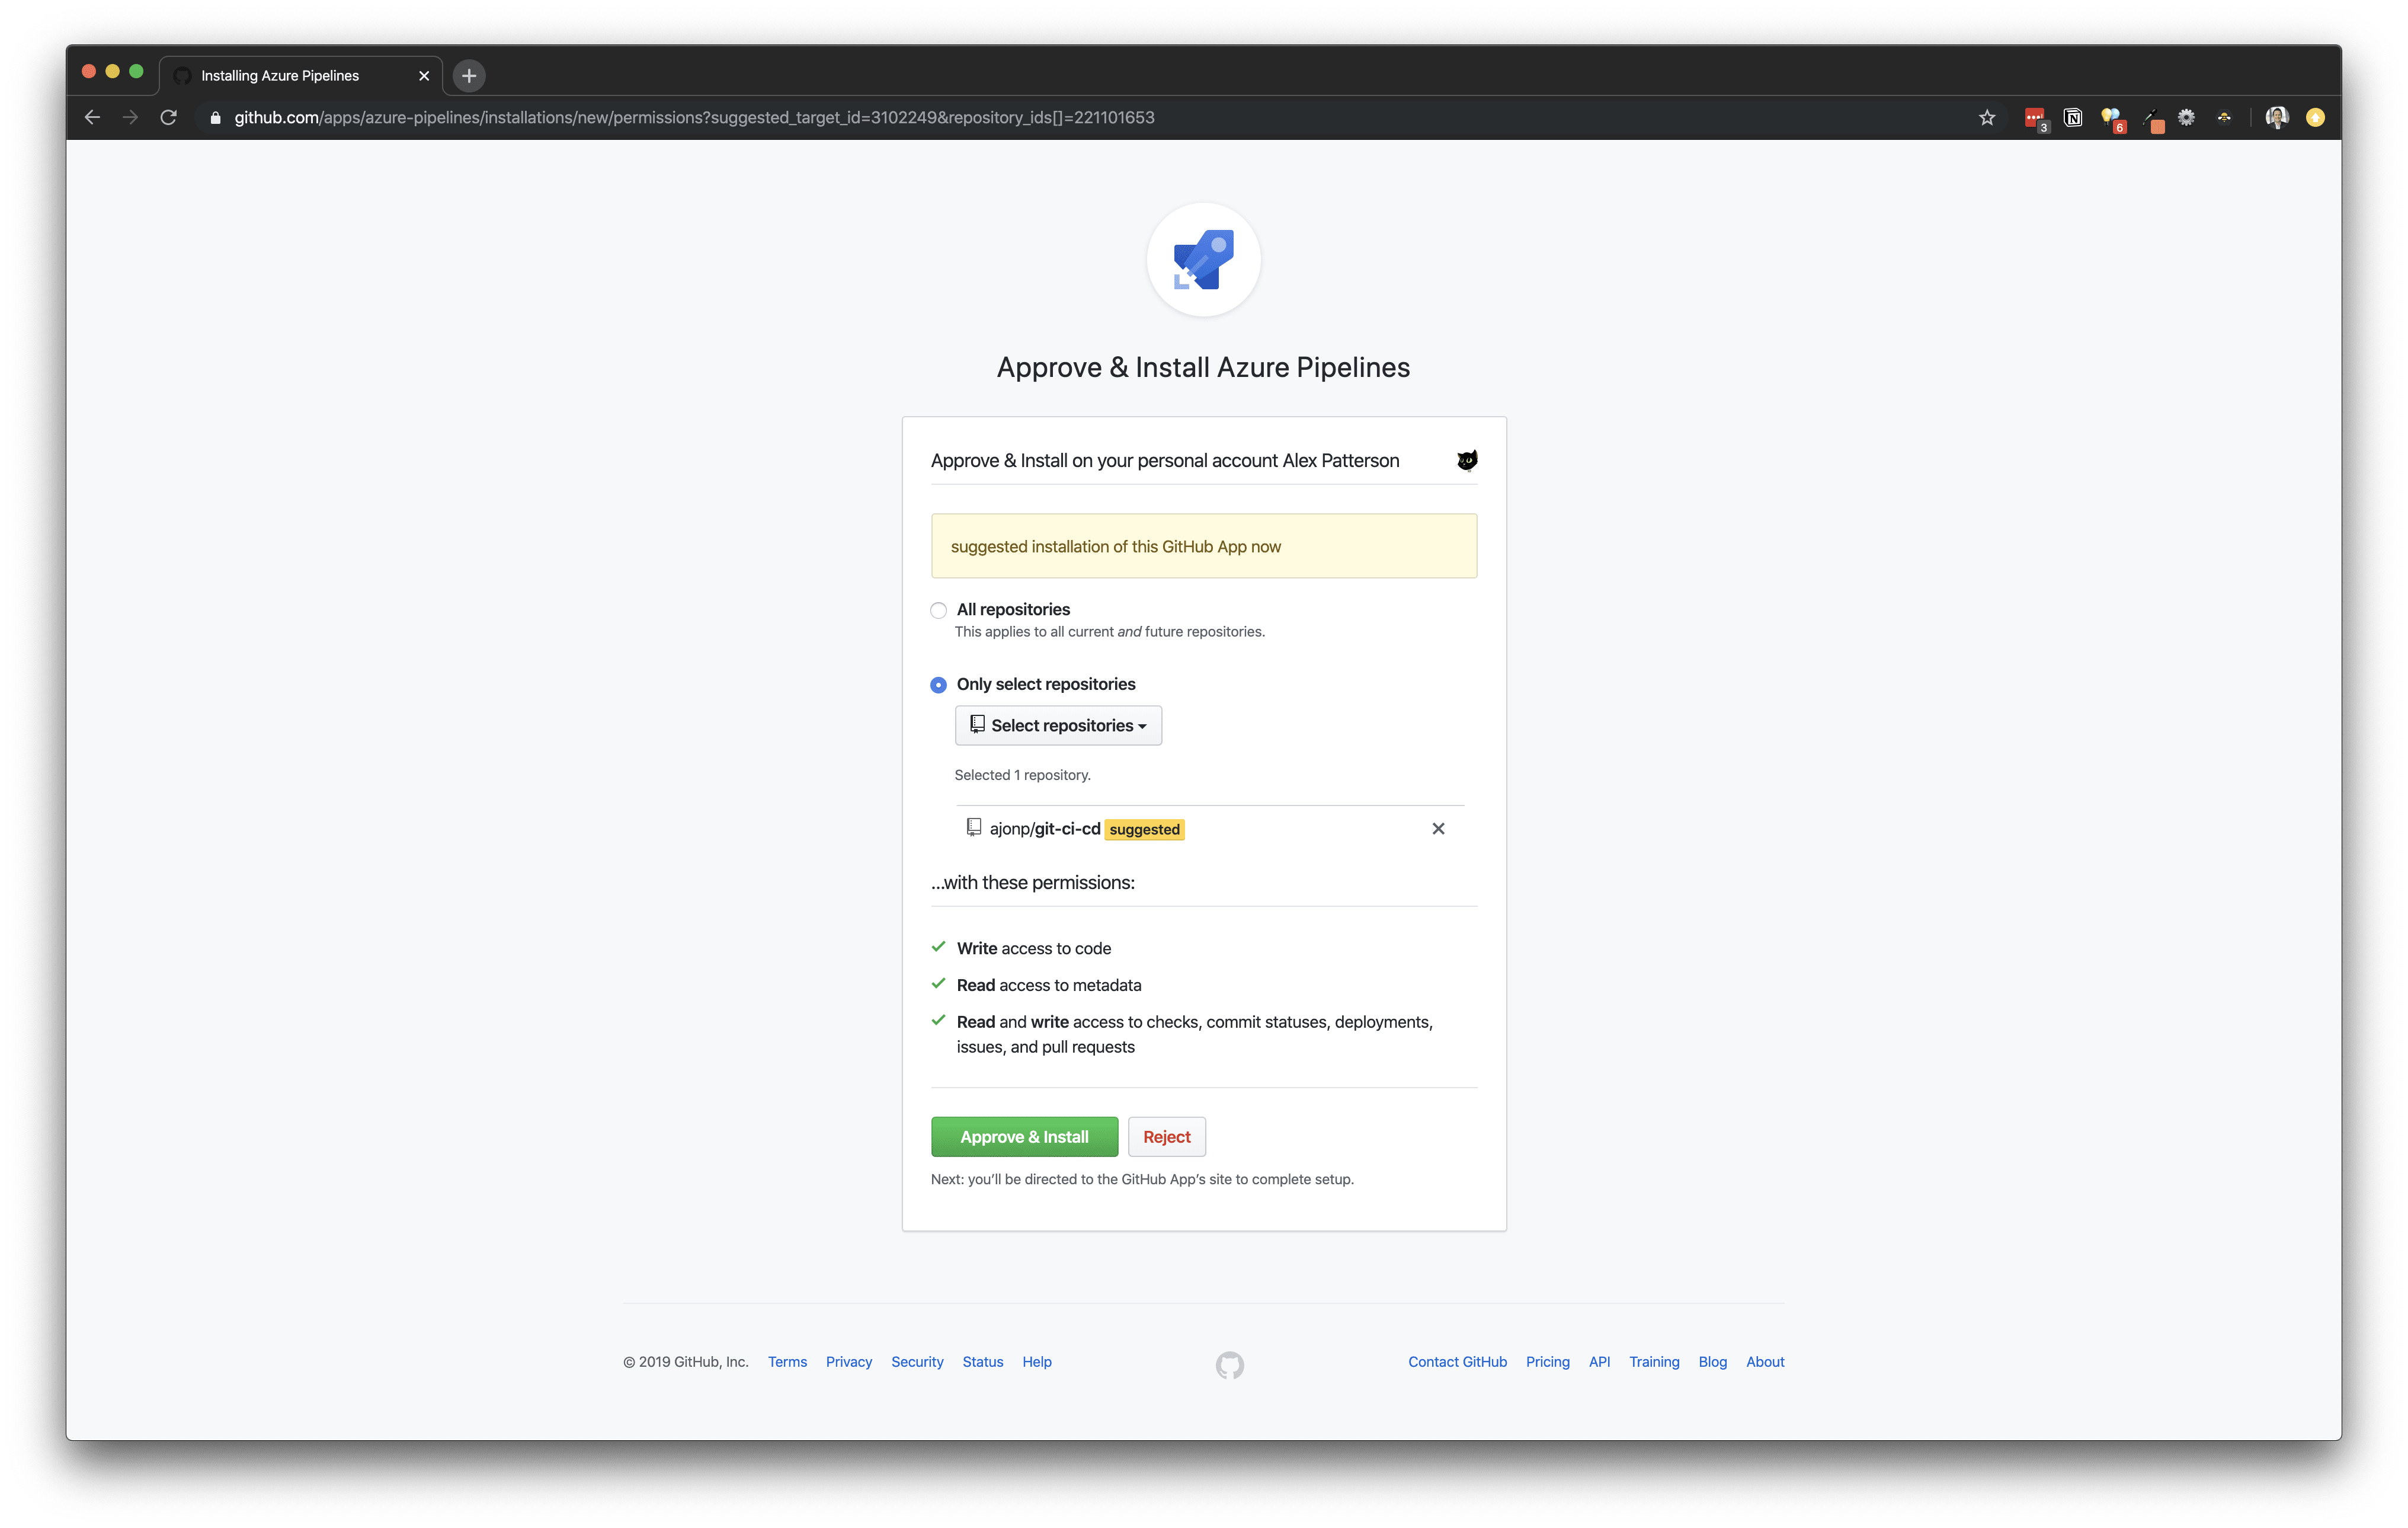
If you have several GitHub repositories, you may need to filter to find the correct one. Once you have done this click on your repository and continue with teh Installation of Azure Pipelines within GitHub. You should see another prompt to allow access to the repository that you had already selected within Azure.
Once this process is complete you will be brought back into Azure DevOps and you can continue configuring your pipeline. Select the appropriate pipeline for your codebase. For your example select Node.js with Angular.
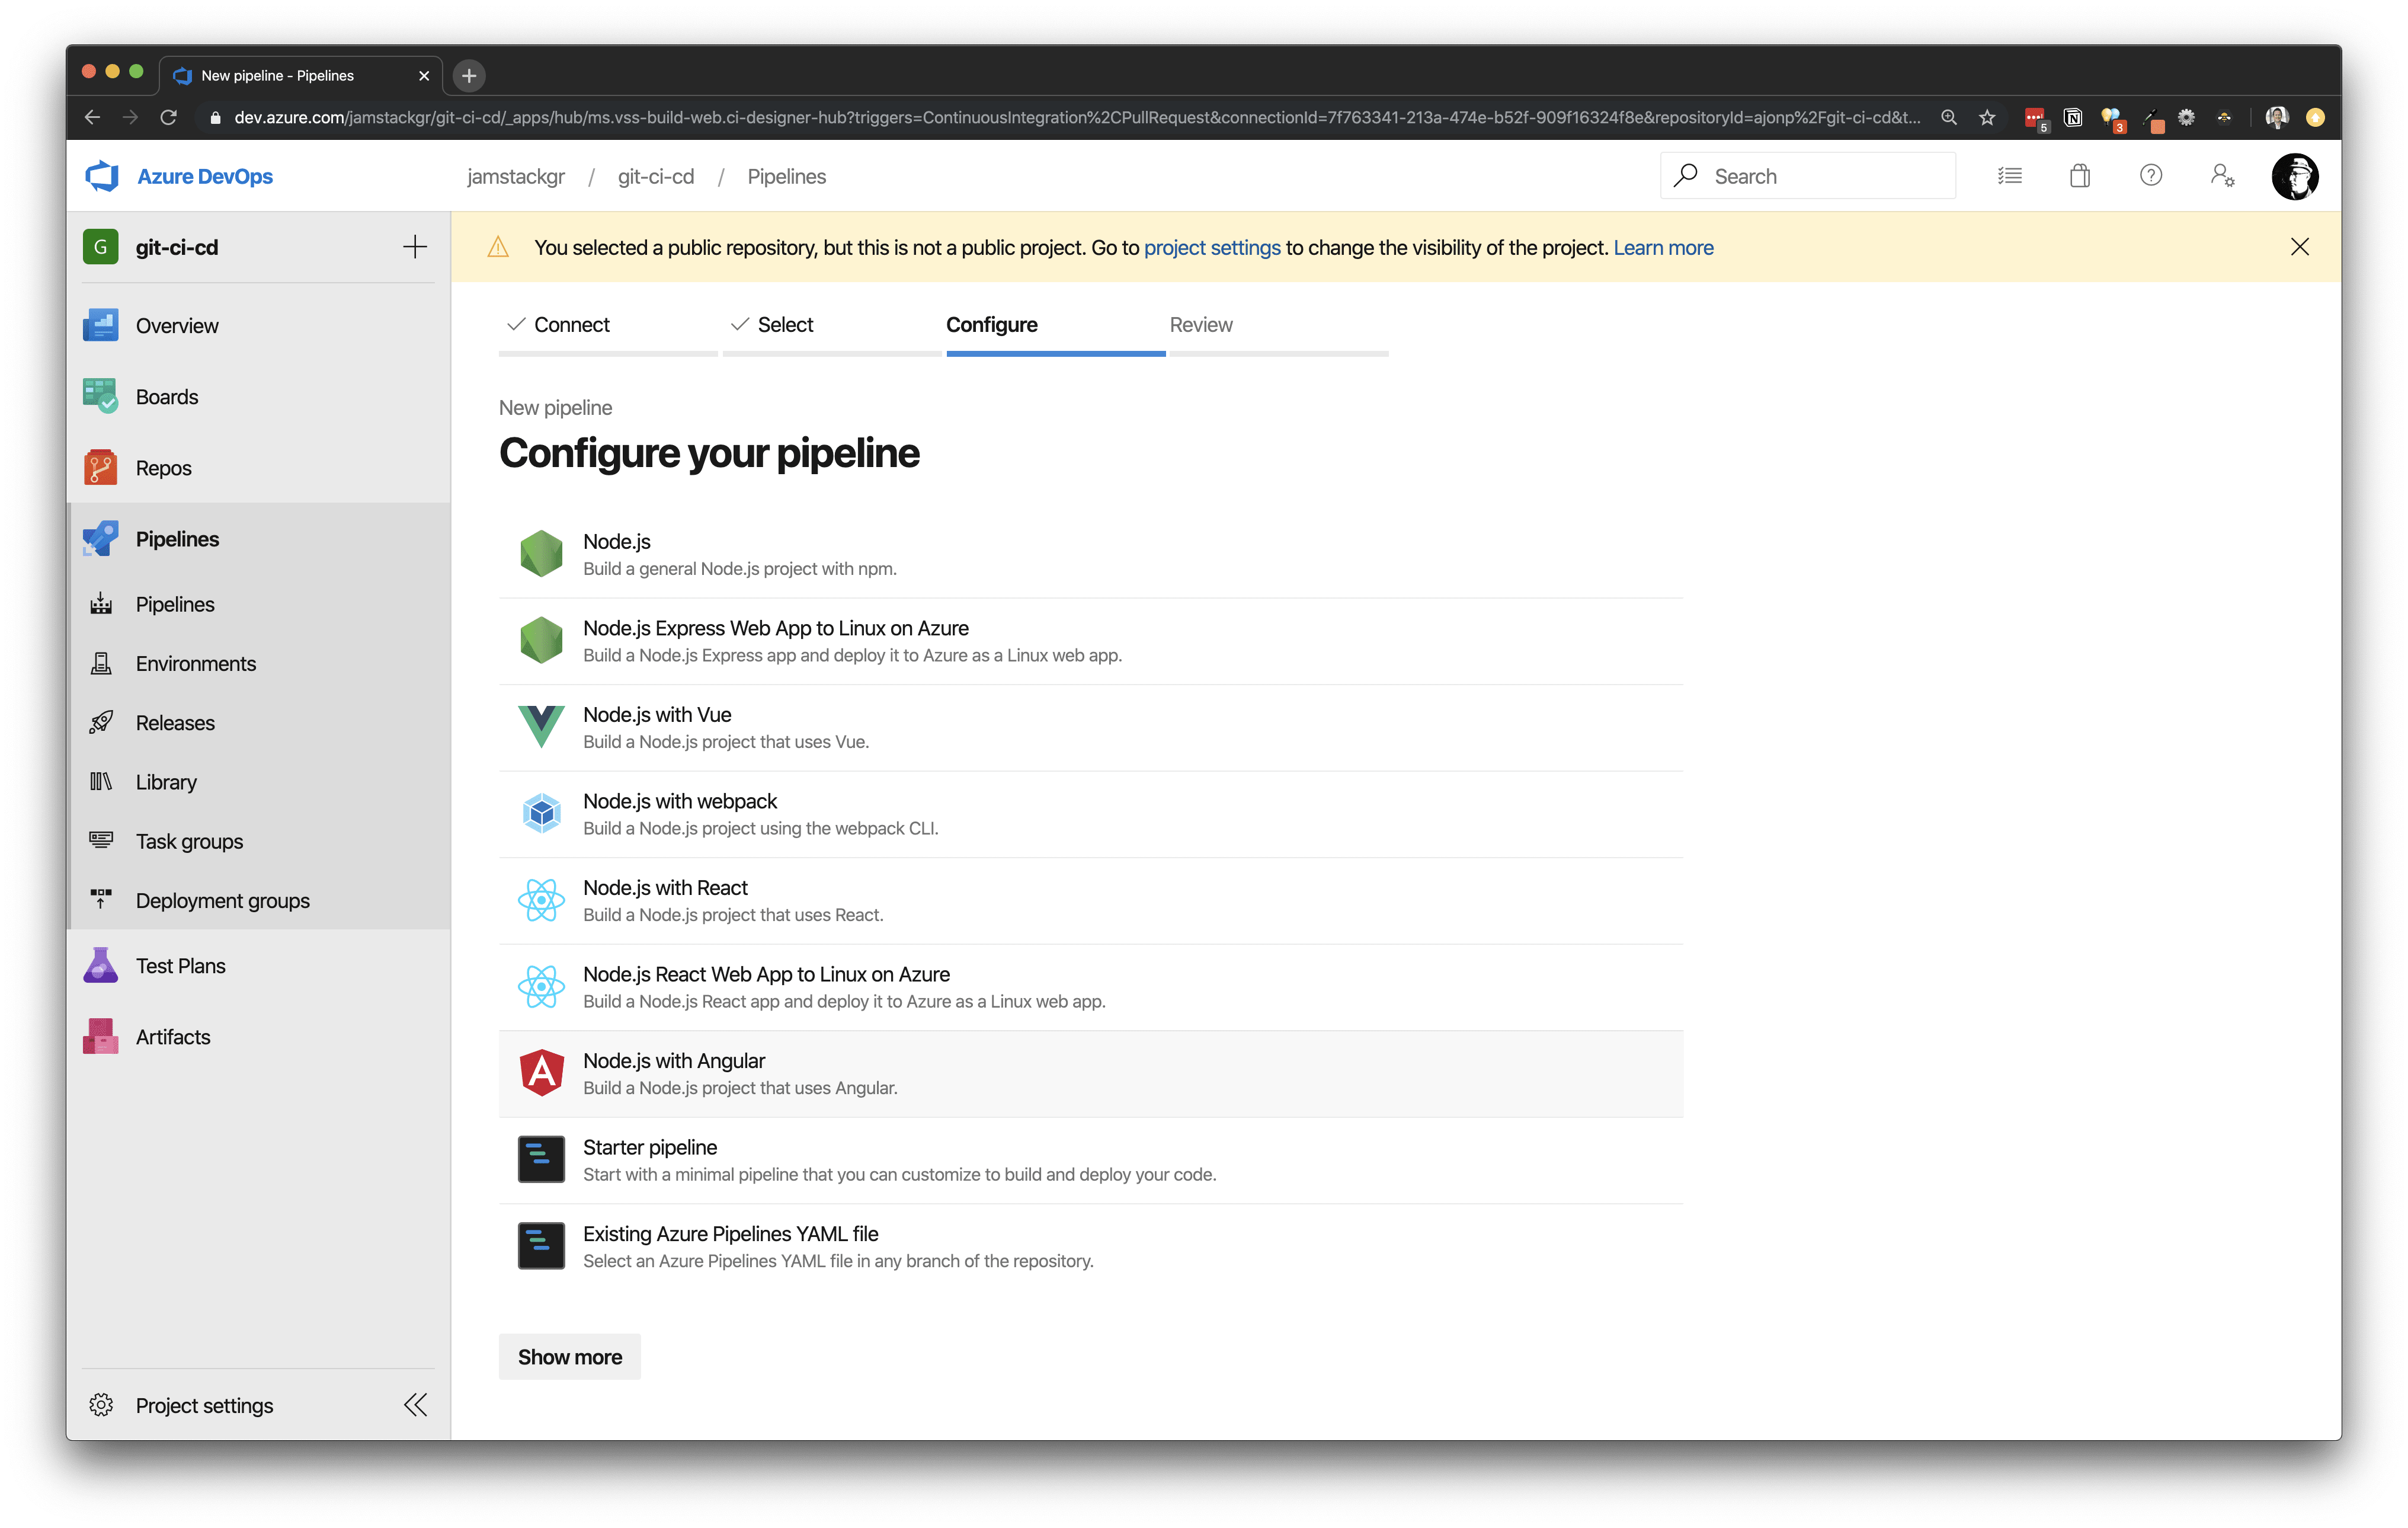
This is a very user friendly experience as it automatically creates an azure-pipelines.yml file for you and commits this to your repository.
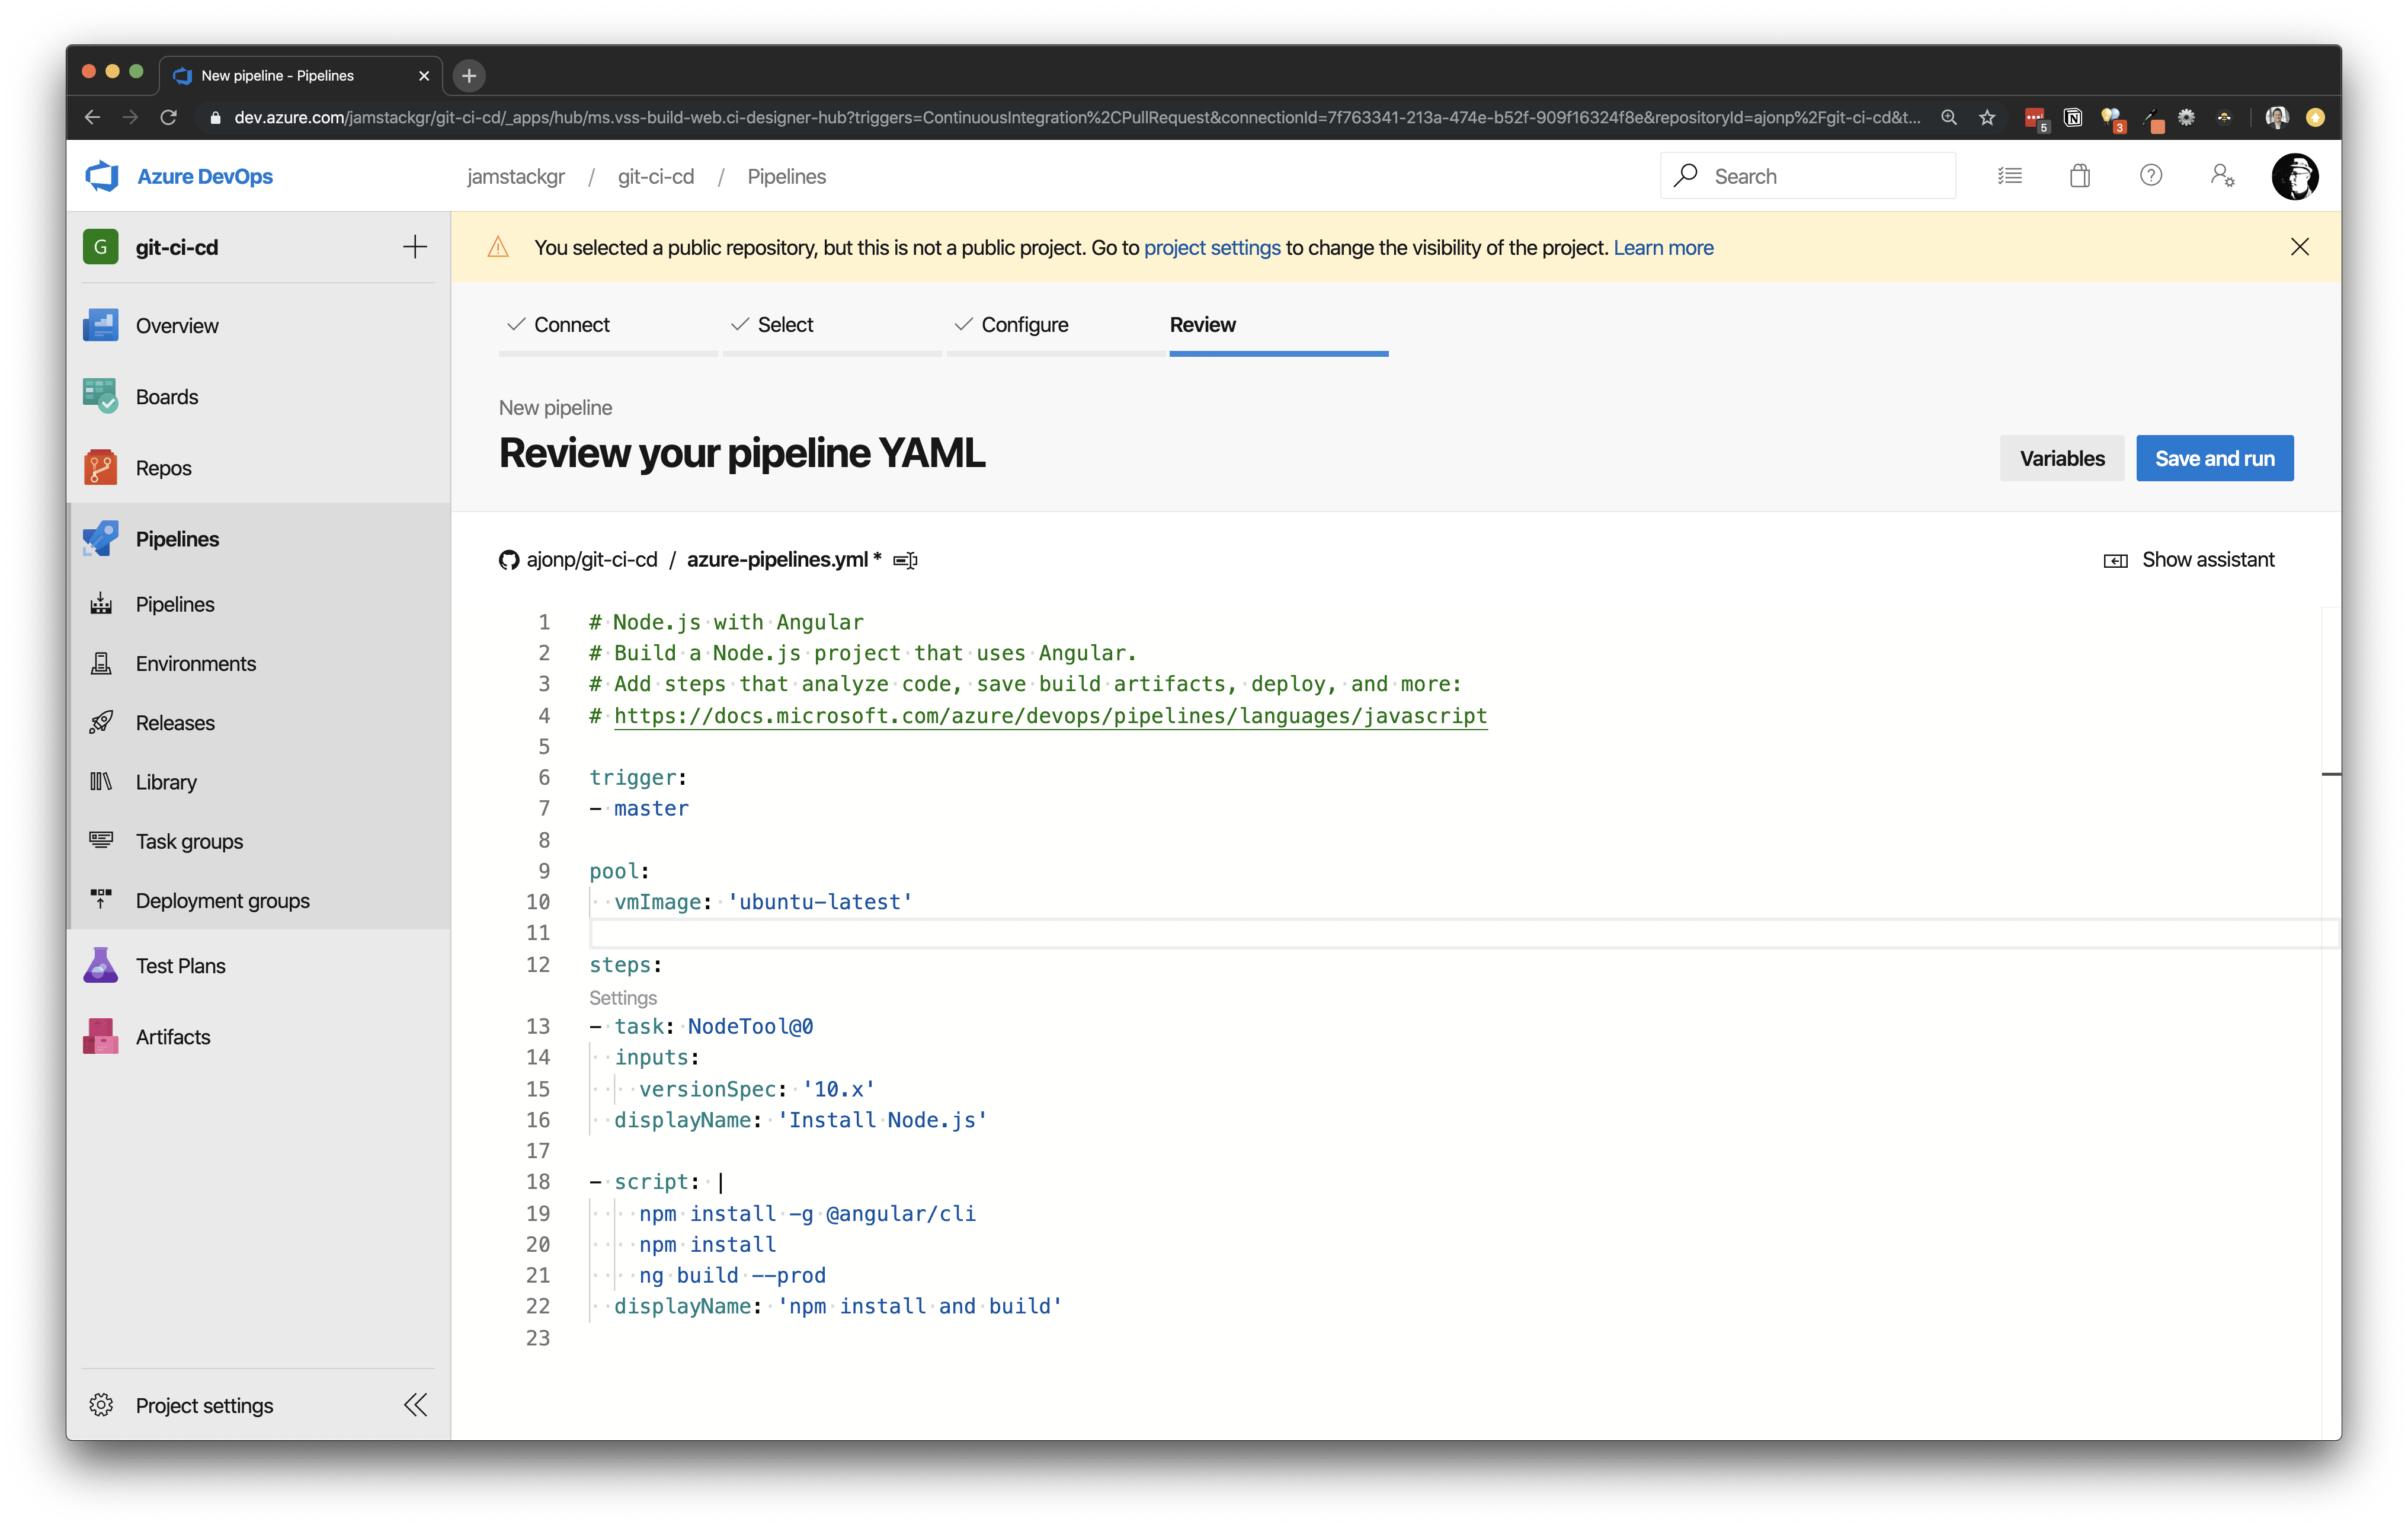
Select the Save and Run button and you## Amazon Web Services - Code Pipeline


