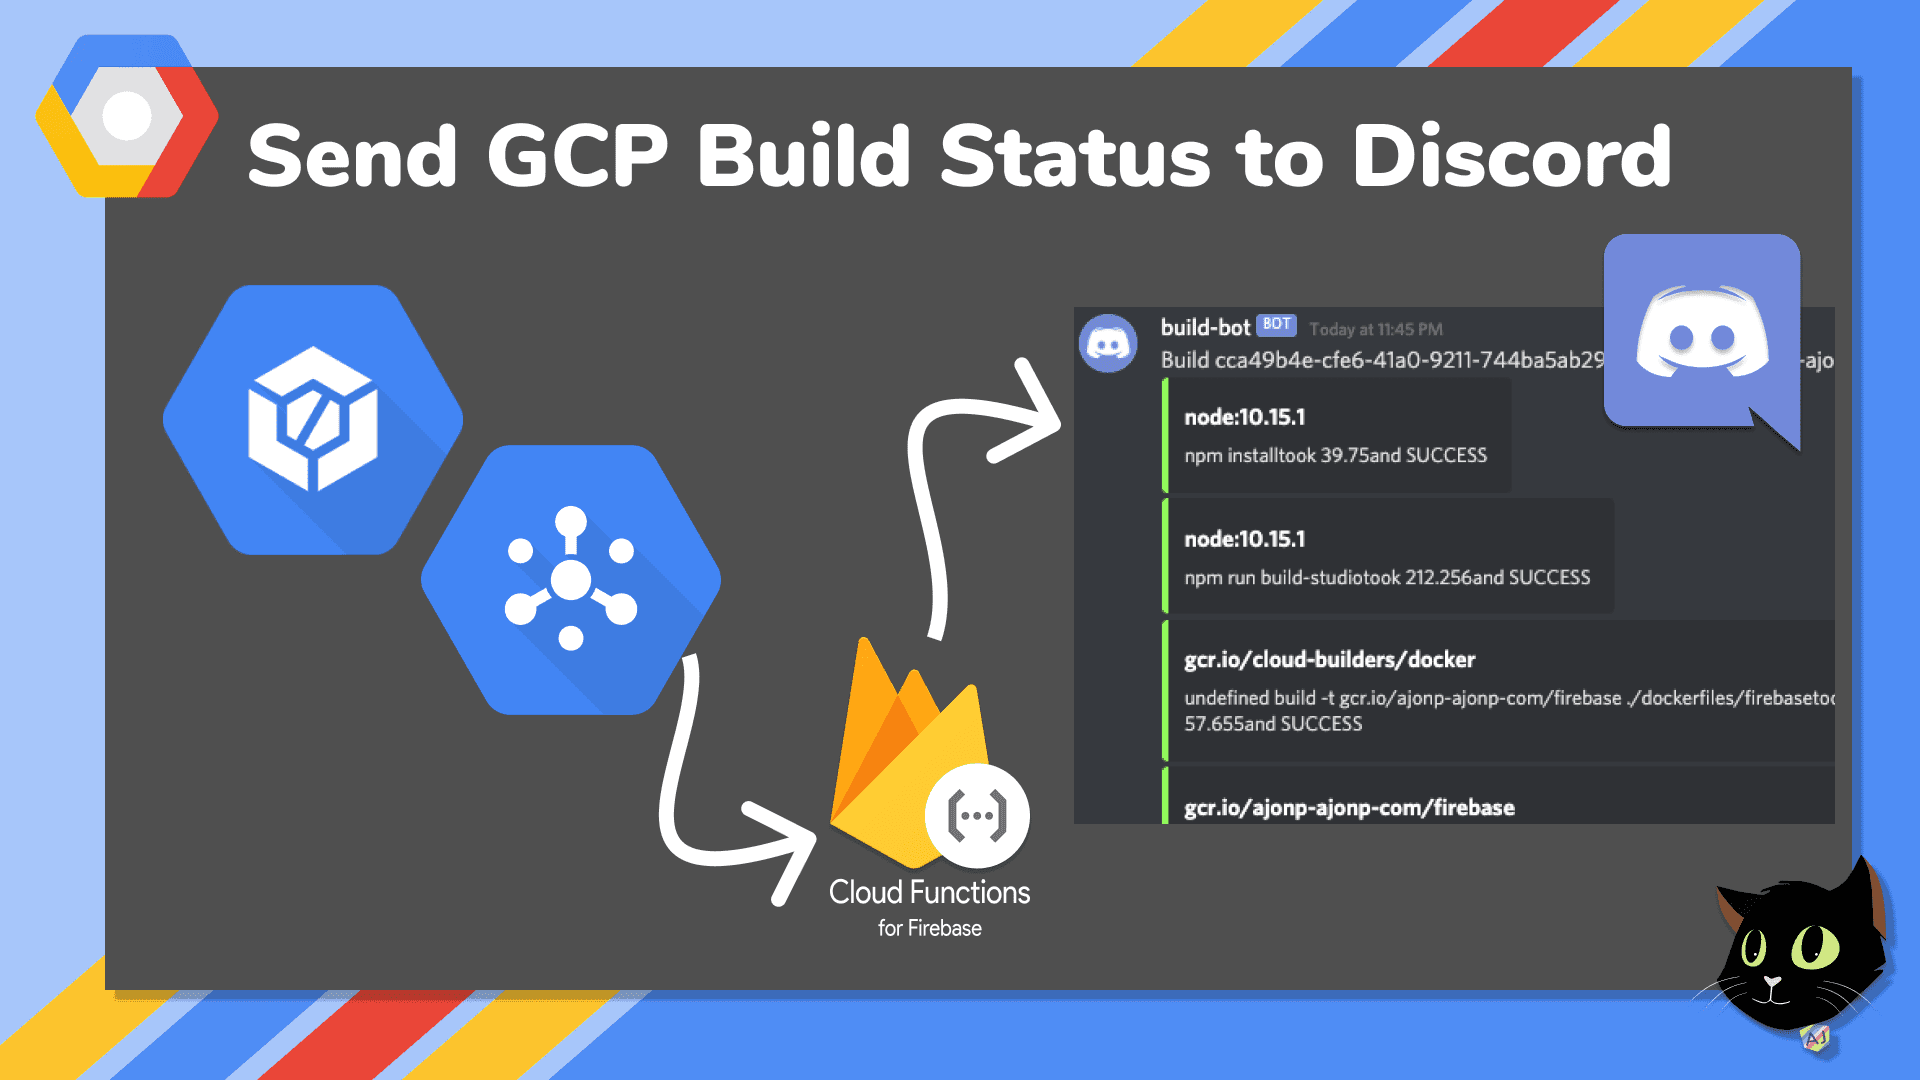
Send GCP Build Status to Discord
If you use Google Cloud Build and find yourself in Discord all day, it might be handy to receive a messge about your builds. Or just any webhook message in Discord.
I’m the founder of CodingCatDev, where we create “Purrfect Web Tutorials” to teach the world how to turn their development dreams into reality. I am a professional full stack developer, and I am passionate about mentoring new developers and helping the community that has allowed me to live my development dreams. I firmly believe that anyone can learn to be a developer. The CodingCatDev team is here to help!
Original: https://codingcat.dev/tutorial/send-gcp-build-status-to-discord
Creating a new project
You can choose to pick any type of project that you would like, for our example I choose a create-react-app (CRA). This way we still have options for running something within npm. However you could just as easily use this guide for Angular, Vue etc. You could even just write a text file and no site at all. I thought it would lend well to my next lesson of deploying the a storage bucket and CDN.You can create a new project by running and open in VS Code
npx create-react-app gcp-buil-discord
cd gcp-buil-discord
code gcp-buil-discord
You will need NPM (which comes with Node), create-react-app, and firebase-tools installed globally for this project. You will also need to add billing (with Credit Card), although you should not be billed at all for the project. https://nodejs.org/en/download/ https://reactjs.org/docs/create-a-new-react-app.html https://firebase.google.com/docs/cli
How to run build locally
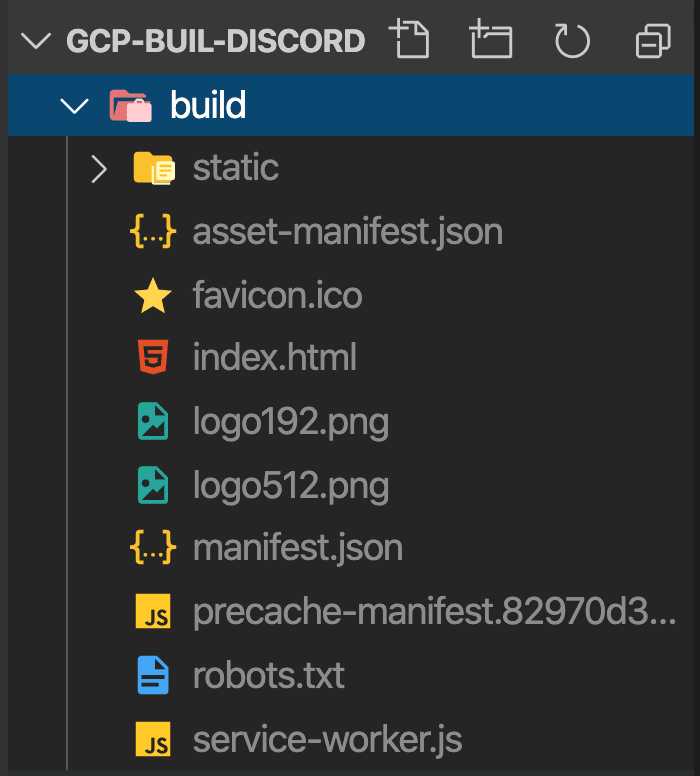
The goal is to see a real life example for using Google Cloud build. In order to do this we will run the production build of CRA.https://create-react-app.dev/docs/production-build/After running npm build command in the root of your project you will see a folder created like below.
Setting Up GCP Project
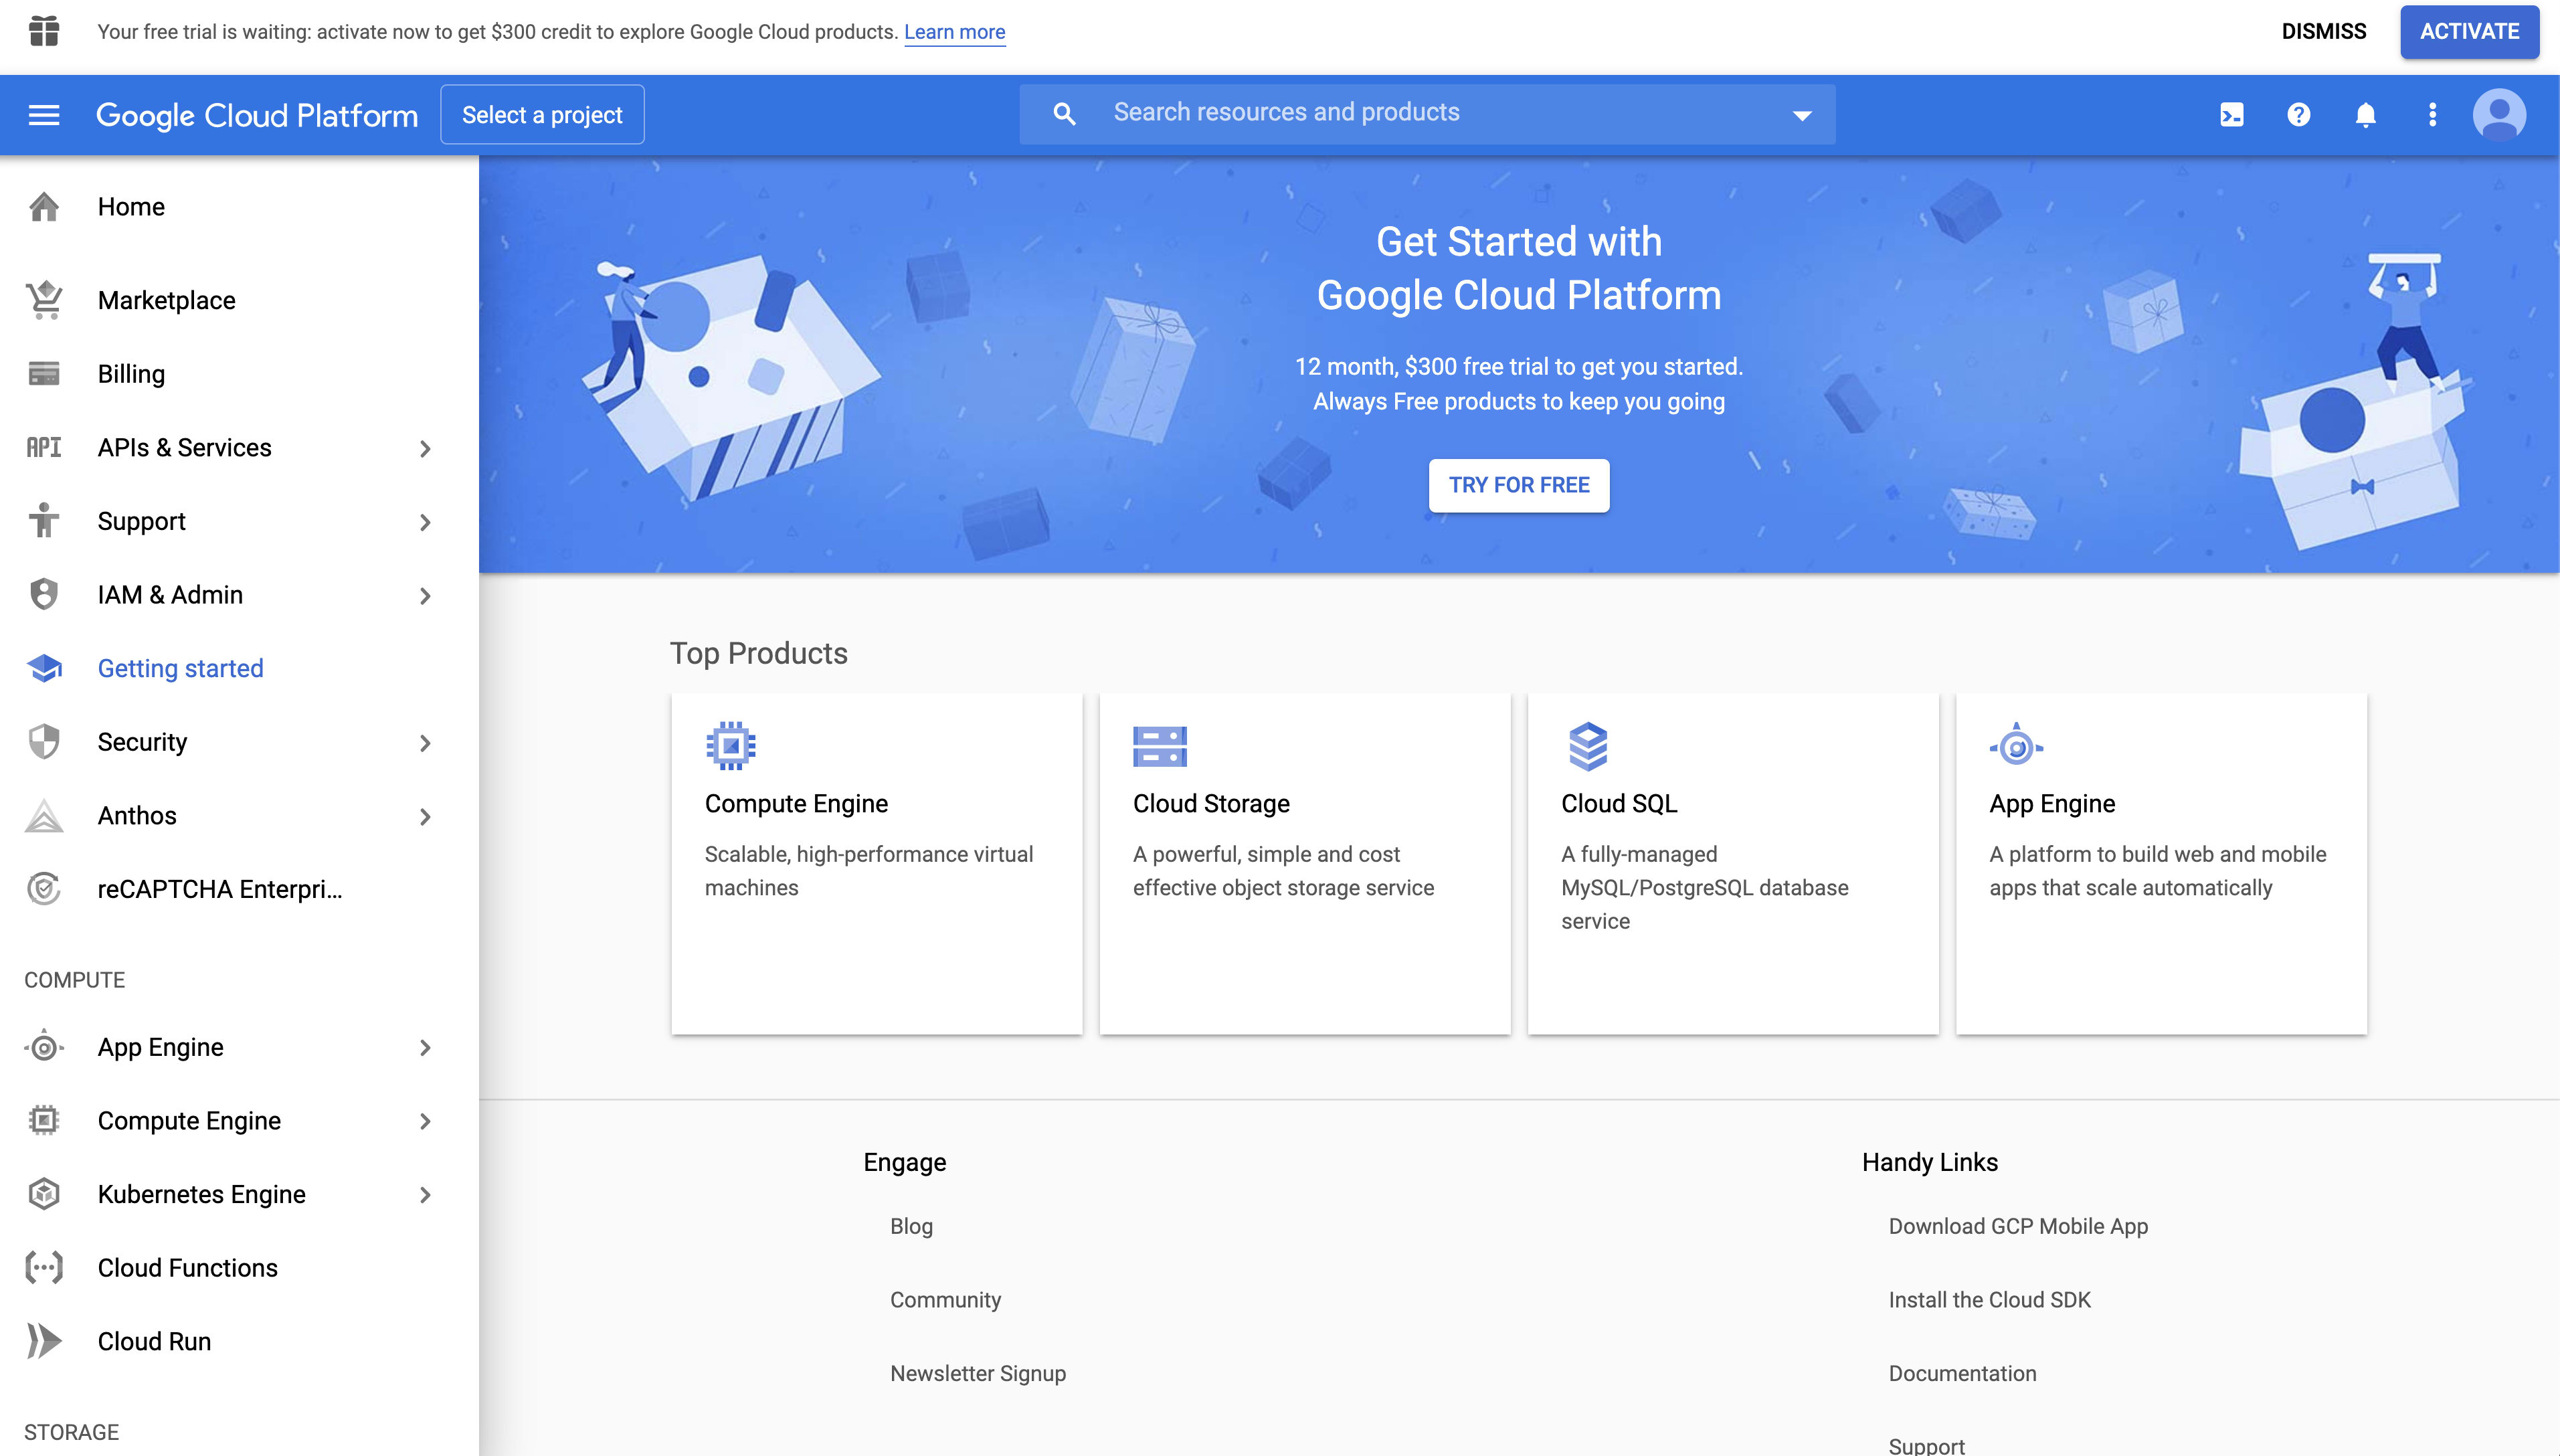
Now it is time to start creating a new GCP project https://console.cloud.google.com/. If you already have an acccount you can skip to the existing users section.
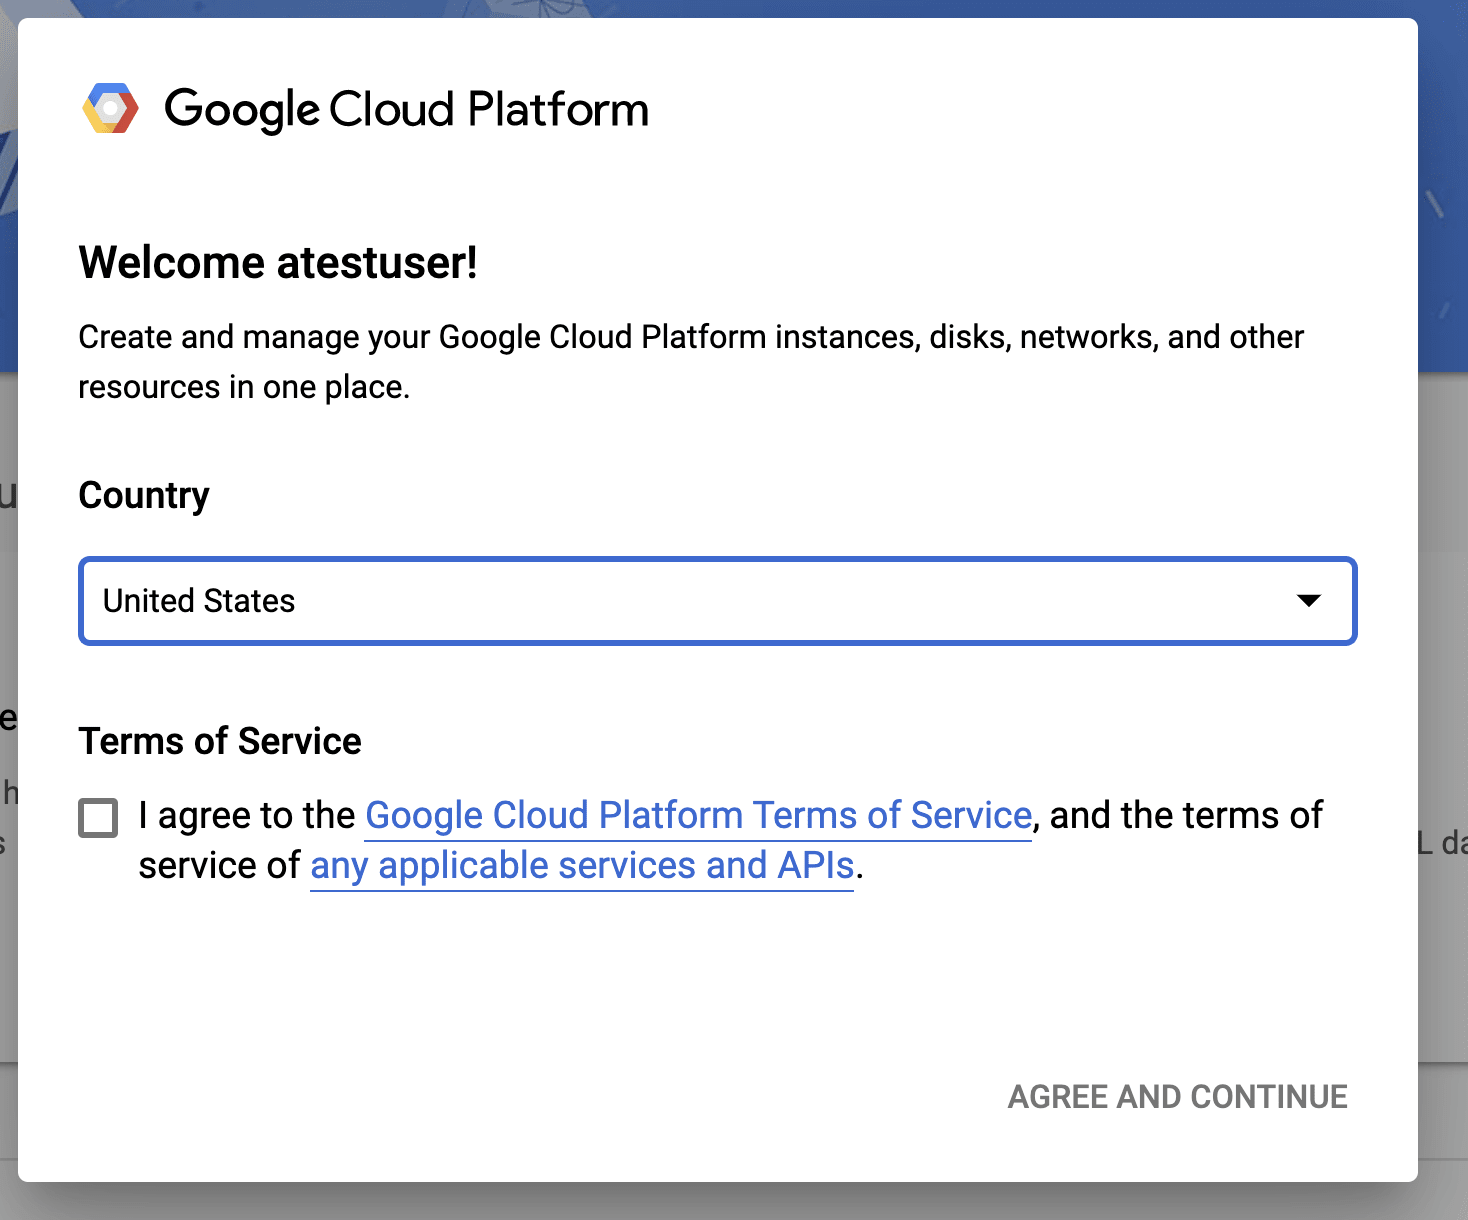
If you do not have an account you will be presented with the screen below. You must agree to the Terms of the platform and APIs.
I would recommend trying out the 12 months $300 free trial so you can checkout everything that GCP has to offer.
To start a project you can now follow the existing Users guide.
Existing Users
Click on Select a project from the toolbar at the top of the screen.

Name your new project something meaningful, for example gcp-build-discord.

Setting Up a GitHub Repo
Making an assumption that you have created a GitHub account before. [https://github.com/join](https://github.com/join)
You should see a "New" button inside of your home page like below.
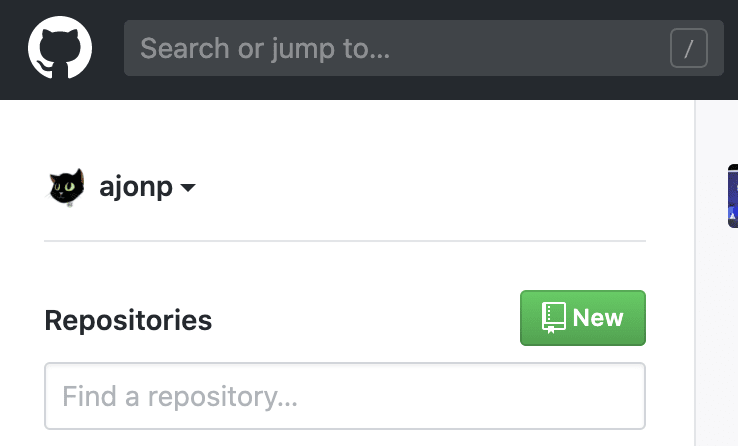
Enter a Repo name that will work for you like below, remember this as we will use it within our Google Platform Cloud Build.
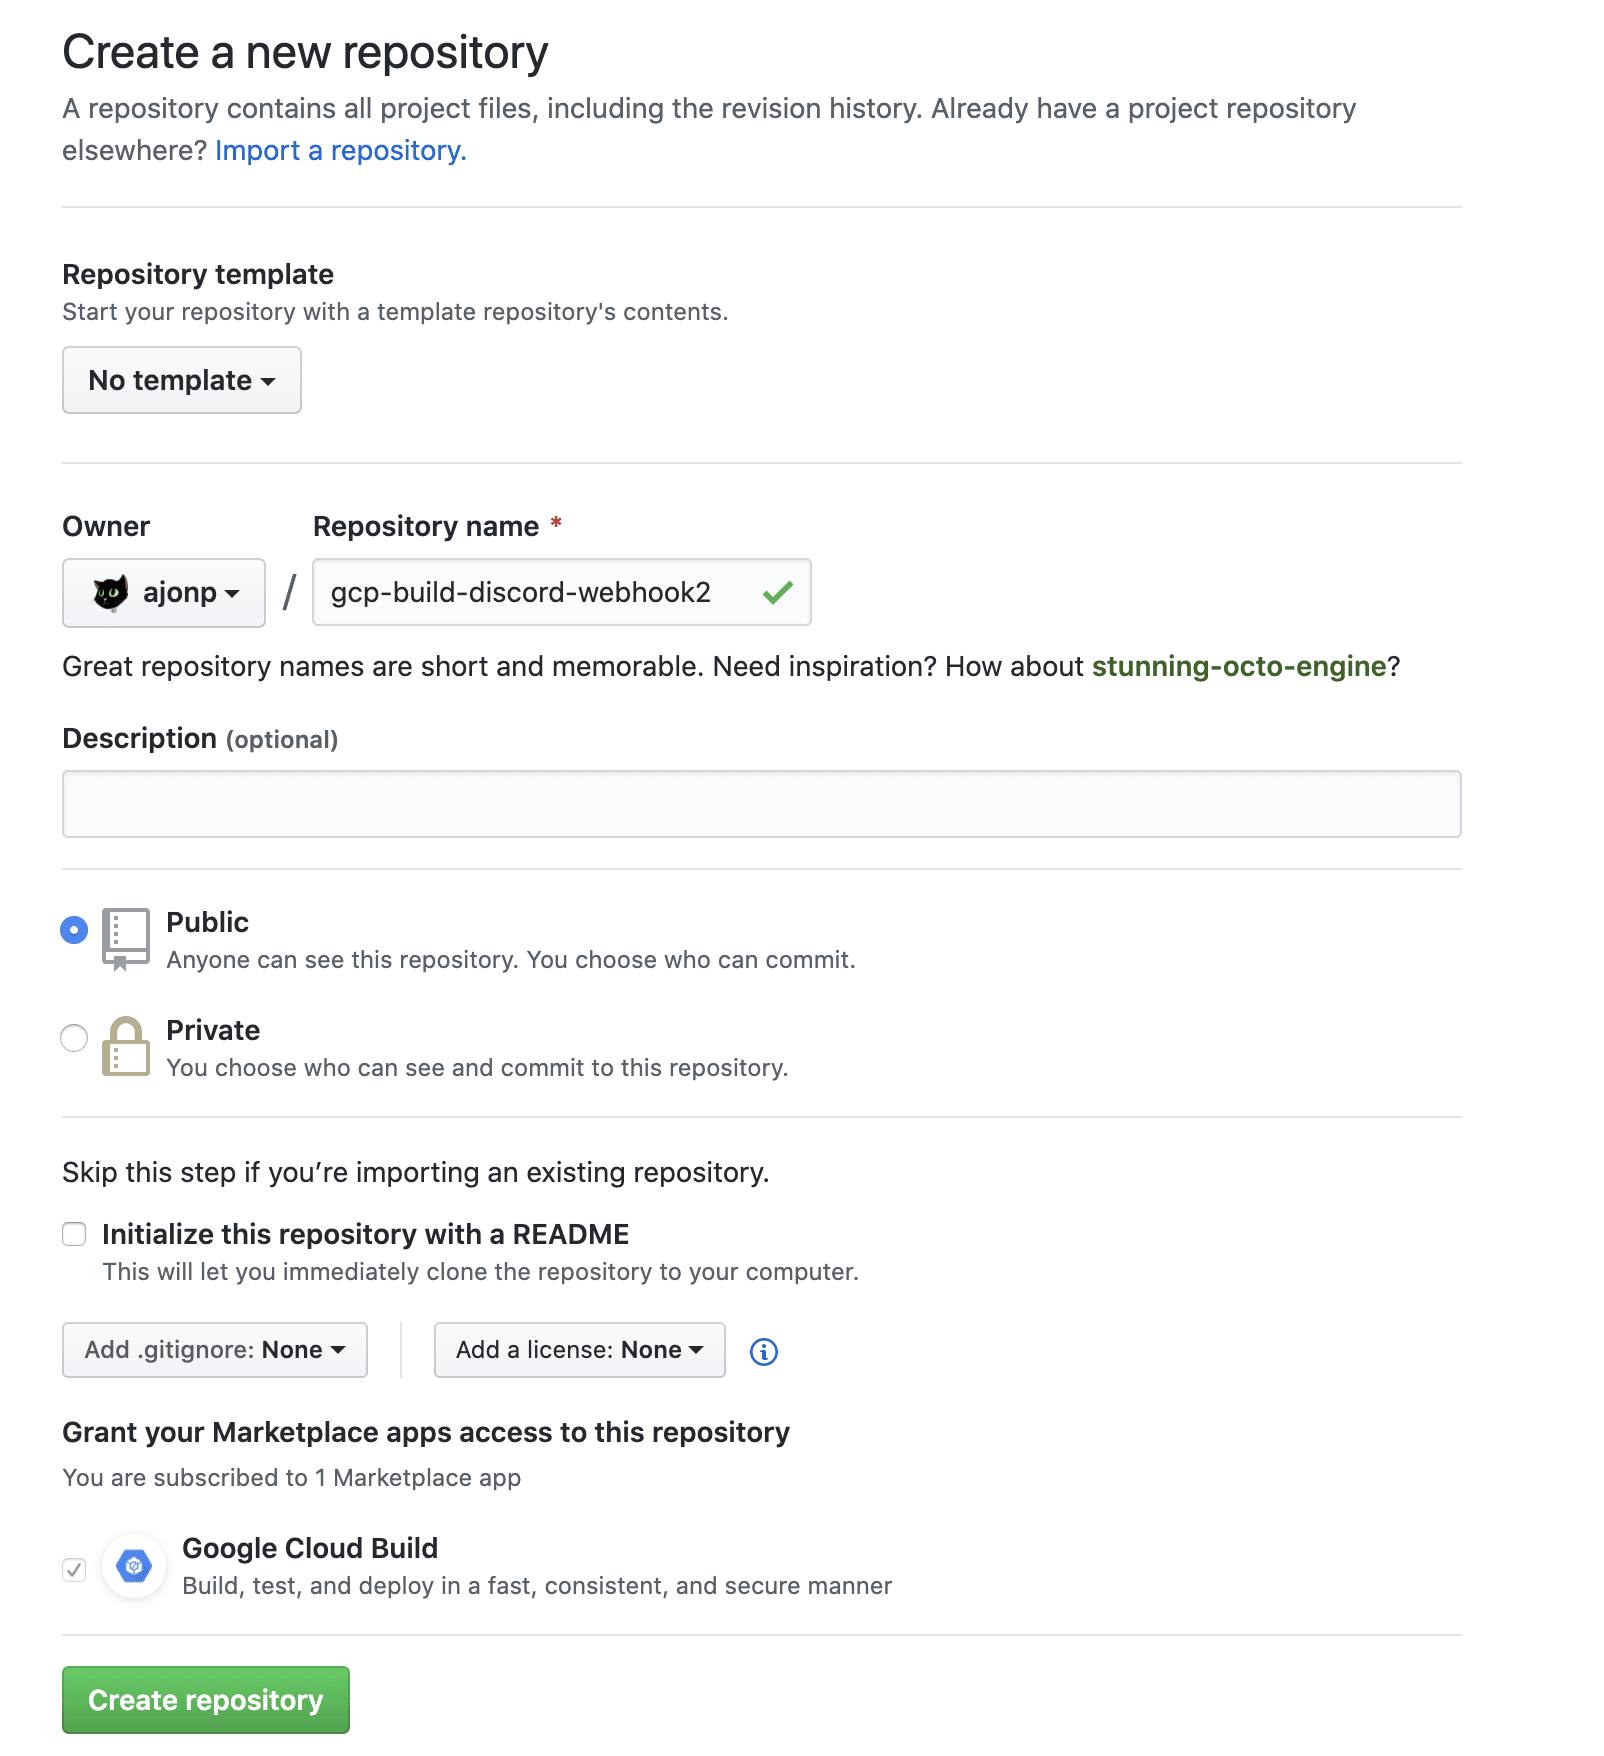
Now you can run the below command in your project to add GitHub as your upstream remote.
git remote add origin git@github.com:ajonp/gcp-build-discord-webhook.git
git push -u origin master
Connecting GitHub to Cloud Build
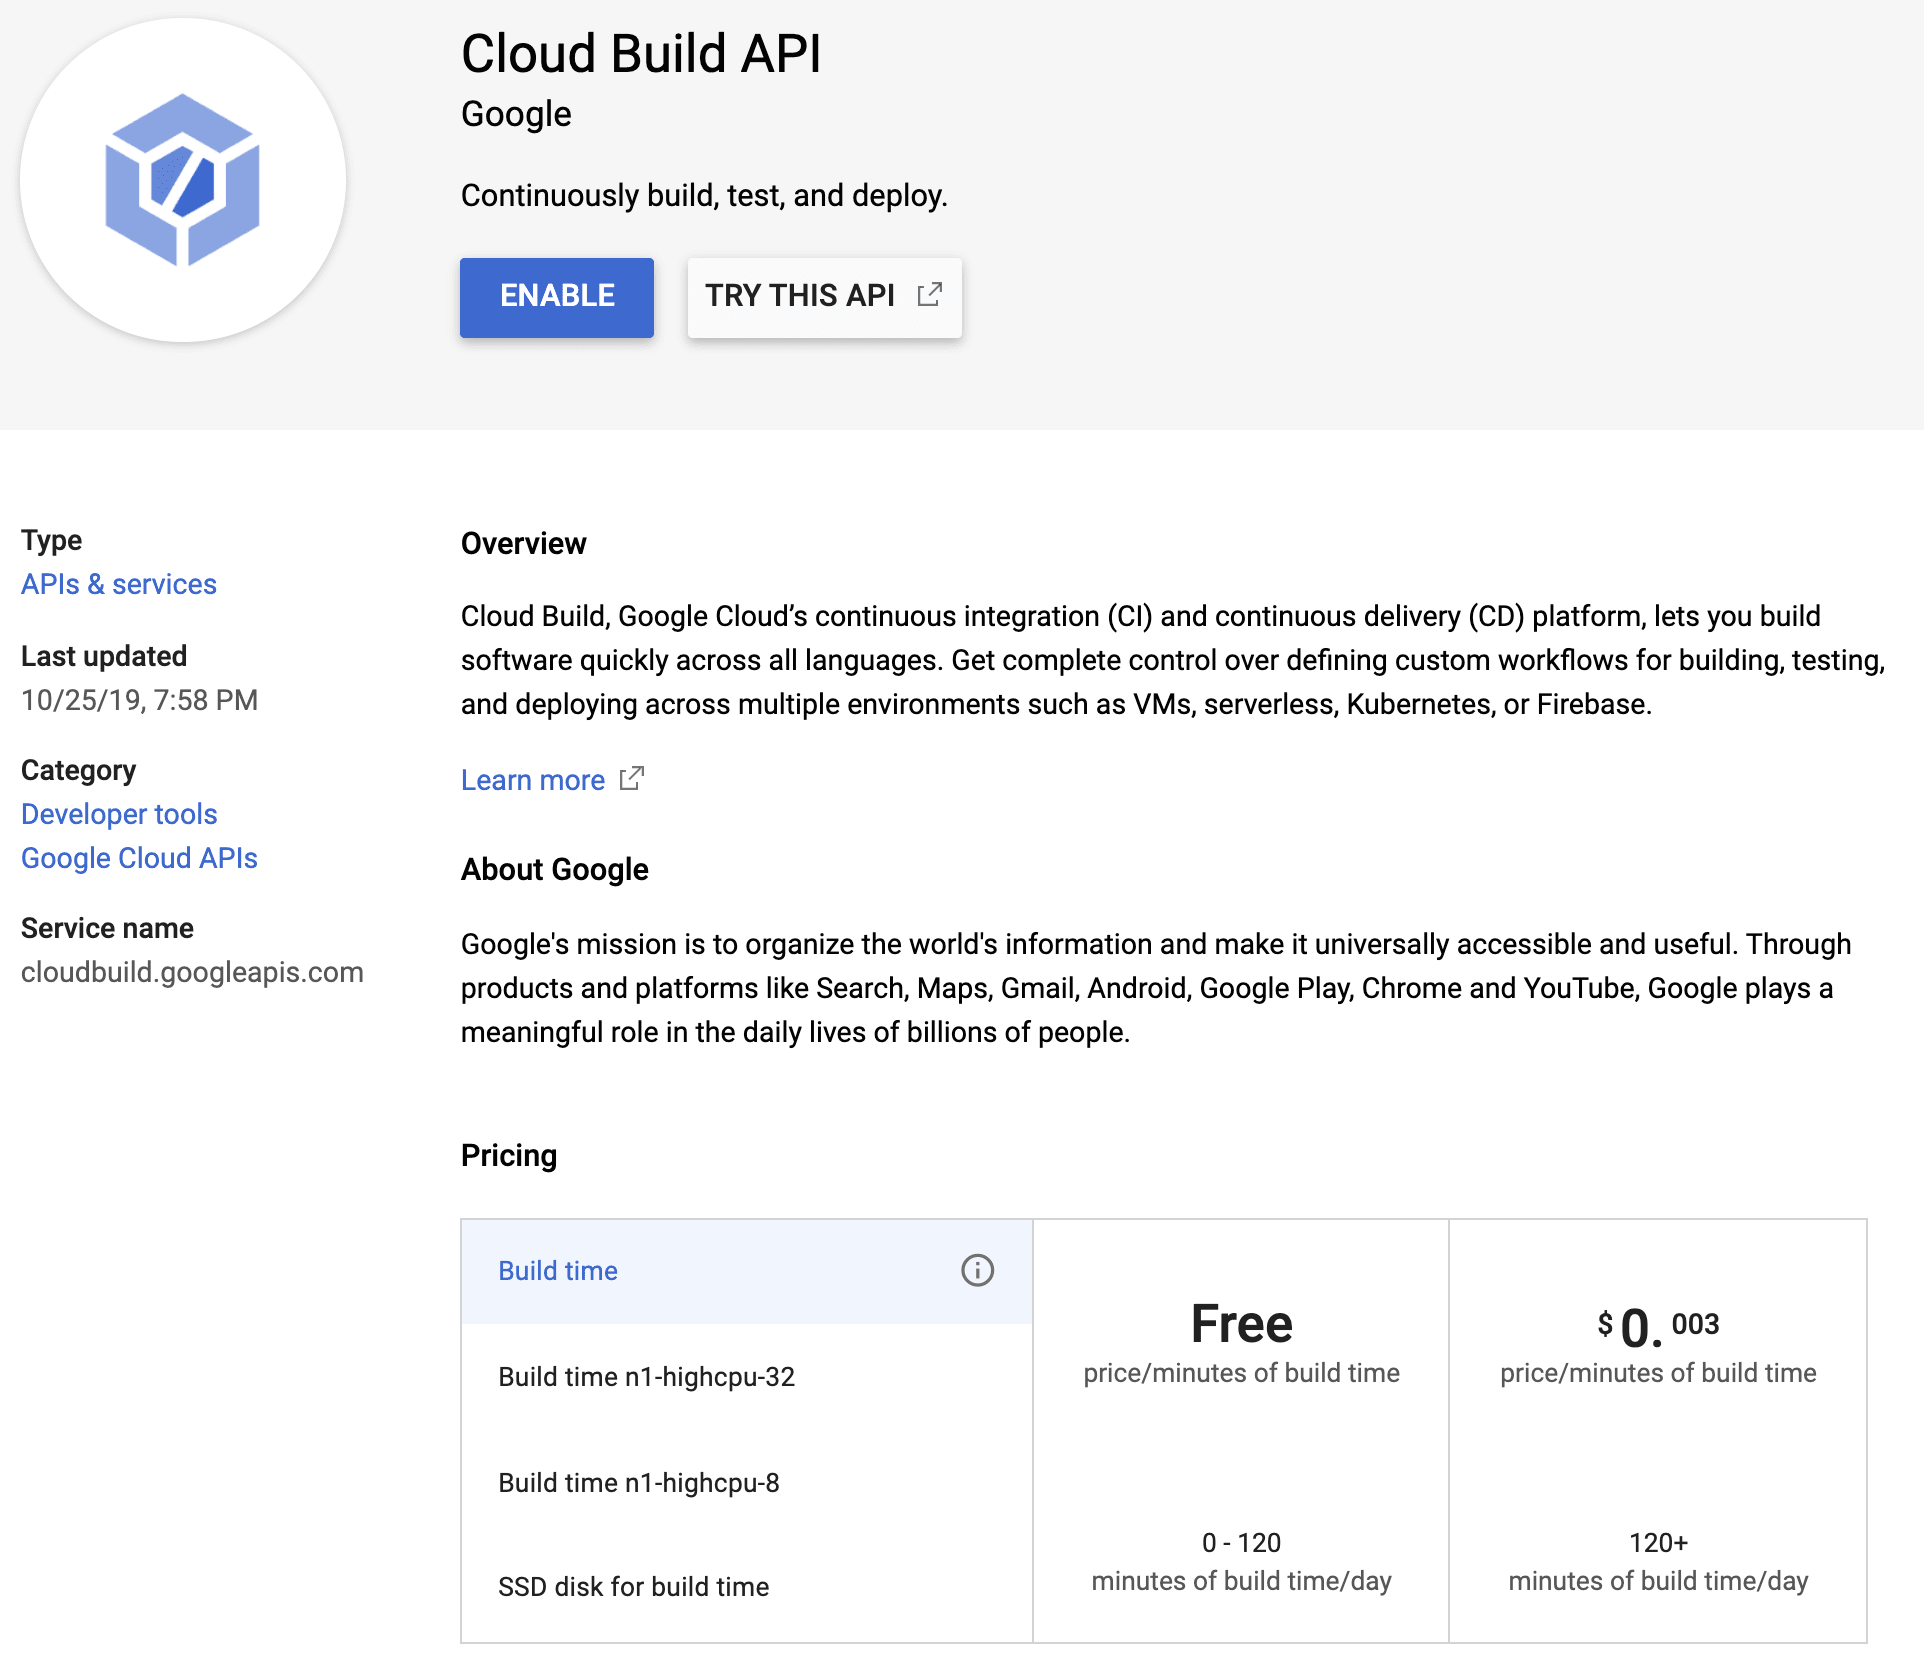
If this is your first time using Cloud Build, you will need to enable the API. Please note the fees related if you start to use 2 hours of build time in a given day (I know a lot).
New Users
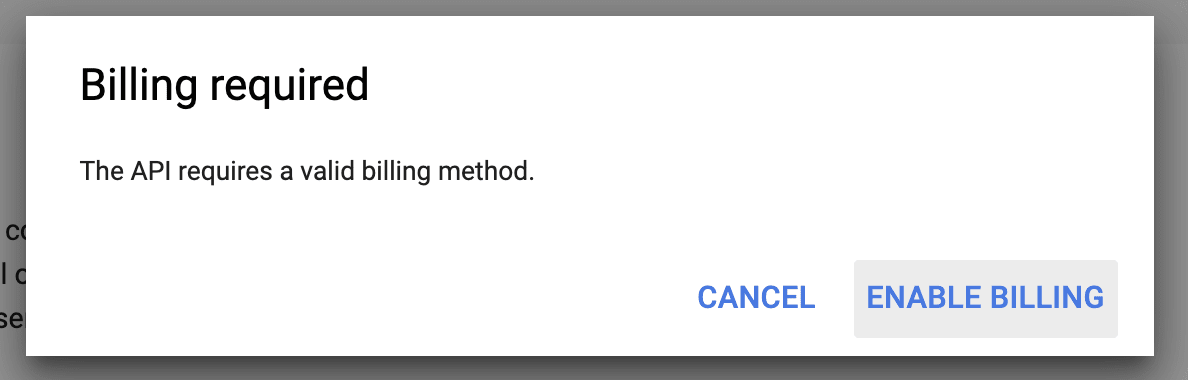

Follow the next prompts to setup your billing with Credit Card.
Existing Users
You will receive a prompt to Enable Cloud Build API, if you receive a failure make sure to add billing to your account.
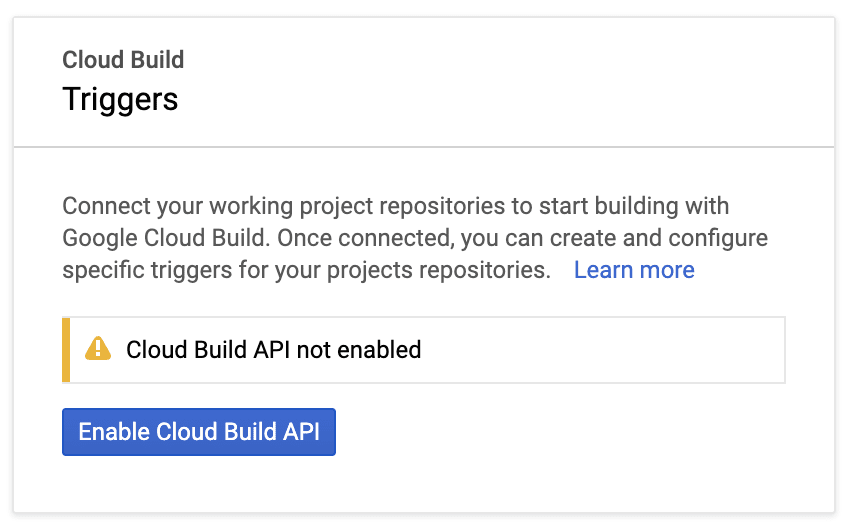
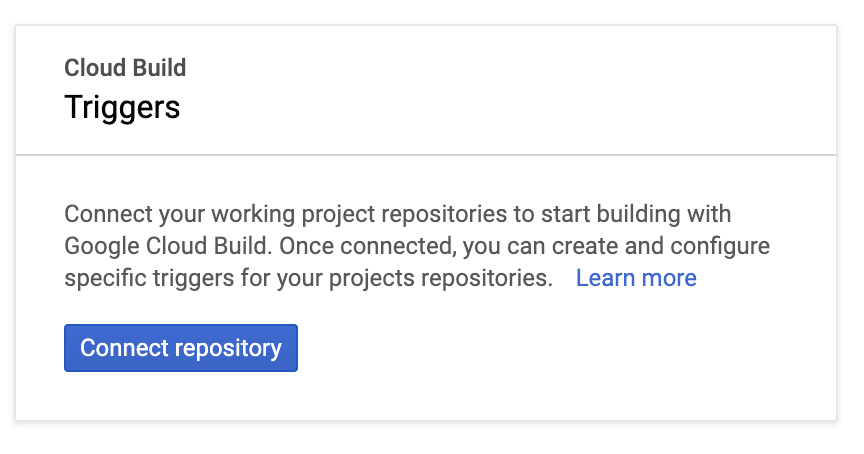
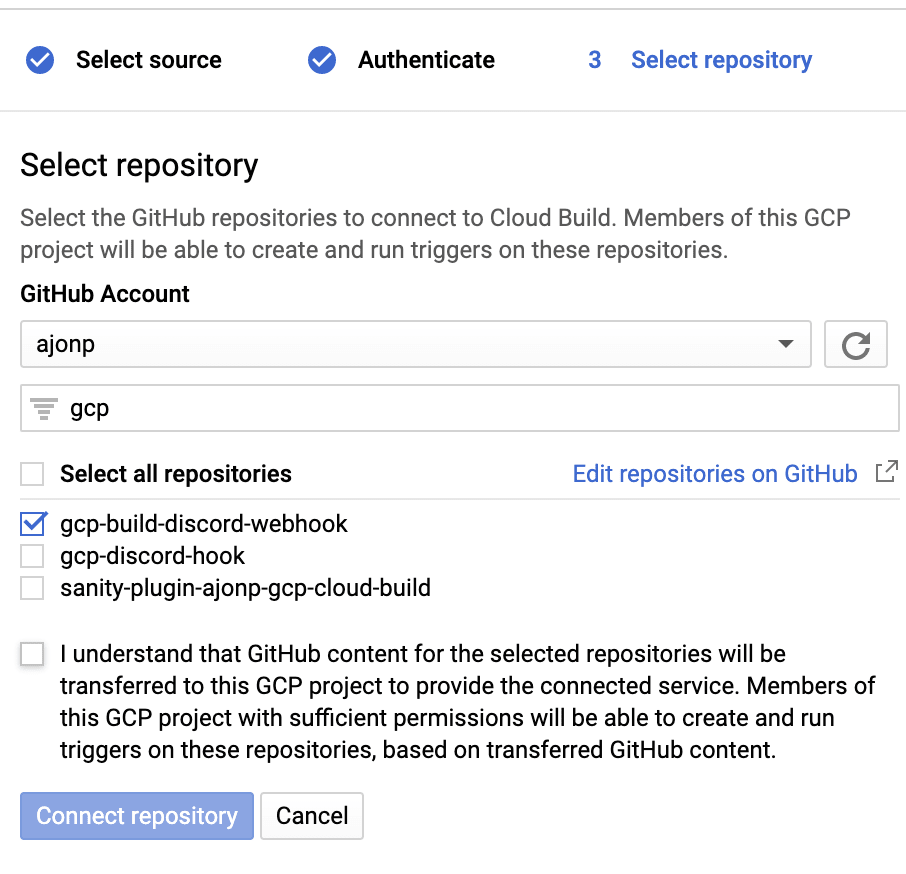
Now you can connect you GitHub repository.
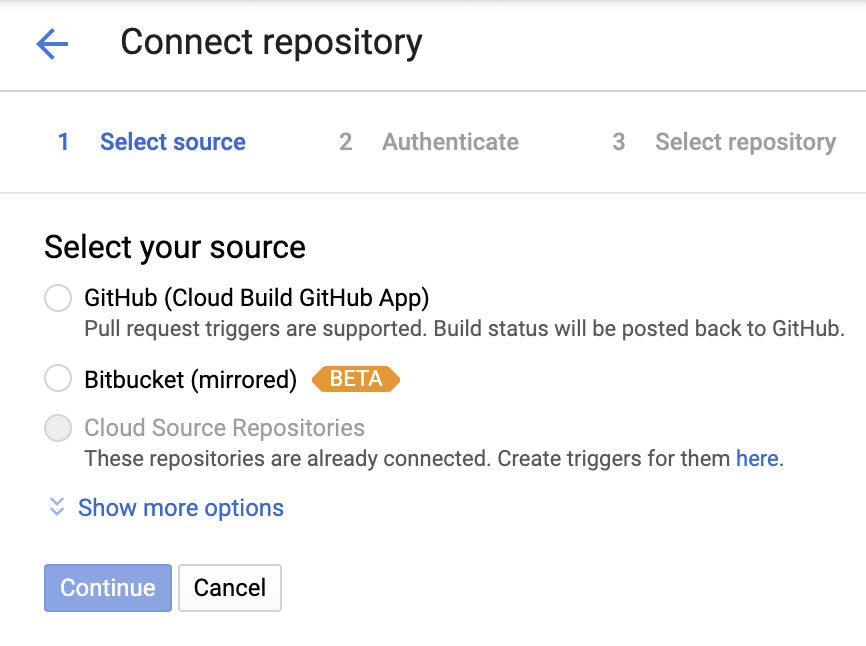
Select the GitHub Source
Once you authenticate you will see all of your repositories listed select the one you want to connect with our trigger, for example gcp-build-discord-webhook.
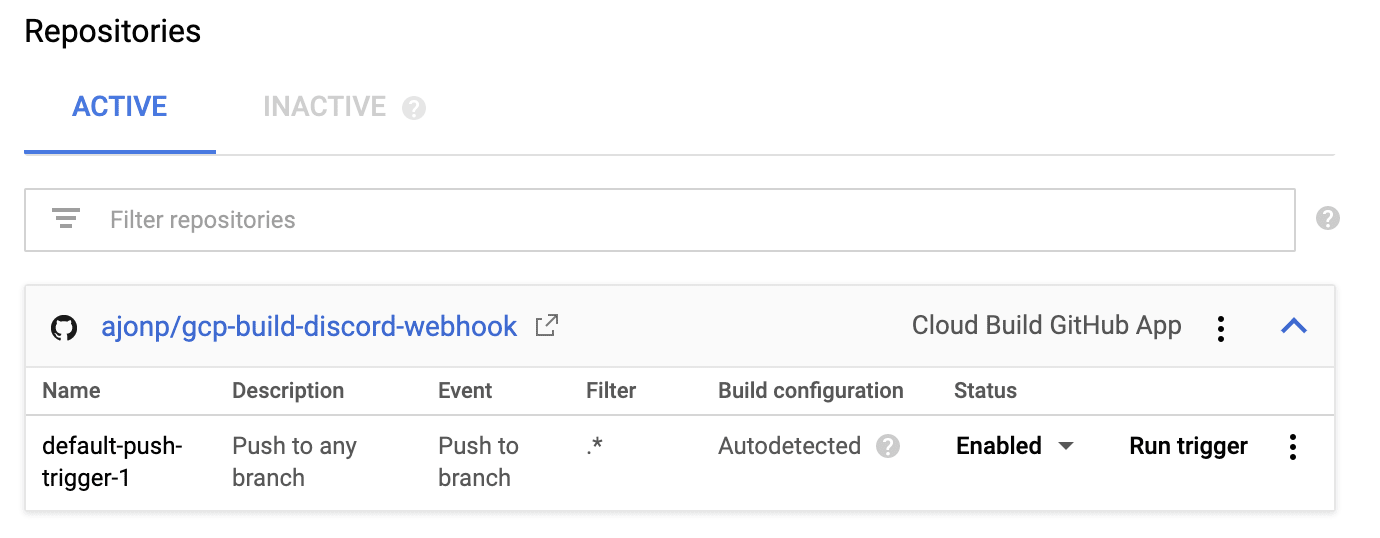
After you connect you will see that a push default push trigger can be setup, go ahead and create the default push trigger.

You will see a screen similar to below showing the new trigger, you can get into the details of this trigger further, but for now it is enough to trigger on any git push that we run.
Cloud Build YAML
For our example react project we have two phases that are going to trigger
npm install- which will install all of our dependenciesnpm run build- which will create our production build folder
This file will be located in the root of your project and called cloudbuild.yaml.
# Simple React Build
steps:
- name: node:10.15.1
  entrypoint: npm
  args: ['alex']
- name: node:10.15.1
  entrypoint: npm
  args: ['run', 'build']
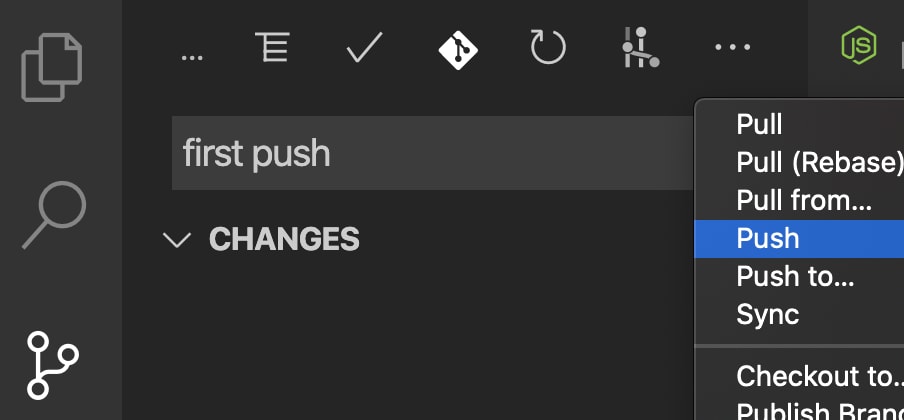
Once you add this you can now run the below command to push our new commit.
If you like to use VSCode to push instead like below.
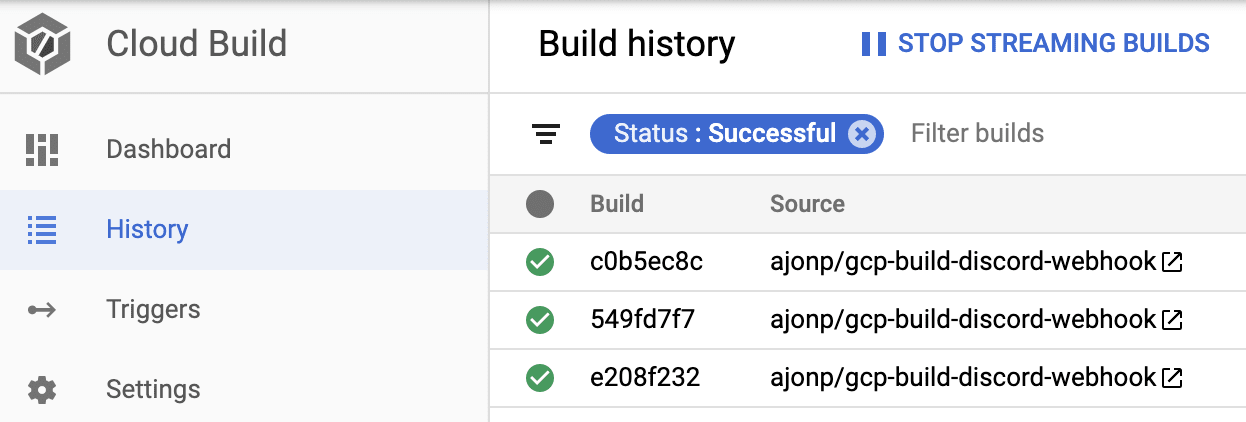
Back in Google Cloud Console https://console.cloud.google.com you should see a newly triggered build, like below.
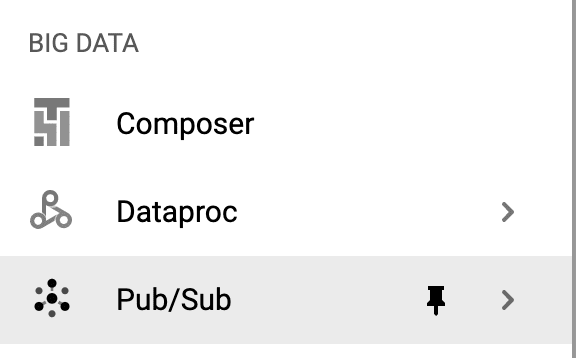
Pub/Sub Topic Creation
You can look for Pub/Sub under Bit Data, otherwise you can simply search for it.
Select Create Topic so we can create a new cloud-builds topic that Google Cloud Build triggers during each job. Please note the topic must be exactly this name! Here you can find more details https://cloud.google.com/cloud-build/docs/send-build-notifications

Initialize Firebase
If you haven't installed firebase-tools, please do that before run this section https://firebase.google.com/docs/cli
Within the root of your project you can run the command firebase init to setup Firebase Cloud Functions. Select Functions by hitting the space bar, then hit enter to continue.
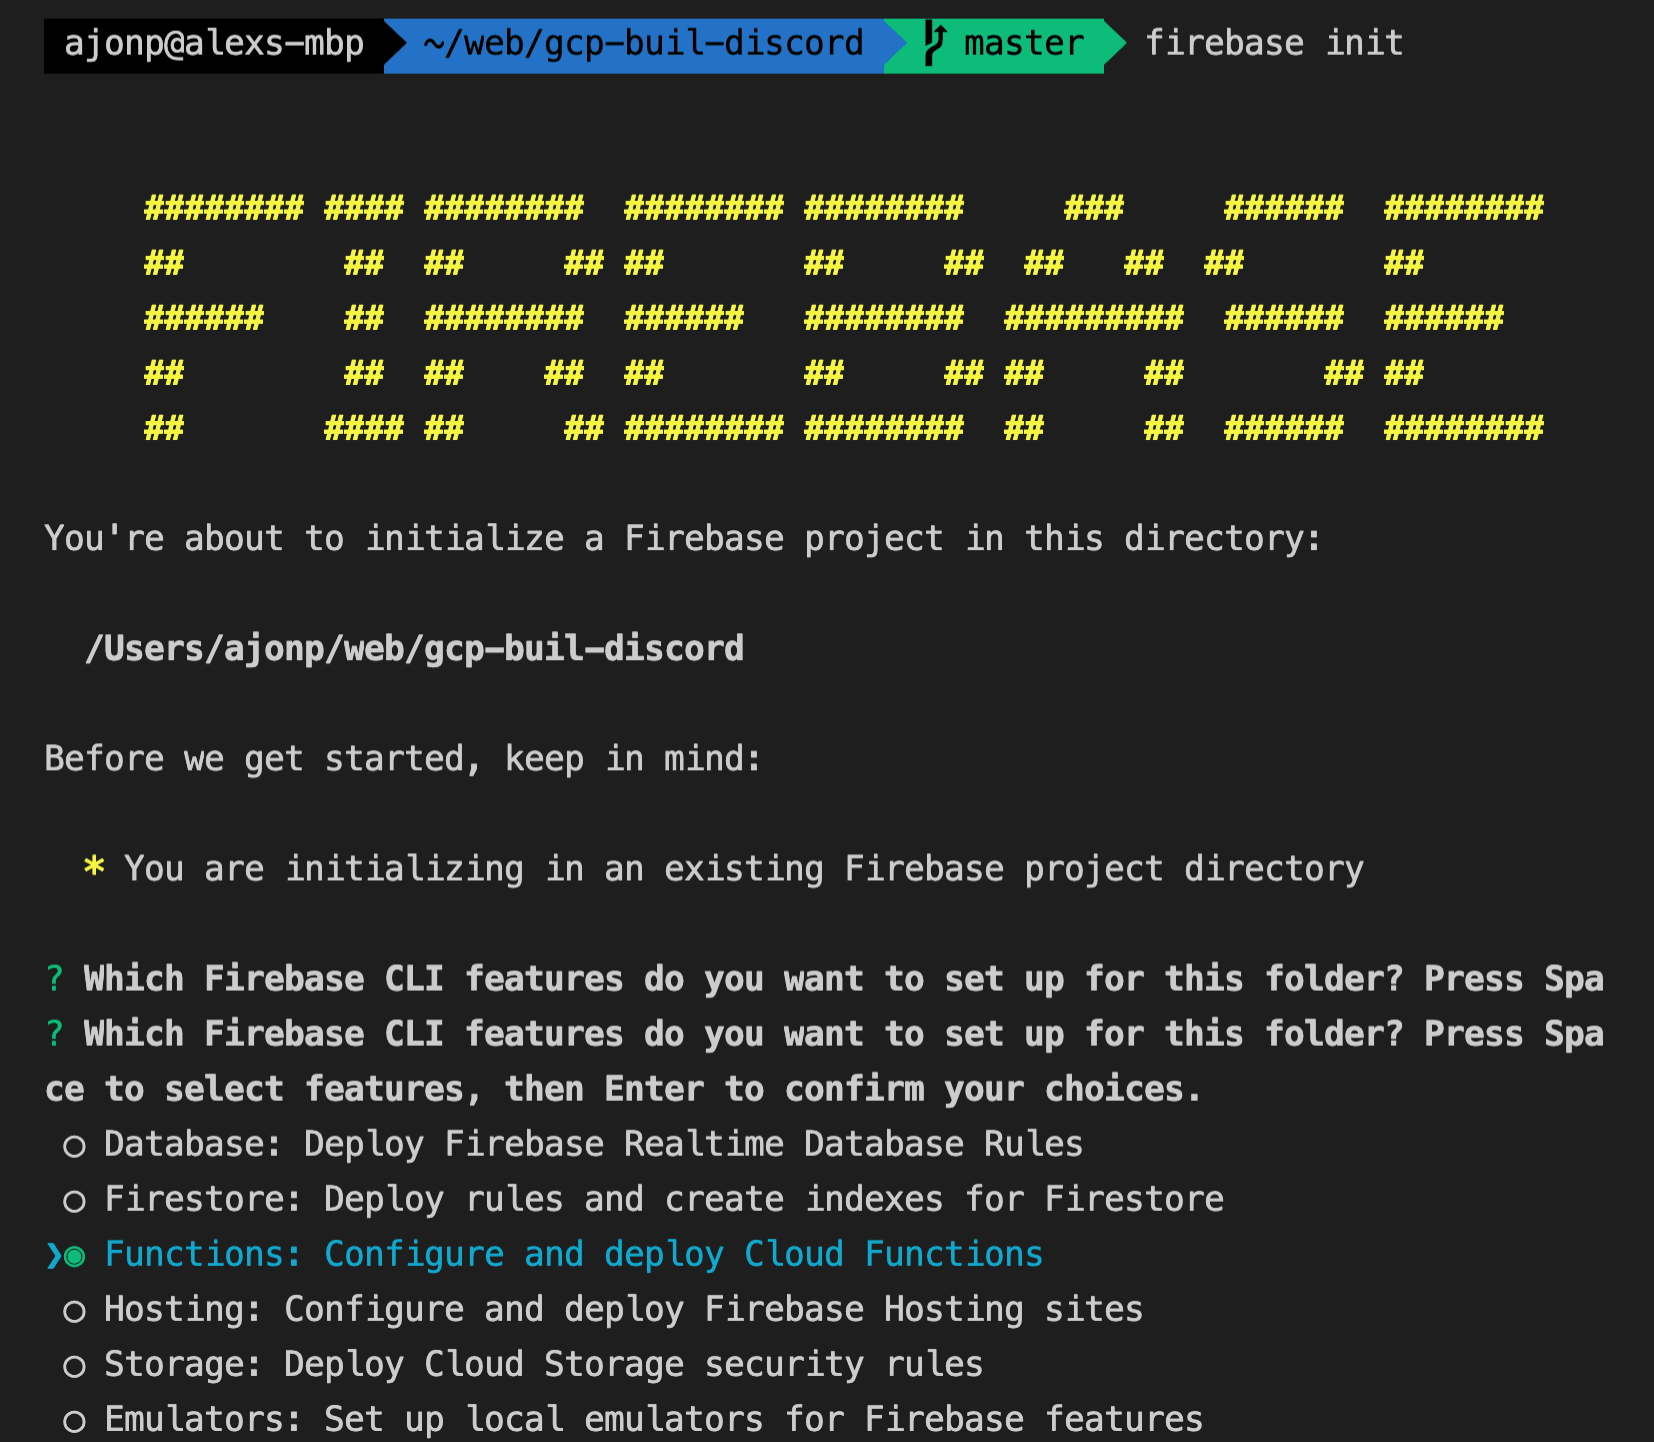
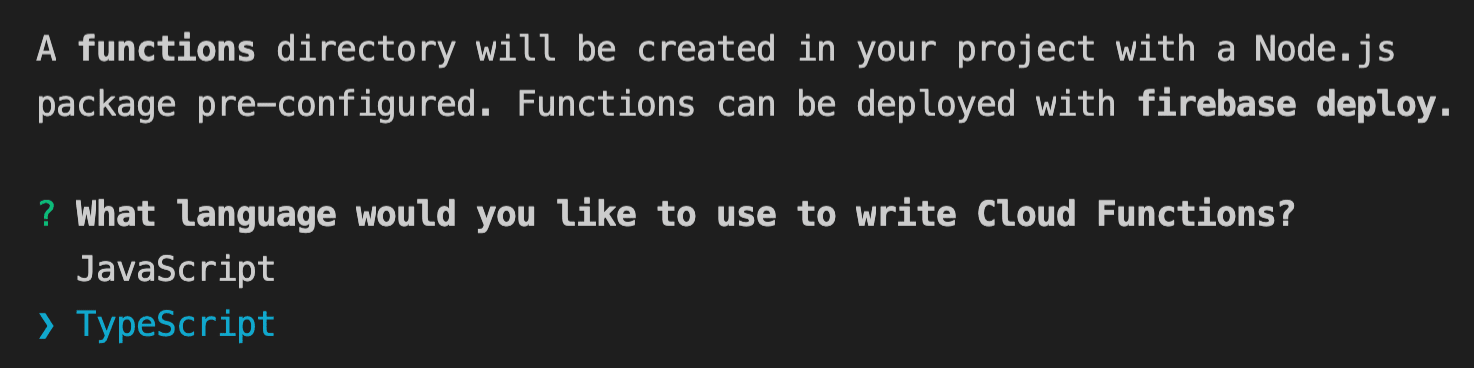
We will be using TypeScript in our example, but you could also choose JavaScript if you have done this type of thing and prefer it.
Creating Firebase Cloud Function for Pub/Sub
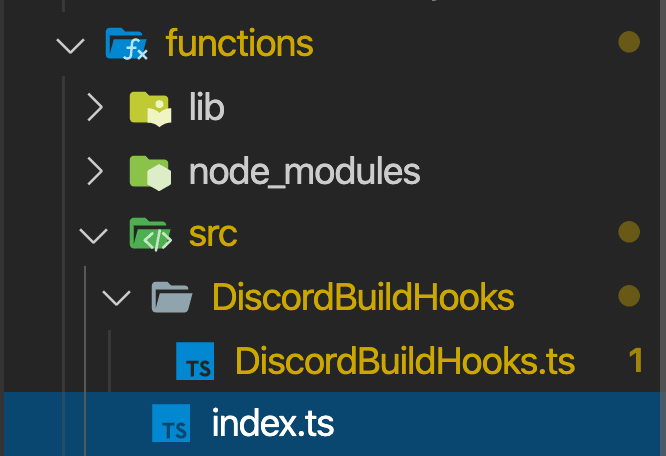
In your root folder you will find a new directory called functions. Navigate to functions/src/index.ts file and uncomment the default helloWorld function and we will push this as well just to see the difference on functions.
In the video I walk through how you can use Pub/Sub to walk through console logging and other options in your build before running the actual function. Here I will just add the final code code so that you can implement and try it directly.Within the functions/src directory add a new directory and file with the final path beingfunctions/src/DiscordBuildHooks/DiscordBuildHooks.ts
import * as functions from 'firebase-functions';
import fetch from 'node-fetch';

export const gcpBuildTriggerDiscord = functions.pubsub.topic('cloud-builds').onPublish(async (pubSubEvent) => {
    const build = JSON.parse(Buffer.from(pubSubEvent.data, 'base64').toString());
    const status = ['SUCCESS', 'FAILURE', 'INTERNAL_ERROR', 'TIMEOUT'];
    if (status.indexOf(build.status) === -1) {
        console.log('Status not found');
        return false;
    }

    try {
        const msg = createBuildMessage(build);
        return sendDiscordBuildPost(msg);
    } catch (err) {
        console.log(err);
    }
});

const sendDiscordBuildPost = async (body: object) => {
    console.log(Calling Discord wtih, JSON.stringify(body));
    const result = await fetch(functions.config().discord.build_hook, {
        body: JSON.stringify(body),
        method: 'POST',
        headers: { "Content-Type": "application/json" }
    });
    console.log(result.json());
}

const createBuildMessage = (build: GoogleCloudBuild) => {
    const embeds: Embed[] = [];
    const msg = {
        content: Build ${build.id} for project ${build.projectId} was a ${build.status}  +
            took ${(<any>new Date(build.finishTime) - <any>new Date(build.startTime)) * .001},
        tts: build.status === 'FAILURE' ? true : false,
        embeds: embeds
    }
    if (build && build.steps) {
        build.steps.forEach(step => {
            let time = '';
            if(step.timing && step.timing.endTime){
                time = took ${(<any>new Date(step.timing.endTime) - <any>new Date(step.timing.startTime)) * .001}
            }
            embeds.push({
                title: step.name,
                description:
                    ${step.entrypoint} ${step.args.join(' ')} ${time} and ${step.status},
                color: build.status === 'FAILURE' ? 16714507 : 6618931
            });
        });
        msg.embeds = embeds;
    }
    return msg;
}

export interface Embed {
    title?: string;
    description?: string;
    color?: number;
}

export interface GoogleCloudBuild {
    id: string;
    projectId: string;
    status: string;
    steps?: Step[];
    createTime: Date;
    startTime: Date;
    finishTime: Date;
    buildTriggerId: string;
    options: Options;
}

export interface Options {
    substitutionOption?: string;
    logging?: string;
}

export interface Step {
    name: string;
    args: string[];
    entrypoint: string;
    timing: Timing;
    pullTiming: Timing;
    status: string;
}

export interface Timing {
    startTime: Date;
    endTime: Date;
}
In order for your function to be exposed we need to add this to your index.ts file as well with the final code looking like below.
import * as functions from 'firebase-functions';

export const helloWorld = functions.https.onRequest((request, response) => {
 response.send("Hello from Firebase!");
});

export { gcpBuildTriggerDiscord } from './DiscordBuildHooks/DiscordBuildHooks';
Final folder structure
Before deploying this function we will need to setup a Discord Web hook and add it to our firebase configuration.
Discord Webhook
You must register on Discord and have rights to manage web hooks for this part.
Select a given channel that you want to create a hook in and go to settings, by clicking the gear icon.
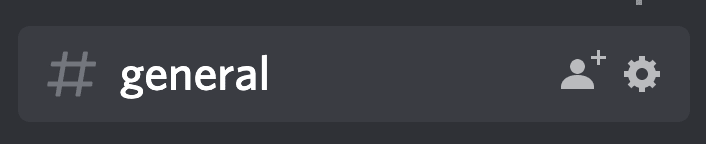
Next navigate to Webhook and click Create Webhook.
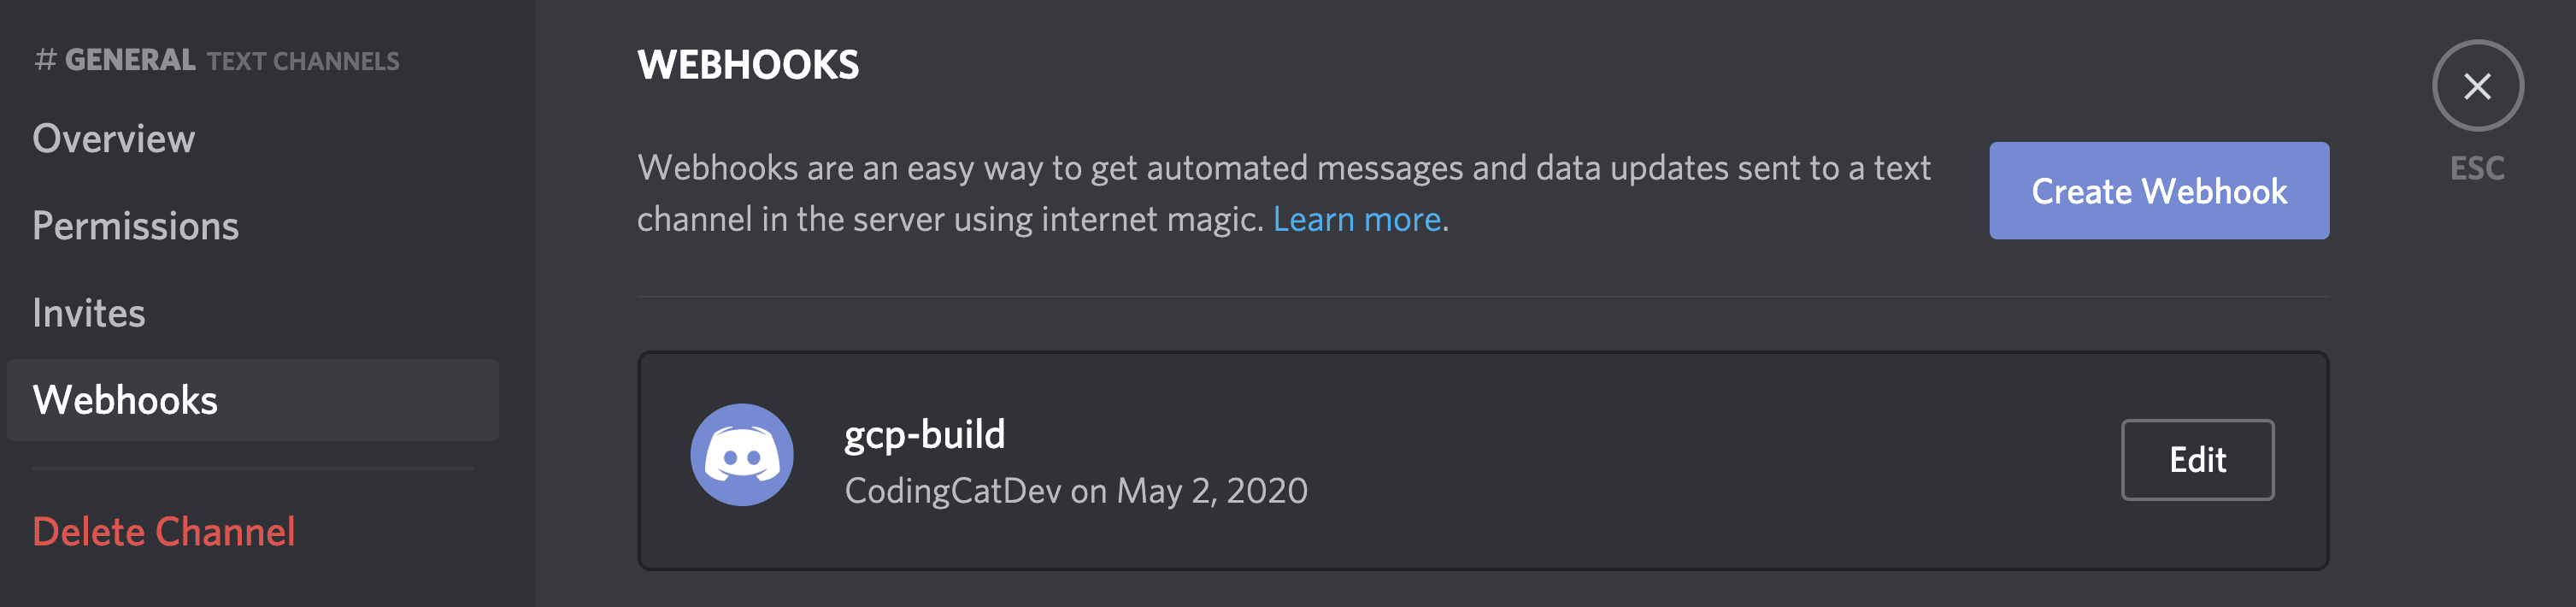
You will then need to copy the web hook url so we can add it to our Firebase Cloud Function configuration.

Make sure you keep all of your web hooks private!
Firebase Cloud Function Config
In the video we go into greater detail if you would like to know more about adding a configuration to Firebase Cloud Functions. You may have noticed in the above code this line functions.config().discord.build_hook . This is how Firebase Functions can read configurations. You are going to set this configuration with your Discord Webhook URL.The reason we don't just hardcode this is that we need to keep it private and out of our git repo. There is an argument that this is not the safest place to keep secrets and if you want to take this a step further look into https://cloud.google.com/kms
Deploy Firebase Cloud Functions
Now that you have your configuration set and all of the code you will need it is time to deploy your functions.
firebase deploy
If you find later you are working on front end hosting and want to only deploy functions you can run the below command.
Firebase Console
You can now see your functions listed inside of the Firebase Console.
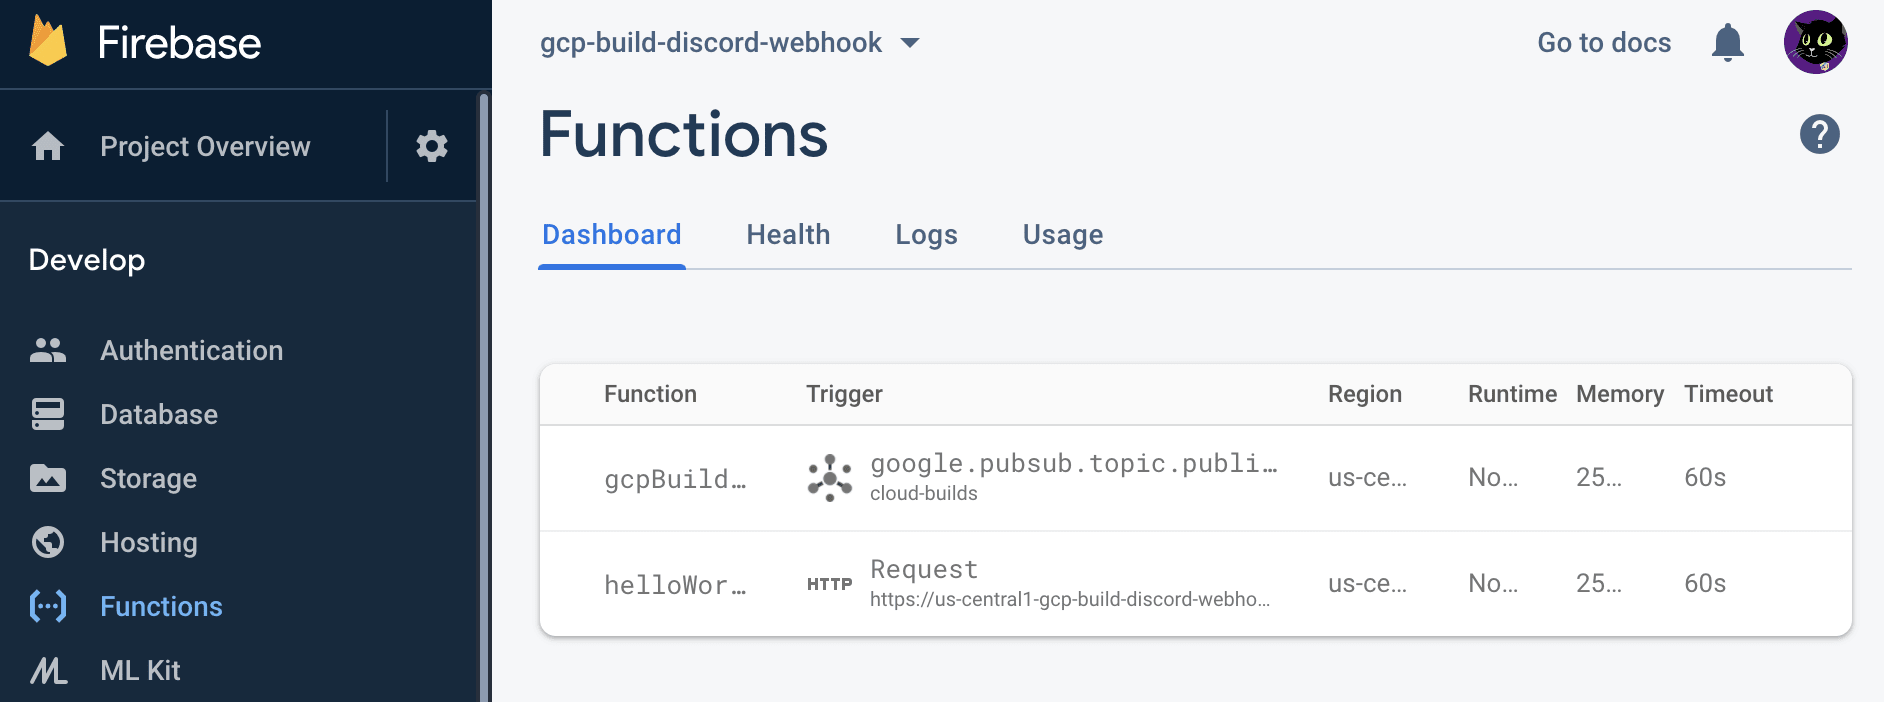
If you want to see if your Cloud Functions are working correctly you can trigger your helloWorld function by entering the url into a browser, here is an example.
Trigger Your Build
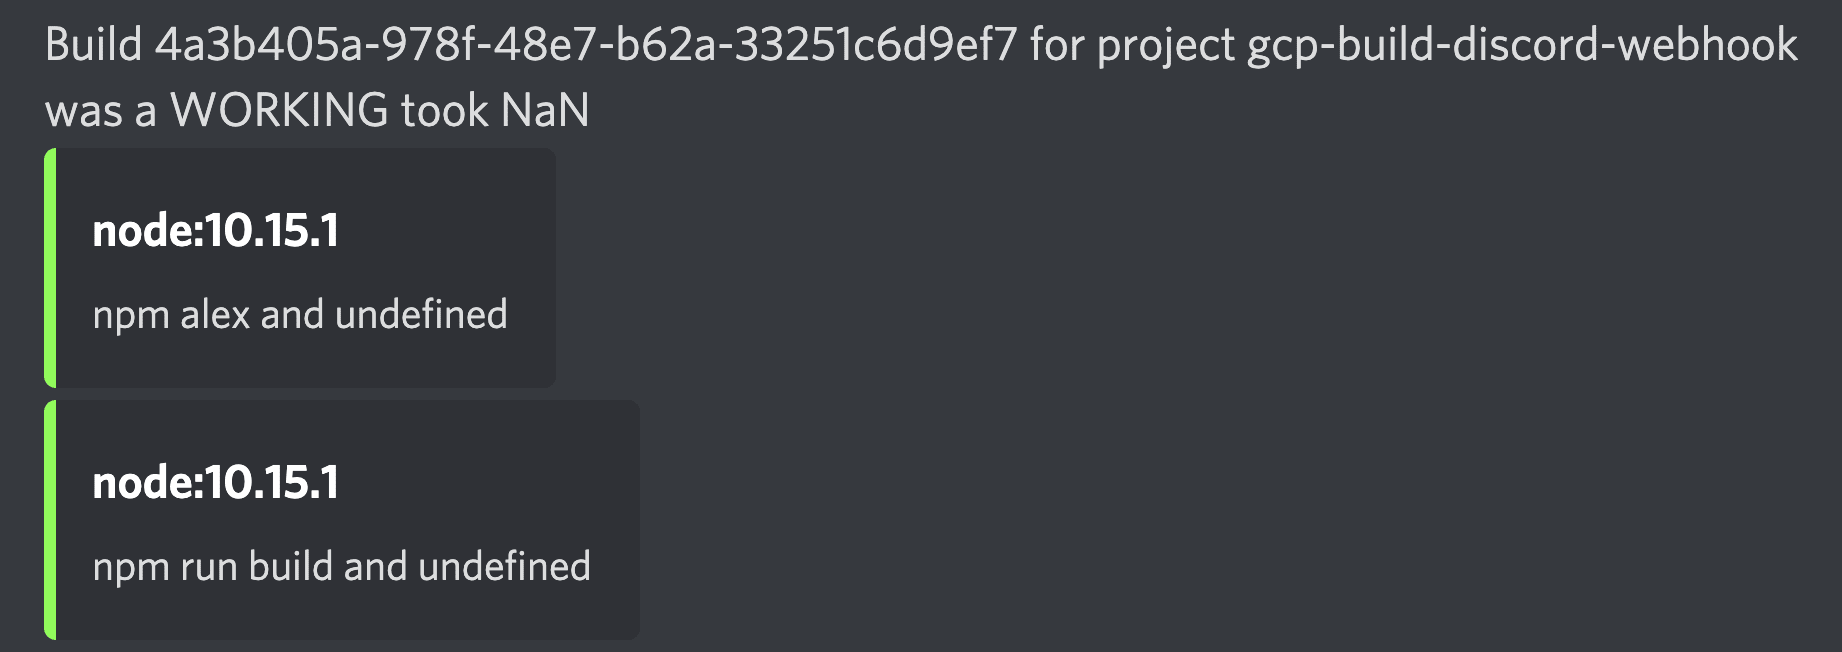
It is now time to try building your project to see if our full flow is working as expectedGitHub->Google Cloud Build->Pub/Sub->Firebase Functions->DiscordSo commit and push all of your changes.
You will see the below messages in Discord (notice the bugs, fix them :D)
Failure tests
Try changing the name of your
cloudbuild.yamlfile tofailurecloudbuild.yamland see if it fails.Putting back
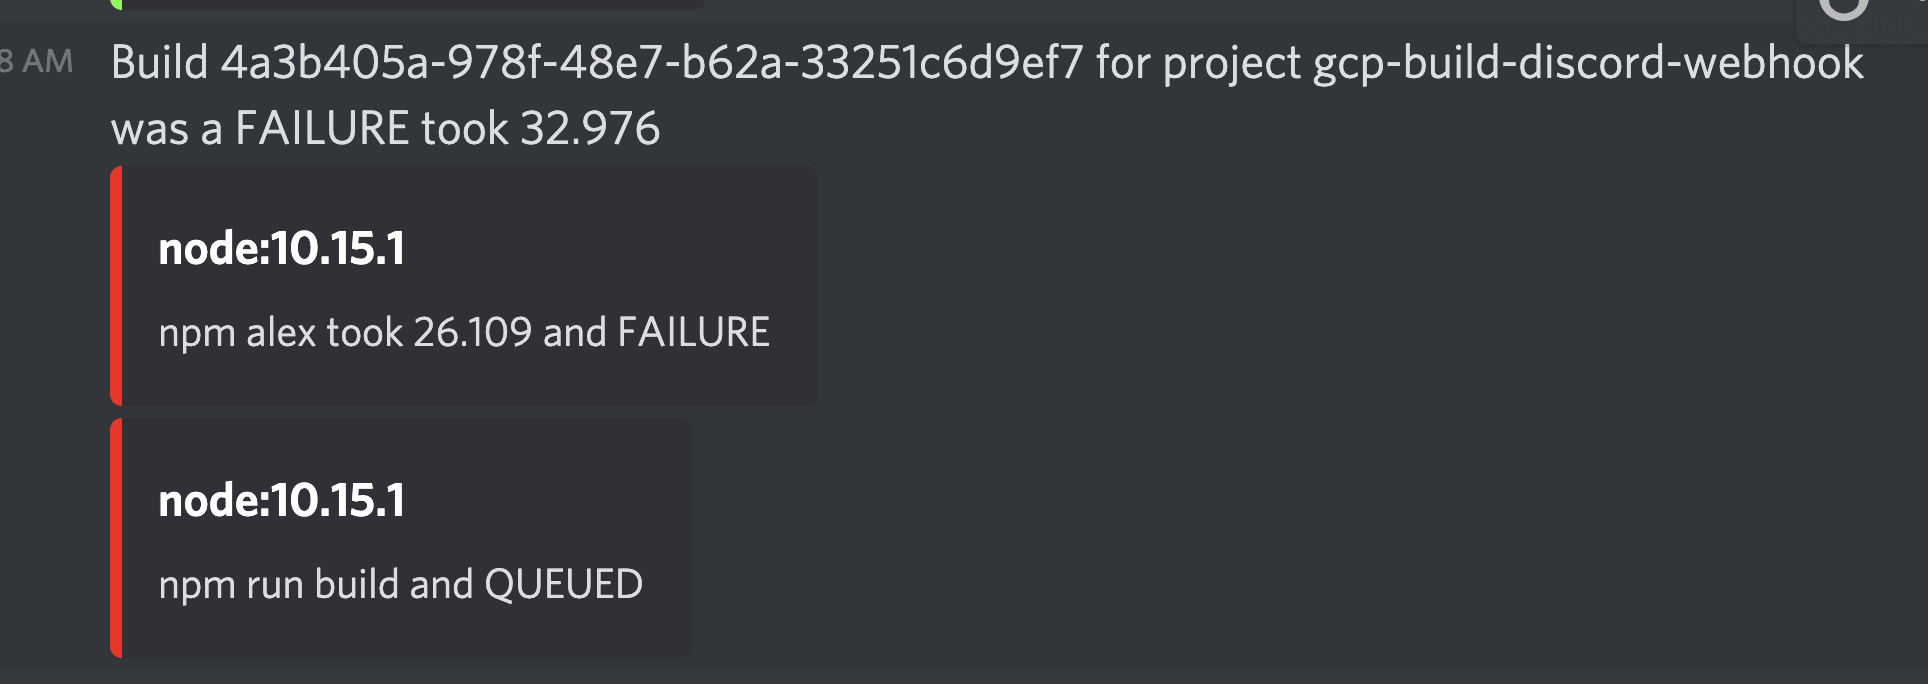
cloudbuild.yamlif you changed it above. Now inside of cloudbuild.yaml you can change the arguments to something npm doesn't understand like 'alex'. This will trigger a failure build within a step and send it to Discord.
This should trigger the two messages below in Discord
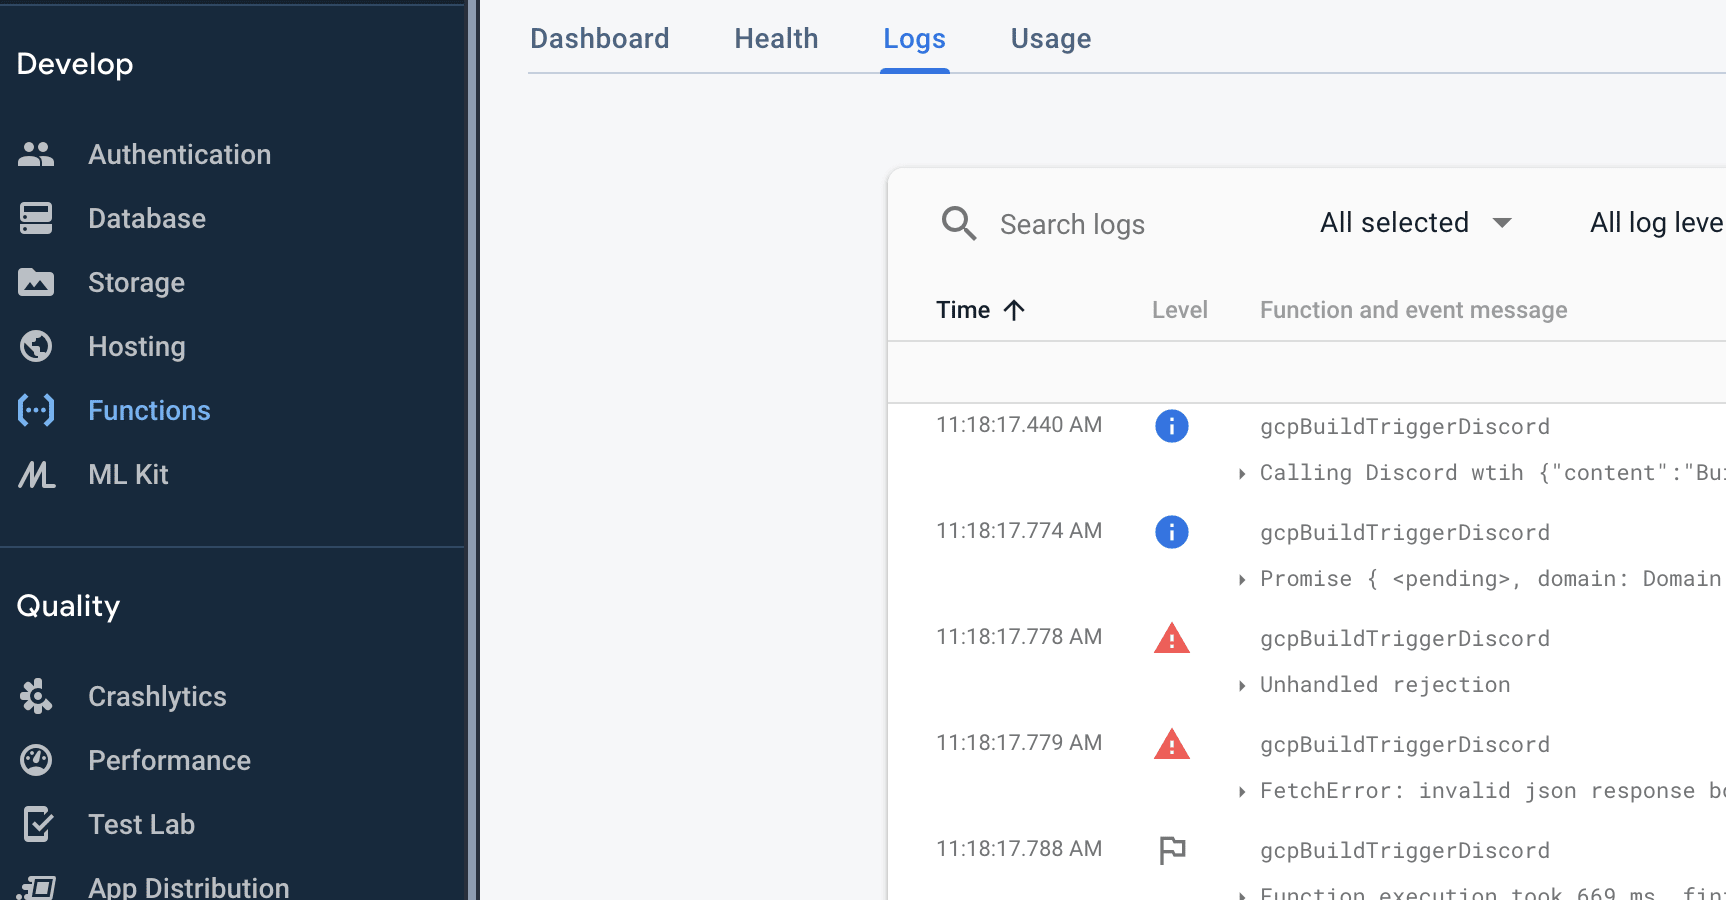
Trouble Shooting
If you find something is wrong with your function check the logs, you might find some bugs I missed.