# Supabase, Next.js and Builder.io
Original: https://codingcat.dev/tutorial/supabase-nextjs-and-builderio
%[https://youtu.be/yPohaXjNqxU]
## What are similar tools to Supabase that you may have used?
- [Firebase](https://firebase.google.com/) - Most are trying to match features of Firebase. Offers a realtime JSON database and a document based database called Firestore. Closed source available on Google Cloud Platform.
- [Apprite](https://appwrite.io/) - Allows for a Docker image to be hosted anywhere that you want, with a MariaDB database.
- [Nhost](https://nhost.io/) - Postgres Database hosted on Hasura.
## Getting Started with Supabase
Once you [sign in](https://app.supabase.com/) to Supabase’s dashboard you will be presented with the option to create a new Project ( you may also need to create an organization).
## Live Coding
[GitHub Repo](https://github.com/codercatdev/supabase-nextjs.git) - Final project that you can run locally, just make sure to add your own `.env` files.
Jon and I talk about how to setup Supabase for Authentication first. We talk about the Magic Link system where you can open a url in your email to login. We then dive into the code.
## Connection
You must get your API keys from `/project/[yourproject]/settings/api` and add them to `.env`.
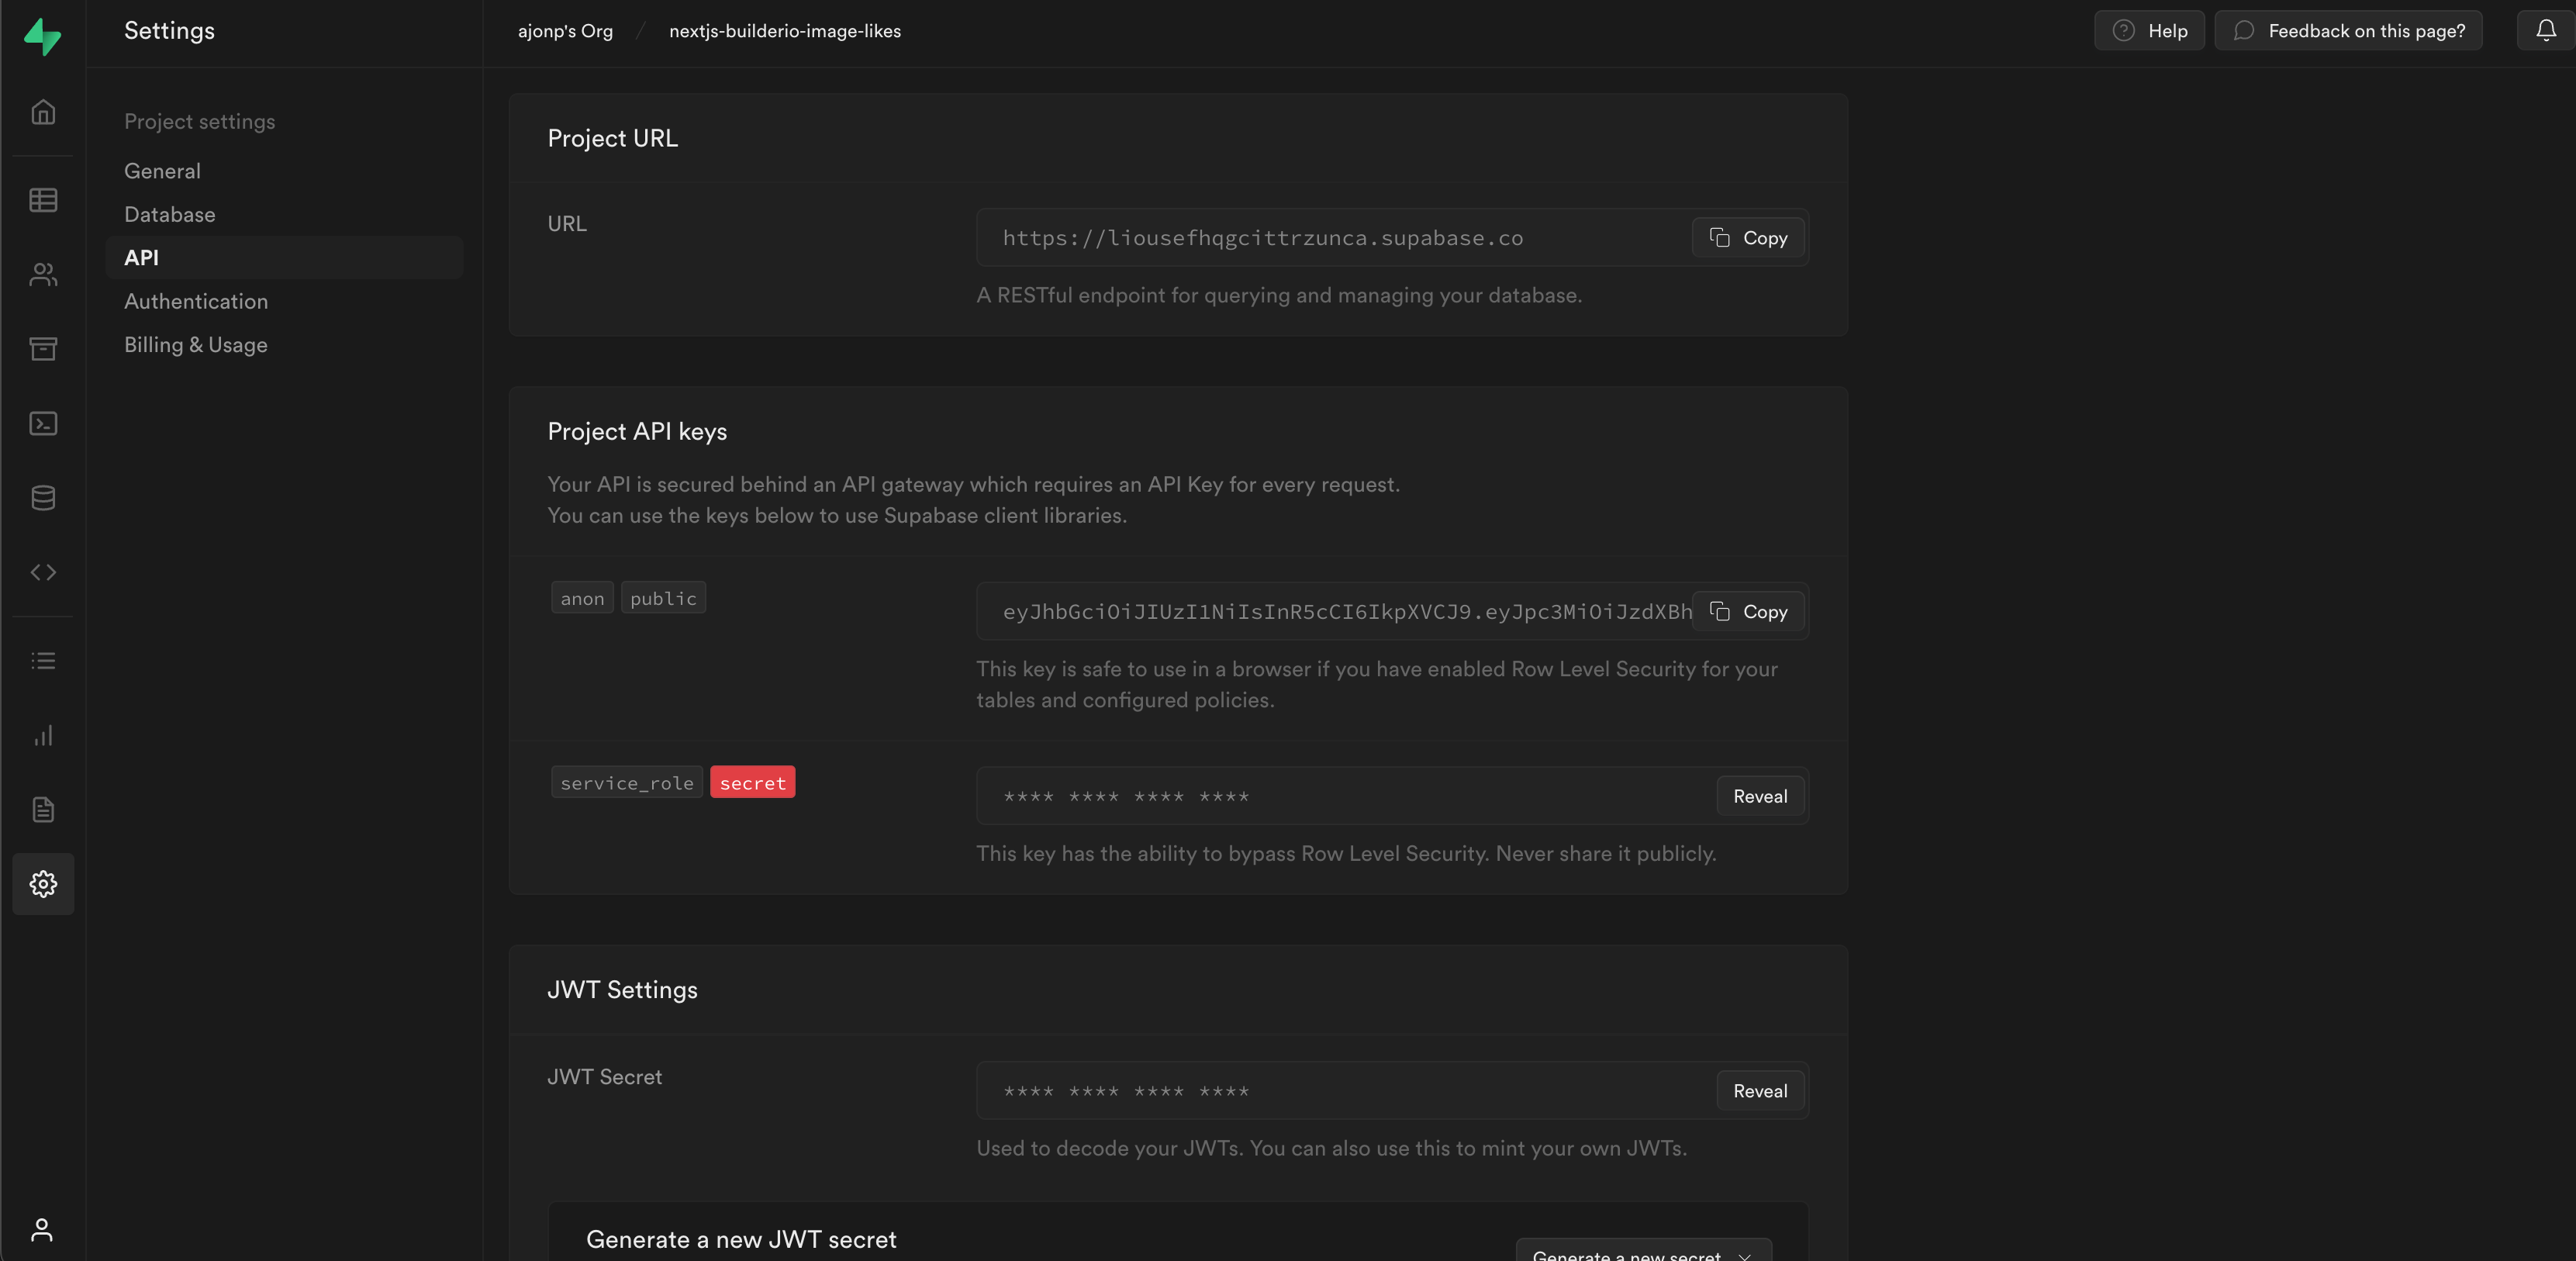
You will need to make sure you have a supabase instance created from your configuration to connect the client side of your application.
`/utils/supabaseClient.js`
```javascript
import { createClient } from '@supabase/supabase-js'
const supabaseUrl = process.env.NEXT_PUBLIC_SUPABASE_URL
const supabaseAnonKey = process.env.NEXT_PUBLIC_SUPABASE_ANON_KEY
export const supabase = createClient(supabaseUrl, supabaseAnonKey)
```
## Authentication
How to easily check for authenticated user and show a react component.
`/pages/sports.js`
```javascript
import Sports from '../components/Sports';
import { useState, useEffect } from 'react';
import { supabase } from '../utils/supabaseClient';
export default function Home() {
const [session, setSession] = useState(null);
const [me, setMe] = useState(null);
useEffect(() => {
setSession(supabase.auth.session());
supabase.auth.onAuthStateChange((_event, session) => {
setSession(session);
});
}, []);
return (
<>
{session ? :
Please Login
}
);
}
```
## Data
In Supabase you can see data in your Postgres database.
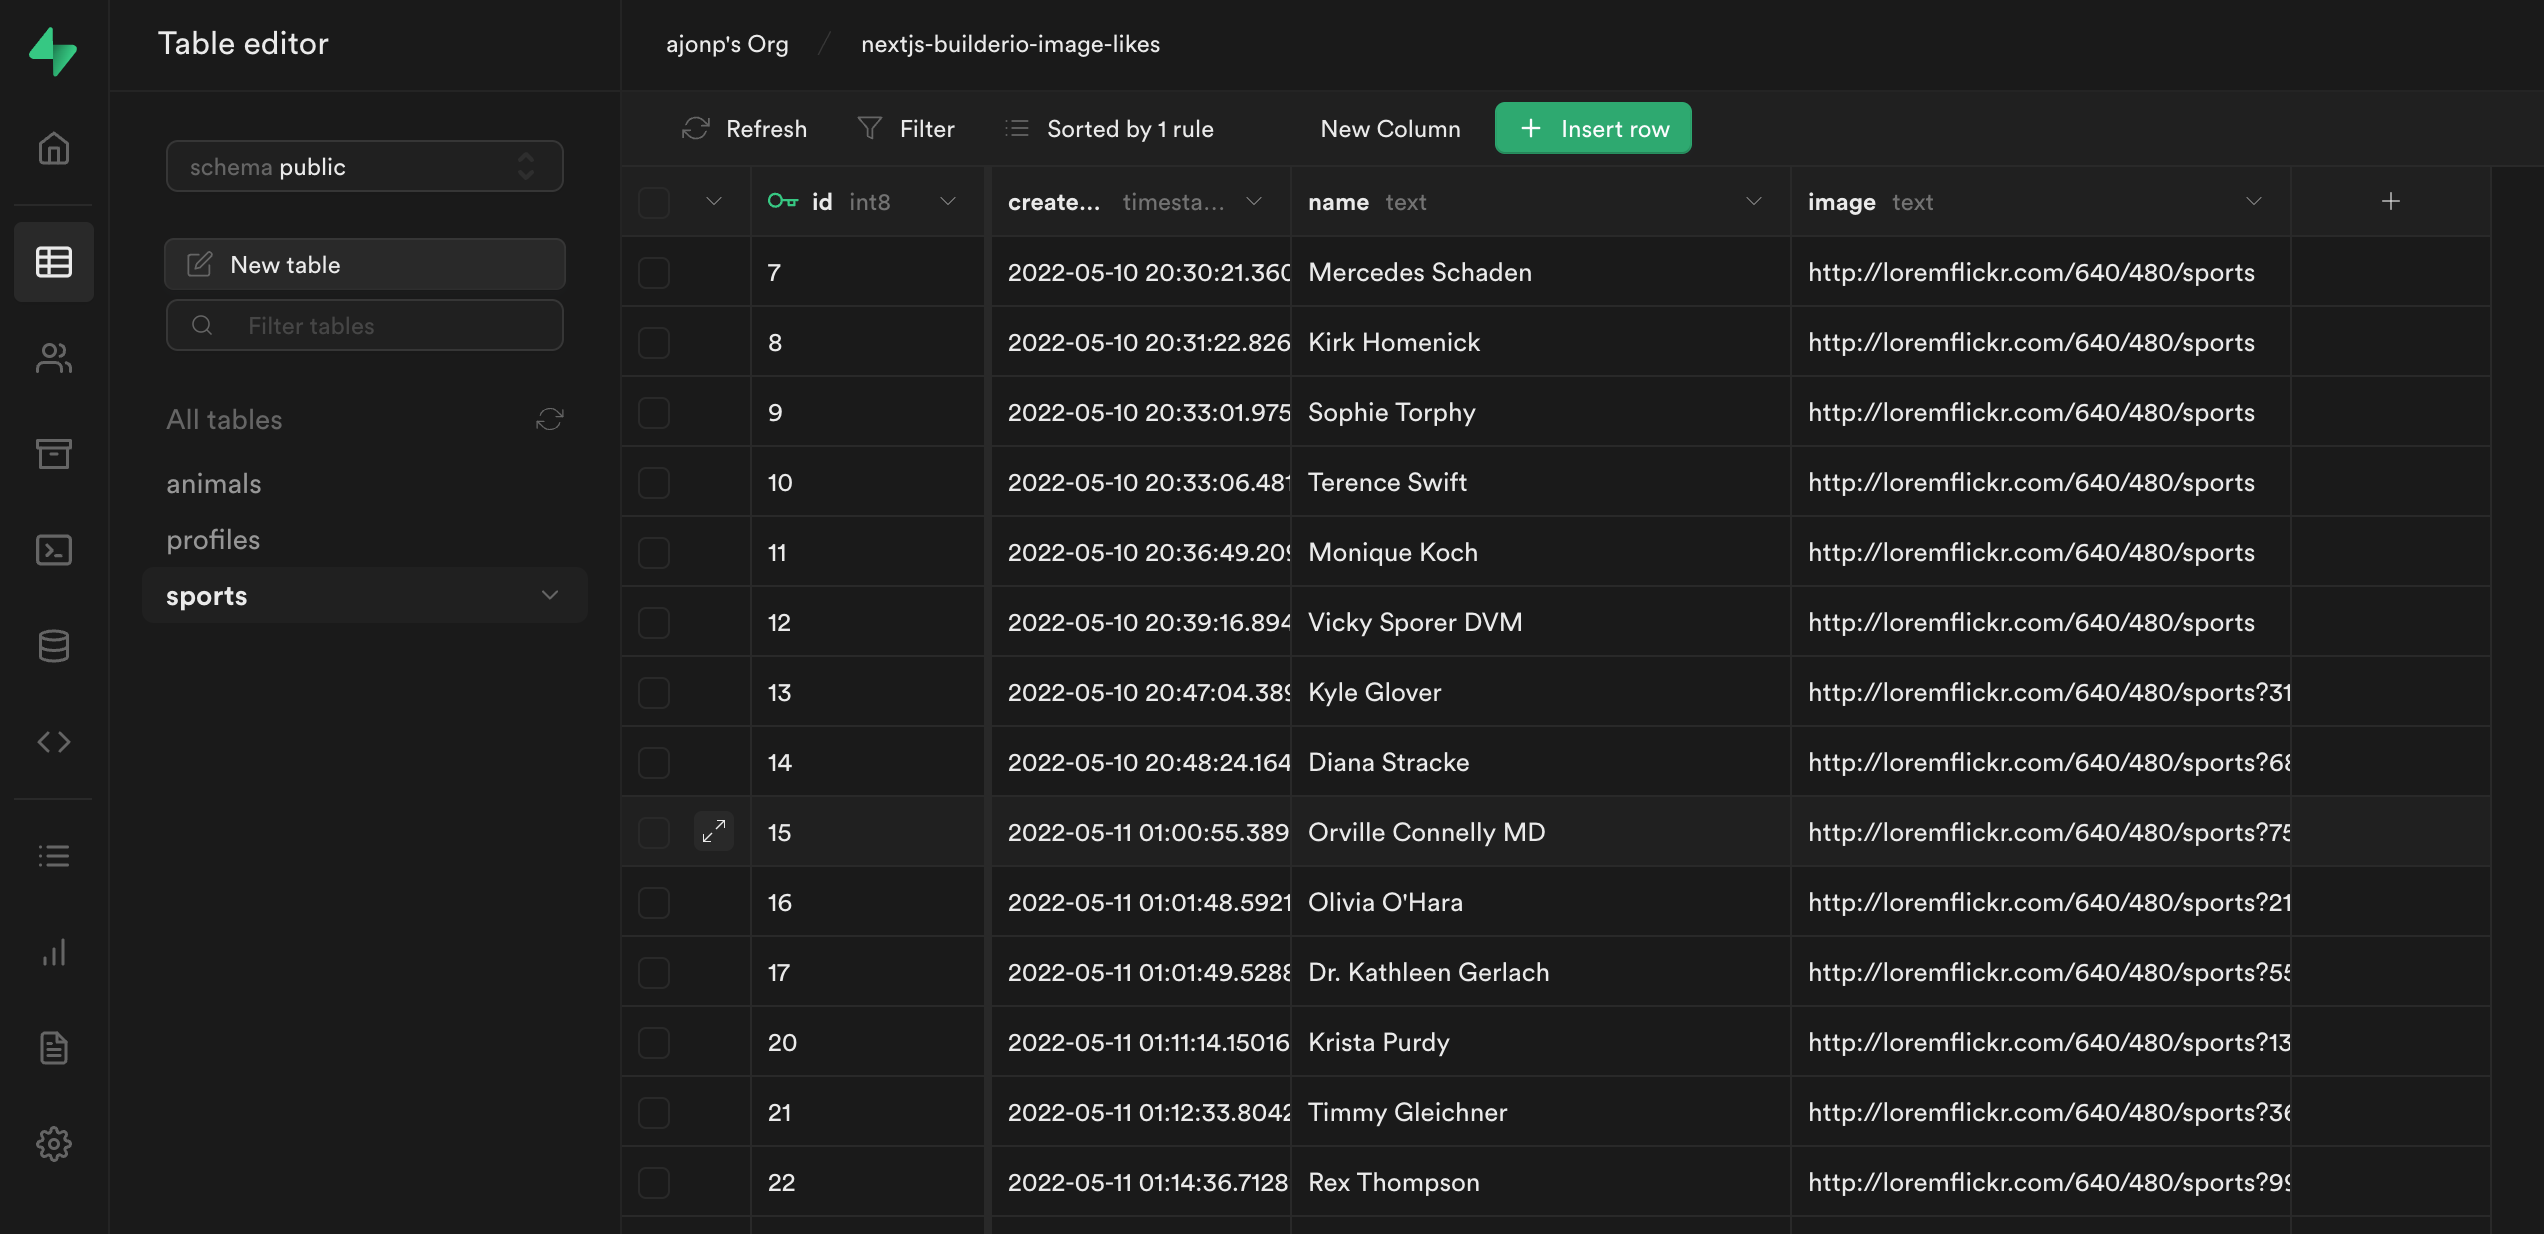
Supabase uses [PostgREST](https://postgrest.org/en/stable/) to then allow you to access this table.
### Access Data in the Client
This is our full sports page that brings in all of our sports table. There are a couple things to call out here.
- You can add sports by just calling `supabase.from('sports').insert`
- When you setup a listener you get the full payload `supabase.from('sports').on('*', (payload)`
```javascript
import { supabase } from '../utils/supabaseClient';
import { faker } from '@faker-js/faker';
import { useEffect, useState } from 'react';
import Image from 'next/image';
export default function Sports({ session }) {
const [sports, setSports] = useState([]);
useEffect(() => {
const sub = supabase
.from('sports')
.on('*', (payload) => {
setSports((current) => [payload.new, ...current]);
// supabase
// .from('sports')
// .select('*')
// .order('created_at', { ascending: false })
// .then((d) => console.log(d));
})
.subscribe();
supabase
.from('sports')
.select('*')
.order('created_at', { ascending: false })
.then((d) => setSports(d.data));
return () => {
if (sub) sub.unsubscribe();
};
}, []);
const addSports = async () => {
const name = faker.name.findName();
const image = faker.image.sports(null, null, true);
await supabase.from('sports').insert([{ name, image }]);
};
return (
);
}
```
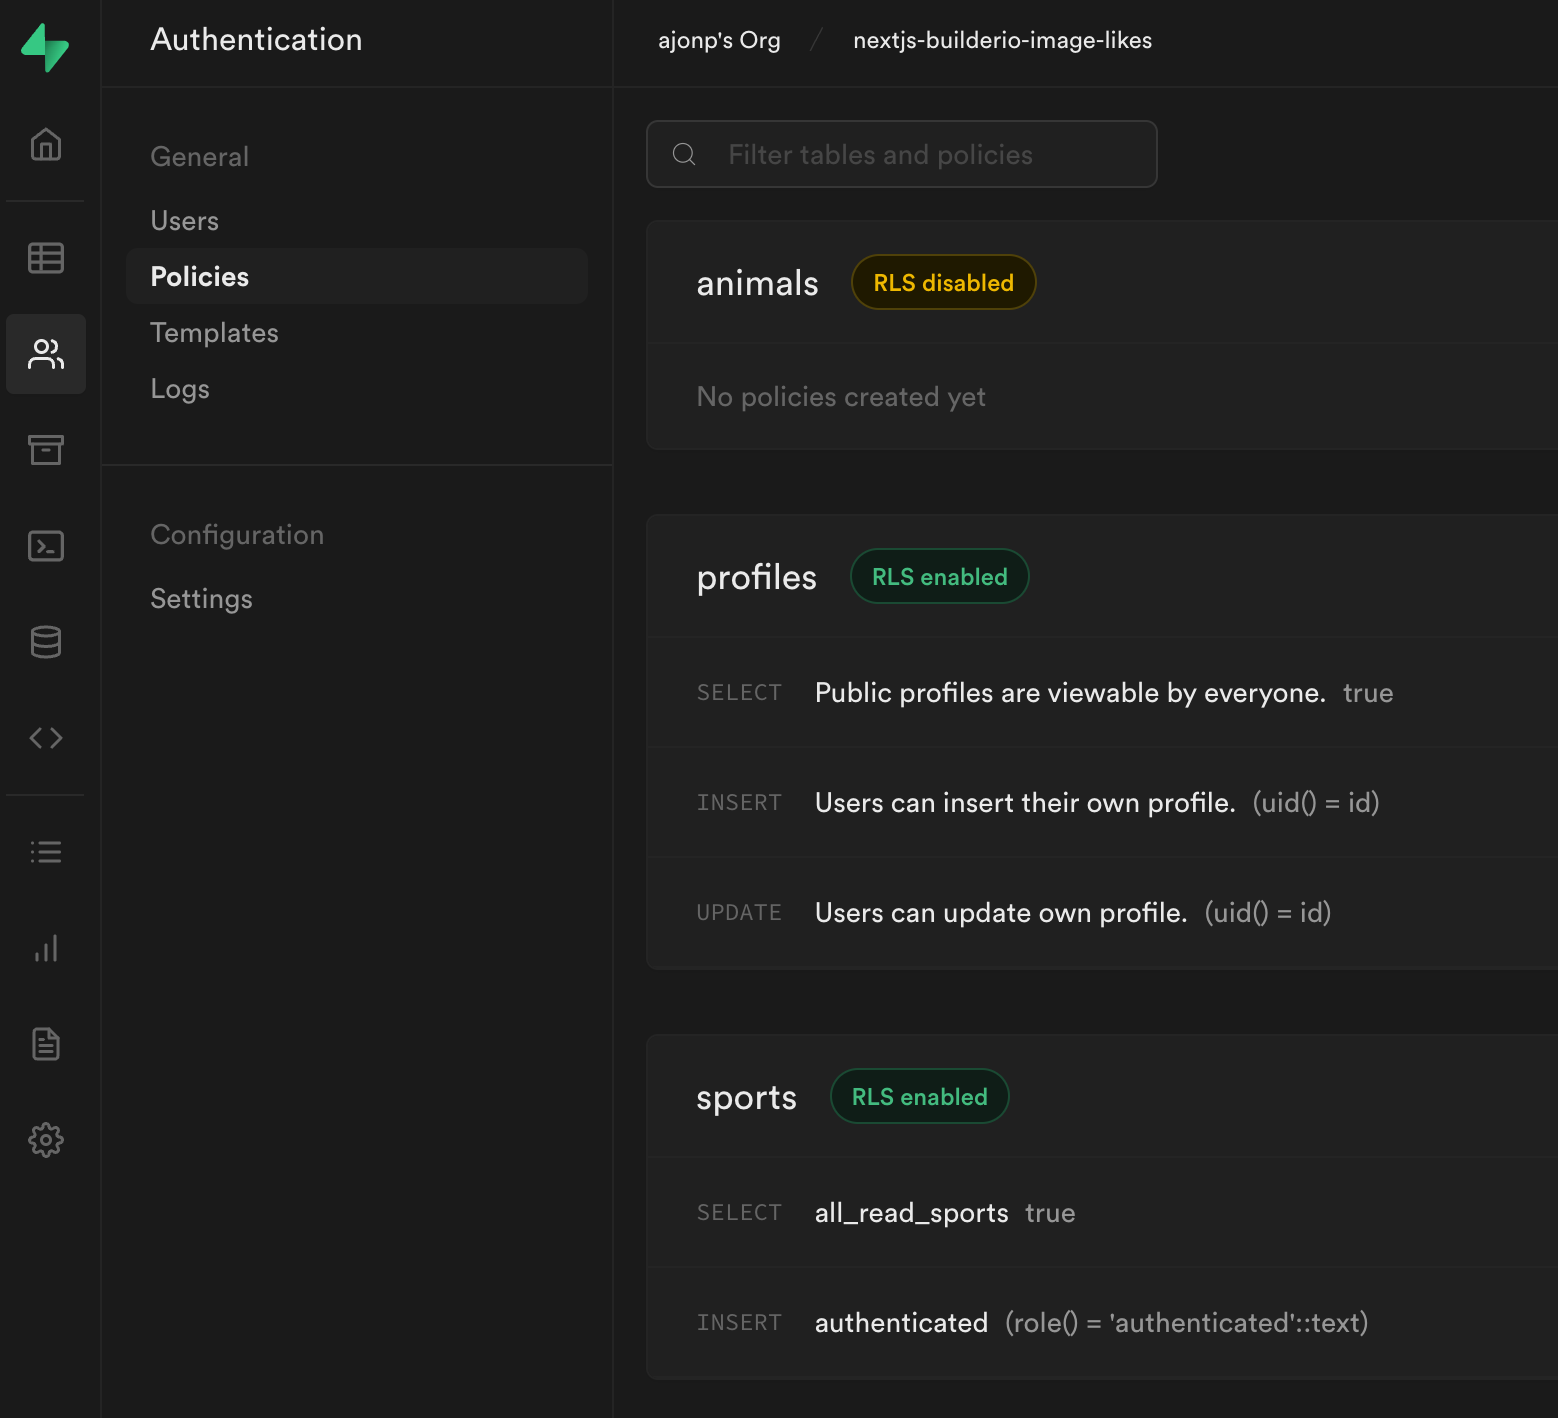
### Policies
In order to protect your data you need to setup Policies. These are pretty awesome because they can be written at any level within your table.
## Builder.io
You can access [Builder.io’s Dashboard](https://builder.io/content). If you hit (CMD or CTRL) + P, and type in API this will give you your API key.
In Next.js `getStaticProps` you can get all the data for your page. This is where we willl look for pages that are created in builder. Pass that data to the client.
```javascript
const page =
(await builder
.get('page', {
apiKey: 'e89fbe16533145d4ae320467ed536a91',
userAttributes: isPersonalizedRequest
? {
// if it's a personalized page let's fetch it:
...getTargetingValues(params.path[0].split(';').slice(1)),
}
: {
urlPath: '/' + (params?.path?.join('/') || ''),
},
cachebust: true,
})
.toPromise()) || null;
```
Get our sports data from [Supabase](https://supabase.com/) and pass to client.
```javascript
const { data: sports } = await supabase
.from('sports')
.select('*')
.order('created_at', { ascending: false });
```
Then display both our page and data using a single component.
```html
```
That is all it takes to hook up [Builder.io](http://Builder.io) and start interacting with the data from Supabase using the state.